1 - PRAKTIKUM ANALISA MEDIA dan JEJARING SOSIAL
Summary
TLDRIn this practical session on social media and network analysis, students are guided through installing and using the Gevi application. The video emphasizes the importance of understanding Gevi's workspace, which visualizes networks through nodes and edges. Students learn to navigate the software, manipulate data, and analyze relationships between various entities in the network. The first task is to install the app, explore the interface, and complete a Google form for attendance. Future sessions will delve deeper into data analysis and more complex network visualizations.
Takeaways
- 😀 The video tutorial is focused on teaching students how to use the Gevi application for social media and network analysis.
- 😀 Students are required to install the Gevi app and follow along with the tutorial to complete their first practical task.
- 😀 The installation of Gevi can be done by simply Googling 'Gevi' and downloading the appropriate version for Windows.
- 😀 After installation, students will explore Gevi's interface, including the workspace and project options.
- 😀 The key task for the first session is for students to install the app, open a sample project, and explore its features.
- 😀 Gevi provides a layout that allows users to analyze network data visually, identifying relationships and connections between nodes.
- 😀 The script explains how to zoom in and out within the Gevi workspace and adjust the view for easier navigation.
- 😀 A focus of the practical work is to analyze nodes (points) and edges (connections) in a sample project, which represents a network.
- 😀 The main task for the first session is to familiarize students with Gevi, showing how to navigate the app and inspect data connections.
- 😀 Students must complete a Google Form to confirm their attendance for the first practical session. Failing to do so will result in being marked absent.
- 😀 The tutorial encourages students to replay the video if they have any doubts or need clarification on using Gevi effectively.
Q & A
What is the main purpose of the Gevi tool mentioned in the transcript?
-The main purpose of Gevi is to analyze media and social networks by visualizing and exploring relationships between different entities in a network.
How can students download the Gevi application?
-Students can download Gevi by Googling 'Gevi' and finding the appropriate version for their operating system (e.g., Windows). They can then click on the download link and follow the installation instructions.
What should students do once they have installed Gevi?
-After installing Gevi, students should open the application, familiarize themselves with the workspace, and explore the sample project data provided to understand how the nodes and edges work.
What are the 'notes' and 'edges' in Gevi?
-In Gevi, 'notes' represent individual entities (e.g., people or items), and 'edges' represent the relationships or connections between those entities.
How can students explore the relationships between different entities in Gevi?
-Students can click on any 'note' to see its relationships with other notes. By zooming in and adjusting the edge thickness, they can better visualize the strength of these connections.
What is the role of the Google Form in this session?
-The Google Form is used for attendance. Students must fill it out to confirm their participation in the session. Not submitting the form means being marked absent.
What should students do if they encounter problems or have questions about the software?
-Students are encouraged to ask their instructor or message in the group chat for help if they face any issues with the software or have questions about the assignment.
What are the next steps after students have completed the installation and filled out the Google Form?
-In the next session, students will begin a more in-depth analysis of social networks using Gevi, including handling new data and answering questions based on the analysis.
What is expected of students during the first meeting of the practical session?
-During the first meeting, students are expected to install Gevi, explore the sample project, and submit the Google Form for attendance.
How can students adjust the layout and zoom of the workspace in Gevi?
-Students can adjust the layout by scrolling, zooming in and out, and moving elements around the workspace. They can also adjust the size of the edges to better visualize the relationships between nodes.
Outlines

This section is available to paid users only. Please upgrade to access this part.
Upgrade NowMindmap

This section is available to paid users only. Please upgrade to access this part.
Upgrade NowKeywords

This section is available to paid users only. Please upgrade to access this part.
Upgrade NowHighlights

This section is available to paid users only. Please upgrade to access this part.
Upgrade NowTranscripts

This section is available to paid users only. Please upgrade to access this part.
Upgrade NowBrowse More Related Video
How to configure router as dhcp server in Packet Tracer | Video # 19
Learn Wireshark in 10 minutes - Wireshark Tutorial for Beginners

Vidio PPL Bimbingan Klasikal | Bijak Dalam Media Sosial | Gelombang 1 Tahun 2022-2023 #ppg #ppl #bk

Install Wireshark dan Cara menggunakan wireshark pertama kali

[part 2] PKK Kelas XI ~ Produk Kreatif dan Kewirausahaan// Analisis Peluang Usaha
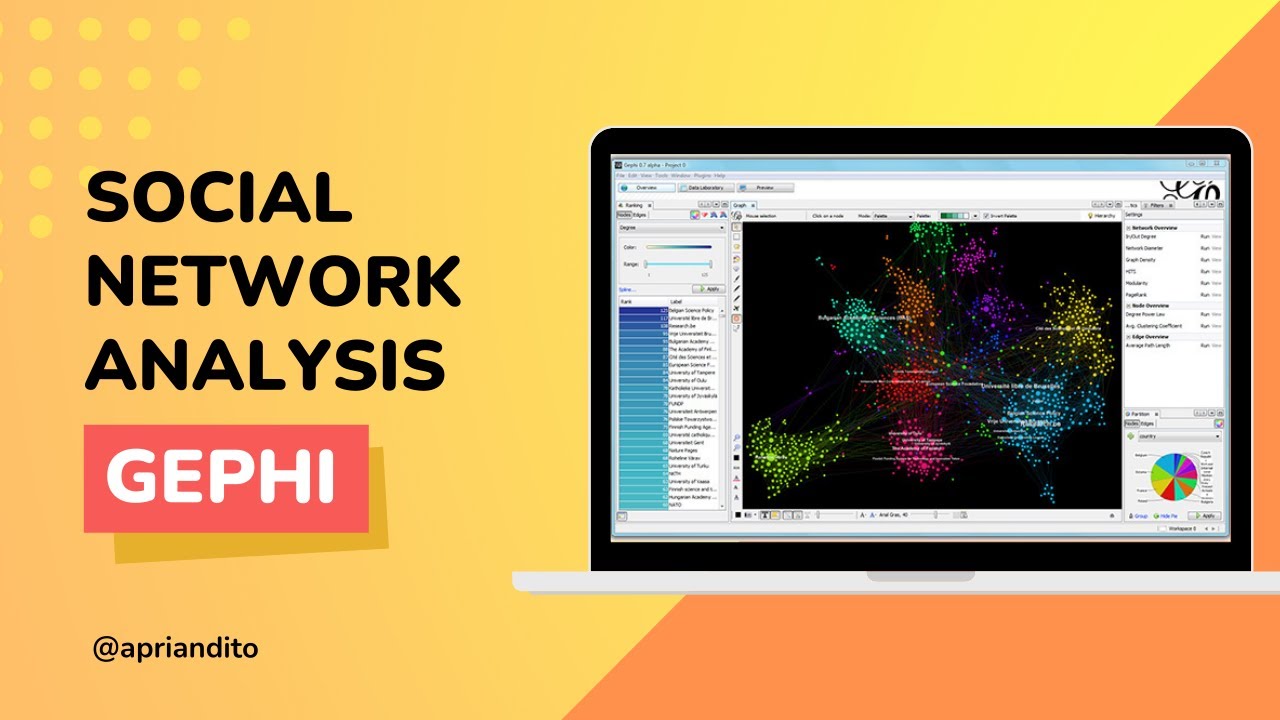
Social Network Analysis Menggunakan Gephi
5.0 / 5 (0 votes)