This Effect Makes Your Videos Look Super Smooth
Summary
TLDRThis video walks viewers through creating a locked-on stabilization effect in DaVinci Resolve. The tutorial covers how to speed ramp clips, add power grades, and utilize the planar tracker for precise tracking and stabilization. It also includes tips on achieving slow-motion effects, fixing tracking issues with the transform tool, and creating smooth transitions. Additionally, the video demonstrates a boomerang effect by reversing clip speed and refining the final look for buttery-smooth footage.
Takeaways
- 😀 Use the 'Locked-On Stabilization' effect in DaVinci Resolve to focus on a point of interest in your footage while stabilizing the background.
- 😀 Start by applying a Power Grade on your clip in the Color Page, then return to the Edit Page to adjust the clip.
- 😀 Create a speed ramp by adding speed points at the desired points in the clip using the Retiming Controls (Command + R).
- 😀 For slow-motion effect, set the speed to 50% if your footage is shot at 60 fps and your timeline is at 29.97 fps.
- 😀 Round out speed points using the Retime Curve feature for smoother transitions between fast and slow motion.
- 😀 After setting up the speed ramp, convert the clip to a Fusion Clip to add effects using the Fusion page.
- 😀 Use the Planar Tracker tool in Fusion to track a specific point (e.g., a wheel or object) in the clip.
- 😀 Choose the 'Translation' motion type for tracking, and track frame by frame to ensure accuracy throughout the clip.
- 😀 Apply stabilization by setting the Operation Mode in the Planar Tracker to 'Steady' to lock the tracked point in place.
- 😀 To fix any issues with background patterns showing through during stabilization, use the Transform tool in Fusion to adjust the image.
- 😀 Optionally, create a boomerang effect by duplicating the clip, reversing the speed, and merging the clips for a looping effect.
Q & A
What is the purpose of the 'locked-on stabilization' effect in DaVinci Resolve?
-The locked-on stabilization effect helps to stabilize footage by focusing on a specific point of interest in the frame. It ensures that the subject stays in the same position while the background or other elements move smoothly.
Why is it important to set a point of focus in the middle of the clip for this effect?
-Setting a point of focus in the middle of the clip helps to keep the subject or element centered, which allows the locked-on stabilization effect to work more effectively. It doesn't need to be perfect, but a centered focus enhances the overall tracking and stabilization.
What does adding a 'speed point' do in DaVinci Resolve?
-Adding a speed point allows you to adjust the playback speed at specific frames. This is crucial when creating speed ramps, as it gives control over how the clip transitions from regular speed to slow motion or accelerated playback.
How do you create a speed ramp in DaVinci Resolve?
-To create a speed ramp, you place speed points on the clip and adjust the retime curve. You then drag the curve to create a gradual or quick change in speed, which can be used for effects like slow motion or fast-forward transitions.
Why is it necessary to use the Fusion page for tracking in DaVinci Resolve?
-The Fusion page allows for advanced motion tracking, providing a precise way to track a point of interest, such as a wheel. It offers greater control over the stabilization and ensures that the subject remains locked on throughout the clip.
What is the 'Translation' motion type in Fusion tracking?
-The 'Translation' motion type tracks the movement of a point in 2D space, following horizontal and vertical motion. This is useful for simple tracking tasks where the point of interest moves in a linear fashion without rotation or scaling.
What is the benefit of tracking frame-by-frame in Fusion?
-Tracking frame-by-frame improves accuracy. Sometimes, automatic tracking may fail, especially in challenging footage. By manually tracking each frame, you can ensure a smoother, more precise stabilization.
What is the function of the 'Steady' mode in Fusion?
-The 'Steady' mode in Fusion smooths out the motion by compensating for any unwanted shake or movement. It ensures that the tracked point remains stable and that the background stays consistent throughout the clip.
How can you fix visual inconsistencies after tracking in Fusion?
-Visual inconsistencies, such as background patterns or artifacts, can be fixed by using the 'Transform' tool in Fusion. Increasing the transform settings will help blend these inconsistencies and maintain a smooth appearance across the clip.
What is the process to create a boomerang effect in DaVinci Resolve?
-To create a boomerang effect, you duplicate the clip, reverse its speed, and then blend the reversed clip back into the original. This creates a looping effect where the action moves forward and then reverses smoothly.
Outlines

This section is available to paid users only. Please upgrade to access this part.
Upgrade NowMindmap

This section is available to paid users only. Please upgrade to access this part.
Upgrade NowKeywords

This section is available to paid users only. Please upgrade to access this part.
Upgrade NowHighlights

This section is available to paid users only. Please upgrade to access this part.
Upgrade NowTranscripts

This section is available to paid users only. Please upgrade to access this part.
Upgrade NowBrowse More Related Video

The VIRAL Duplicate Effect in DaVinci Resolve + Drag&Drop Plugin!

Nice And Easy Effect | DaVinci Resolve |

Capcut vs Davinci Resolve: 5 KEY Differences You NEED to Know

The ULTIMATE VFX WORKFLOW

3 Grading Lessons I Learned the Hard Way

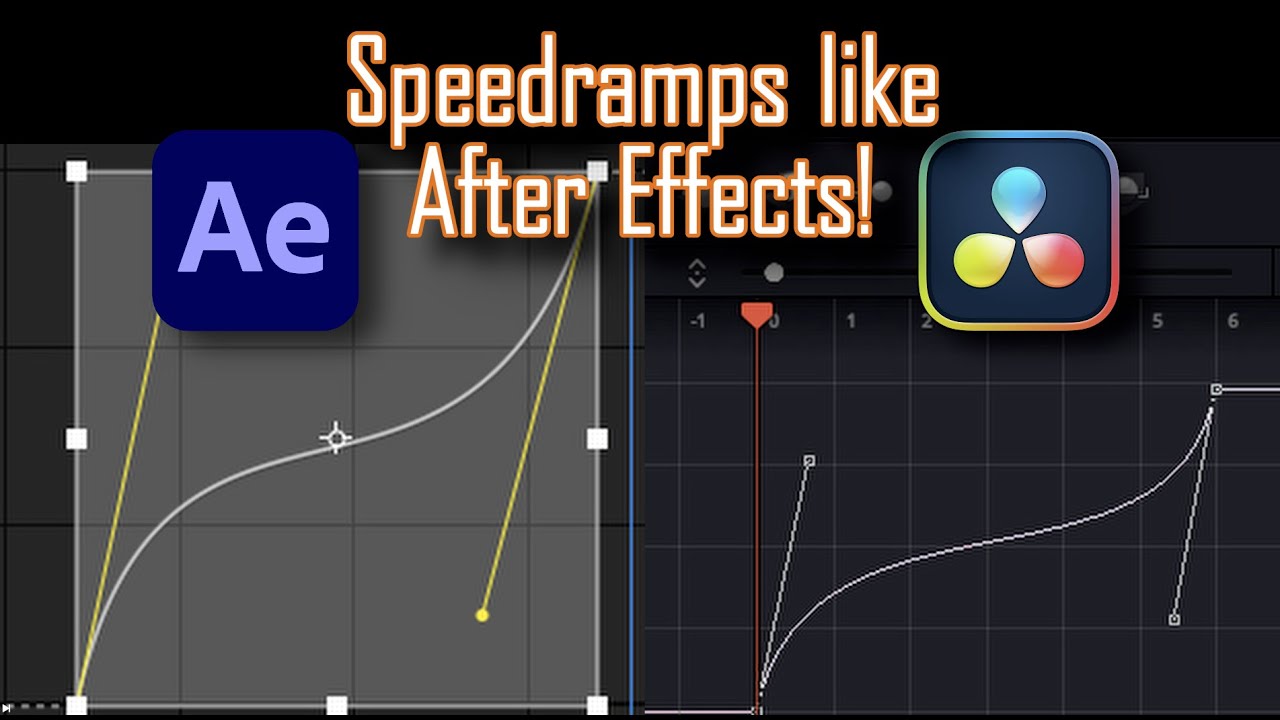
The NEW way of Speedramping in DaVinci Resolve / DaVinci Resolve Tutorial
5.0 / 5 (0 votes)