The ULTIMATE Raspberry Pi 5 NAS
Summary
TLDRIn this detailed script, Jeff Geerling embarks on an ambitious project to build a Raspberry Pi NAS (Network Attached Storage) system. Starting with his experiences using Raspberry Pi 4 and Compute Module 4, he highlights the limitations he faced, particularly with speed and availability during the Pi shortage. With the launch of Raspberry Pi 5, which offers faster speeds and PCI Express support, Jeff explores the possibility of creating a cost-effective NAS. Using a Radxa SATA HAT, a Raspberry Pi 5, and additional components, he constructs a compact NAS for under $150. The script meticulously documents the assembly process, power considerations, and potential bottlenecks. Jeff also addresses the challenge of achieving 2.5 gigabit networking with the Pi 5 using a HatBRICK! Commander and HatNET! 2.5G. Throughout the build, he tests the system's performance, noting the trade-offs between DIY solutions and off-the-shelf NAS devices. The script concludes with Jeff successfully running Open Media Vault (OMV) on the Pi NAS, achieving satisfactory read and write speeds, and reflecting on the DIY nature of the project, emphasizing the importance of user responsibility for software, maintenance, and updates.
Takeaways
- 🚀 The Raspberry Pi 5 and its Compute Module 4 offer significant improvements over their predecessors, making it possible to build a more capable and faster NAS (Network Attached Storage) device.
- 💾 The use of a SATA HAT, like the Radxa 'Penta' SATA HAT, allows for the creation of a compact and cost-effective NAS solution with multiple drive bays.
- 🔌 Power supply considerations are crucial when building a DIY NAS; the power supply needs to provide sufficient and clean power to both the Raspberry Pi and the SATA HAT.
- 🔩 The assembly of the NAS requires careful handling of delicate connectors, such as the FFC (Flat Flexible Circuit), to avoid damage.
- 📡 The Raspberry Pi 5 supports gigabit networking, which, while not as fast as some commercial NAS solutions, is still a substantial improvement over previous models.
- 🔧 DIY NAS solutions often require trade-offs between cost, performance, and features, but they offer flexibility and can be more cost-effective than off-the-shelf solutions.
- 🌡️ Proper cooling is essential for the longevity and performance of the NAS, especially when using hard drives or in scenarios where the device is under heavy load.
- 📈 Benchmarking showed that the DIY NAS setup could achieve read and write speeds that are competitive with commercial options, particularly when using RAID configurations.
- 📊 The use of ZFS on the Raspberry Pi 5 provided data protection with RAIDZ1 and demonstrated good performance, although write speeds were slightly lower than RAID 0 configurations.
- 🤖 Open Media Vault (OMV) was successfully installed and used to manage the RAID array and shared folders on the Raspberry Pi 5 NAS.
- ⚙️ The HatBRICK! Commander from Pineberry Pi was used to add 2.5G networking to the Raspberry Pi 5, showcasing the potential for higher network speeds with additional hardware.
Q & A
What is the main purpose of the Raspberry Pi NAS project discussed in the script?
-The main purpose of the Raspberry Pi NAS project is to build a Network Attached Storage device using Raspberry Pi 5 and a SATA HAT, aiming to achieve a cost-effective and compact storage solution.
What are the two projects mentioned that were launched before the great Pi shortages?
-The two projects mentioned are the Wiretrustee SATA board and Radxa Taco, both of which were promising for the Raspberry Pi NAS project but failed to take off due to the Pi shortages.
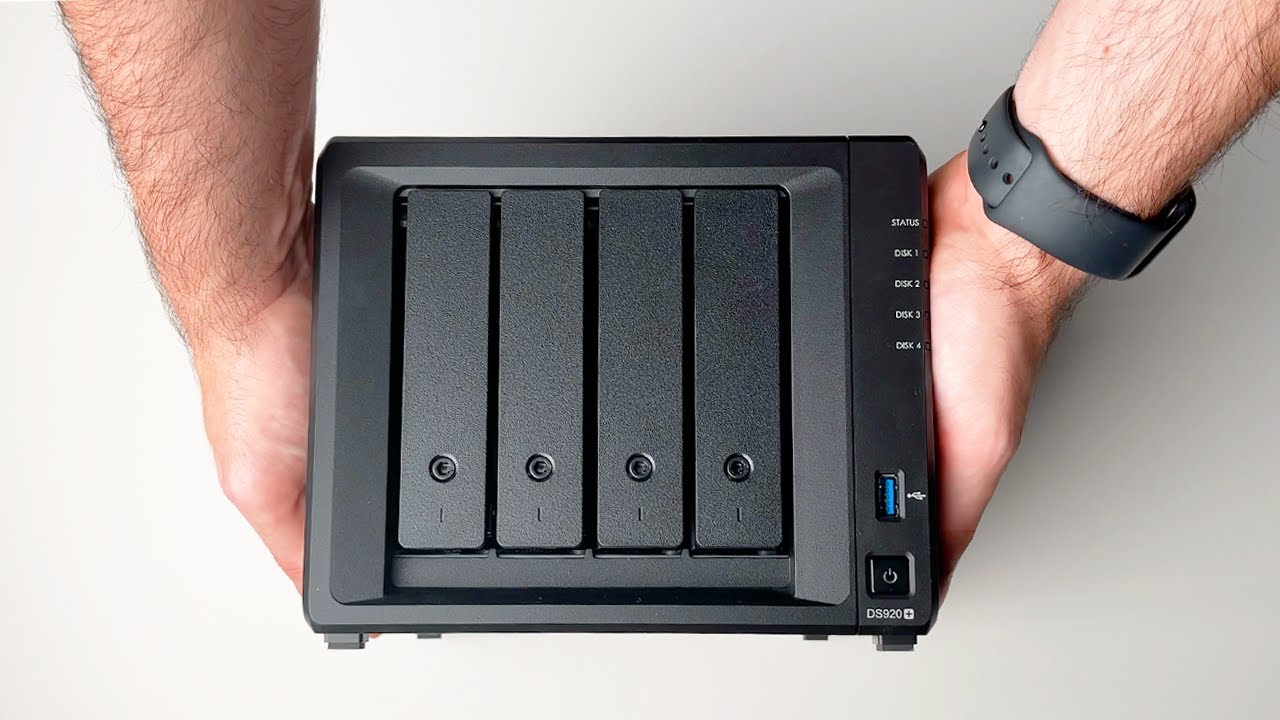
What is the cost of the Radxa SATA HAT used in the project?
-The Radxa SATA HAT used in the project costs $45 and is already shipping at the time of the script.
What is the maximum network speed that the Raspberry Pi 5 can achieve in this setup?
-The Raspberry Pi 5 in this setup achieves a gigabit (1000 Mbps) network speed, which is less than the 2.5 gigabit speeds that other NASes can achieve.
What is the JMB585 controller used for in the Raspberry Pi NAS project?
-The JMB585 controller is a PCIe Gen 3x2 SATA controller used in the project to manage the connection and data transfer between the Raspberry Pi 5 and the SATA drives.
What is the issue with the HatNET! 2.5G and Raspberry Pi 5's PCI Express connector?
-The issue is that the HatNET! 2.5G has one PCI Express input, but the Raspberry Pi 5 has only one PCI Express connector, which is already used by the SATA HAT. To solve this, a HatBRICK! Commander is used as a PCI Express switch to connect both devices.
What is the power supply requirement for the Raspberry Pi 5 NAS setup?
-The power supply requirement depends on the type of drives used. For the setup with 2.5-inch drives, a 5A 12V power supply is used. However, for 3.5-inch drives, a higher wattage supply like 8A or 10A might be needed.
What is the maximum read speed achieved during the benchmark test of the RAID 0 setup?
-The maximum read speed achieved during the benchmark test of the RAID 0 setup was almost 900 megabytes per second.
What is the main advantage of using ZFS over RAID in the context of the Raspberry Pi NAS project?
-The main advantage of using ZFS over RAID is that it provides features like data integrity, automatic repair, and the ability to use more advanced configurations like RAIDZ1, which offers redundancy and protection against drive failures.
What is the power efficiency of the Raspberry Pi 5 NAS setup compared to prebuilt NAS devices?
-The Raspberry Pi 5 NAS setup is more power-efficient, using around 15 to 16 Watts during operation, which is about half of what most prebuilt NAS devices would use for the same amount of work.
What is the conclusion about using a Mac for benchmarking network file copies in the context of this Raspberry Pi NAS project?
-The conclusion is that Mac OS is not ideal for benchmarking network file copies, even if it has 10 gigabit networking. The script suggests that one should not use a Mac for such benchmarks and that Windows PC provides more accurate results.
Outlines

This section is available to paid users only. Please upgrade to access this part.
Upgrade NowMindmap

This section is available to paid users only. Please upgrade to access this part.
Upgrade NowKeywords

This section is available to paid users only. Please upgrade to access this part.
Upgrade NowHighlights

This section is available to paid users only. Please upgrade to access this part.
Upgrade NowTranscripts

This section is available to paid users only. Please upgrade to access this part.
Upgrade NowBrowse More Related Video

Time to UNSUBSCRIBE from Disney+, Netflix, etc!

An introduction to Computer Storage - DAS, NAS & SAN #storage #databackup #windows #activedirectory

NAS vs SAN - Network Attached Storage vs Storage Area Network
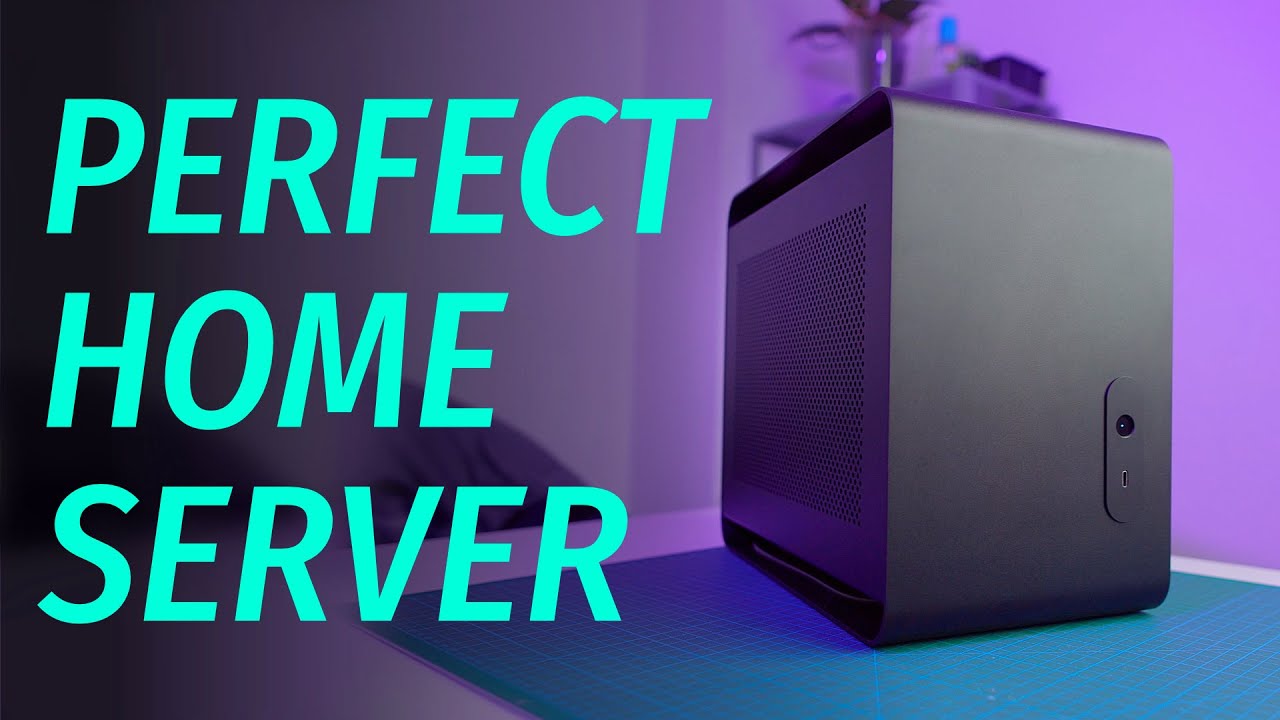
The Perfect Home Server Build! 18TB, 10Gbit LAN, Quiet & Compact
Why You NEED a NAS (More Than Just Storage)

07-Manajemen Infrastruktur-Teknologi Penyimpanan Data 2/2
5.0 / 5 (0 votes)