FAST 3 min Crochet Star
Summary
TLDRThis tutorial teaches viewers how to crochet a small star, using cotton yarn, a 3.5 mm crochet hook, scissors, and a needle. The instructor carefully demonstrates the steps, starting with a magic ring, followed by chaining, double crochets, and slip stitches to form the star’s base. Then, she explains how to create the star's points using chains, single, half double, double, and treble crochets. The process is repeated to make five points, finishing with a slip stitch and fastening off. The tutorial is designed for beginners, with clear instructions and a slow pace.
Takeaways
- 🧶 The tutorial is about crocheting a small star, with step-by-step instructions.
- 🧵 The materials needed are medium weight cotton yarn, a 3.5mm crochet hook, scissors, and a tapestry needle.
- 🌟 The project begins with a magic ring, formed by wrapping yarn around your finger three times and securing it.
- 🔗 After making the magic ring, chain three and create 14 double crochets into the ring.
- 🌀 Once the 14 double crochets are complete, pull the ring tight to form a circle and slip stitch into the third chain.
- 📏 The star's points are made by chaining six and working stitches into the chain: single crochet, half double crochet, double crochet, and treble crochet.
- 🔄 Skip two stitches and slip stitch into the third stitch to complete each point of the star.
- ⭐ Repeat the process to create five points for the star, using the same sequence of stitches for each point.
- ✂️ After completing the star, fasten off by cutting the yarn and securing it with a tapestry needle on the back of the star.
- 👍 The tutorial encourages viewers to like the video and subscribe to the channel if they found the instructions helpful.
Q & A
What materials are needed to crochet the star?
-The materials needed are cotton yarn (medium weight), a 3.5 mm crochet hook, scissors, and a tapestry needle.
What is the first step in crocheting the star?
-The first step is to create a magic ring by wrapping the yarn around your finger three times, pulling through the final strand, and securing the yarn to form the ring.
How many double crochet stitches are needed after the magic ring?
-You need to make fourteen double crochet stitches into the magic ring.
What happens after completing the fourteen double crochet stitches?
-After completing the fourteen double crochets, you pull the magic ring tight to form a circle, and then do a slip stitch into the third chain of the chain three at the beginning.
How do you create the pointy sections of the star?
-To create the pointy sections, chain six and then work back down the chain with a single crochet in the third chain, a half double crochet in the next, a double crochet in the next, and a treble crochet in the final chain.
Where do you place the slip stitch after completing one point of the star?
-After completing one point of the star, you skip two stitches at the base and then place a slip stitch in the third stitch.
How many points does the star have?
-The star has five points in total.
What is the final step to finish the star?
-The final step is to fasten off by cutting the yarn, pulling it through, and using a tapestry needle to weave in the yarn on the back side of the star.
What stitch is used to join the star points to the base?
-A slip stitch is used to join the star points to the base after each point is crocheted.
What advice does the instructor give at the end of the tutorial?
-The instructor advises viewers to give a thumbs up and subscribe to the channel if they found the tutorial easy to follow.
Outlines

This section is available to paid users only. Please upgrade to access this part.
Upgrade NowMindmap

This section is available to paid users only. Please upgrade to access this part.
Upgrade NowKeywords

This section is available to paid users only. Please upgrade to access this part.
Upgrade NowHighlights

This section is available to paid users only. Please upgrade to access this part.
Upgrade NowTranscripts

This section is available to paid users only. Please upgrade to access this part.
Upgrade NowBrowse More Related Video
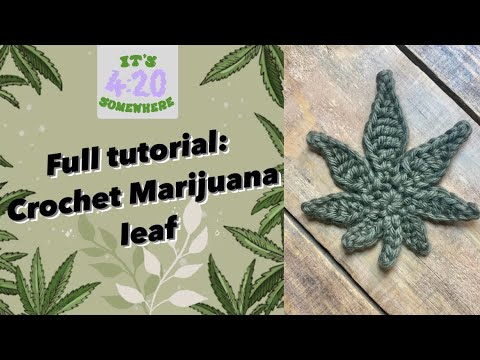
Intermediate Crochet Tutorial: How to Crochet a Marijuana Leaf #crochet #crochettutorial #fyp

Quick & Easy Yarn from Plastic Bags | Plarn Tutorial | Crochet with Plastic Yarn

🪴 how to: crochet monstera leaf

Easy Crochet Baby Blanket | Step-by-step Tutorial

Bunga Tulip Rajut || Amigurumi Flower || Pipiet Rajut

Crochet Lace Edging, Crochet Trim with Flowers and Fans, Crochet Video Tutorial
5.0 / 5 (0 votes)