Just use this cinematic schemes to Improve your lighting skills
Summary
TLDRIn this video, the creator discusses a low-budget art film project shot in one day using both natural and artificial lighting. They share simple, fast lighting techniques to achieve cinematic quality, using LED tubes and low-power lights for practical effects. Challenges like cold weather and equipment issues are highlighted, along with solutions found during filming. The creator emphasizes the importance of lighting knowledge over expensive equipment, and invites viewers to learn more about lighting setups and techniques through their workshops and community. The video offers practical tips for aspiring filmmakers.
Takeaways
- 🎥 The goal of the project was to make a low-budget, one-day shoot using simple lighting setups for cinematic quality.
- 💡 Both natural and artificial light sources were used, including LED tubes and small light sources for practical lighting effects.
- ❄️ There were challenges filming in the cold, especially for the night forest scenes, where lighting equipment became unstable.
- 📸 The couple planned the project carefully, choosing simple locations and cutting scenes to fit the one-day shoot limit.
- 🏠 They scouted and selected a flat as the primary filming location, which allowed for creative composition and camera movement.
- 👗 Set and costume design were handled by the team themselves, focusing on color choices to enhance the visual storytelling.
- 🎥 A RED Komodo camera was chosen for its ability to handle RAW footage and provide a natural skin tone and dynamic range.
- 🔧 Simple but effective lighting setups were used, including matching natural daylight with artificial lights to maintain visual balance.
- 🚪 Practical lights like lamps were used to add dynamic lighting to scenes and ensure balance in light composition.
- 📚 The director offers workshops and a learning platform to teach others about lighting techniques and set design.
Q & A
Why did the creator of the video choose to work without extra light sources?
-The creator aimed to make an inexpensive project and had limited time for lighting setups, so they opted for a simple and fast approach using minimal lighting.
What kind of light sources were used in the project?
-Both natural and artificial light sources were used, including LED tubes and small, low-power light sources to simulate practical light within the frame.
What issue did the team face during the night forest scene?
-The light sources became unstable due to cold temperatures, making it difficult to achieve the desired lighting setup.
How did the creator plan the shooting to be done in one day?
-They cut extra scenes, limited the shoot to 5-6 scenes, and carefully scouted locations to ensure they could film everything efficiently.
What camera did the creator use, and why did they choose it?
-The creator used a Red Komodo camera because they love the look of RED RAW, especially the skin tones and color gamma, and find it easy to work with in post-production.
What was the lighting approach for the interior scene (Set #1)?
-The natural light from the window was intensified with two additional Godox M600 Bi lights, and a backlight was created from the window side, with bounce light added for the character.
How did the creator achieve a balance between bright and dark areas in the hallway scene (Set #3)?
-They used the window as a key light source and lit the Godox light towards the camera and door, while cutting off extra light from the walls to balance the bright and dark areas.
What challenges did the creator face with the night forest scene’s lighting?
-Cold temperatures caused the light sources to stop working, but they solved the issue by warming the power panel inside a vehicle.
How did the creator achieve a fire flickering effect in the lamp during the night forest scene?
-They used a Godox C5R light source set to a warm temperature and activated the 'candle mode' to simulate fire flickering inside the lamp.
What did the creator emphasize about the importance of lighting, regardless of the camera used?
-The creator stressed that no matter the camera, the full potential of the equipment and location is only realized with solid knowledge of how to work with lighting.
Outlines

This section is available to paid users only. Please upgrade to access this part.
Upgrade NowMindmap

This section is available to paid users only. Please upgrade to access this part.
Upgrade NowKeywords

This section is available to paid users only. Please upgrade to access this part.
Upgrade NowHighlights

This section is available to paid users only. Please upgrade to access this part.
Upgrade NowTranscripts

This section is available to paid users only. Please upgrade to access this part.
Upgrade NowBrowse More Related Video
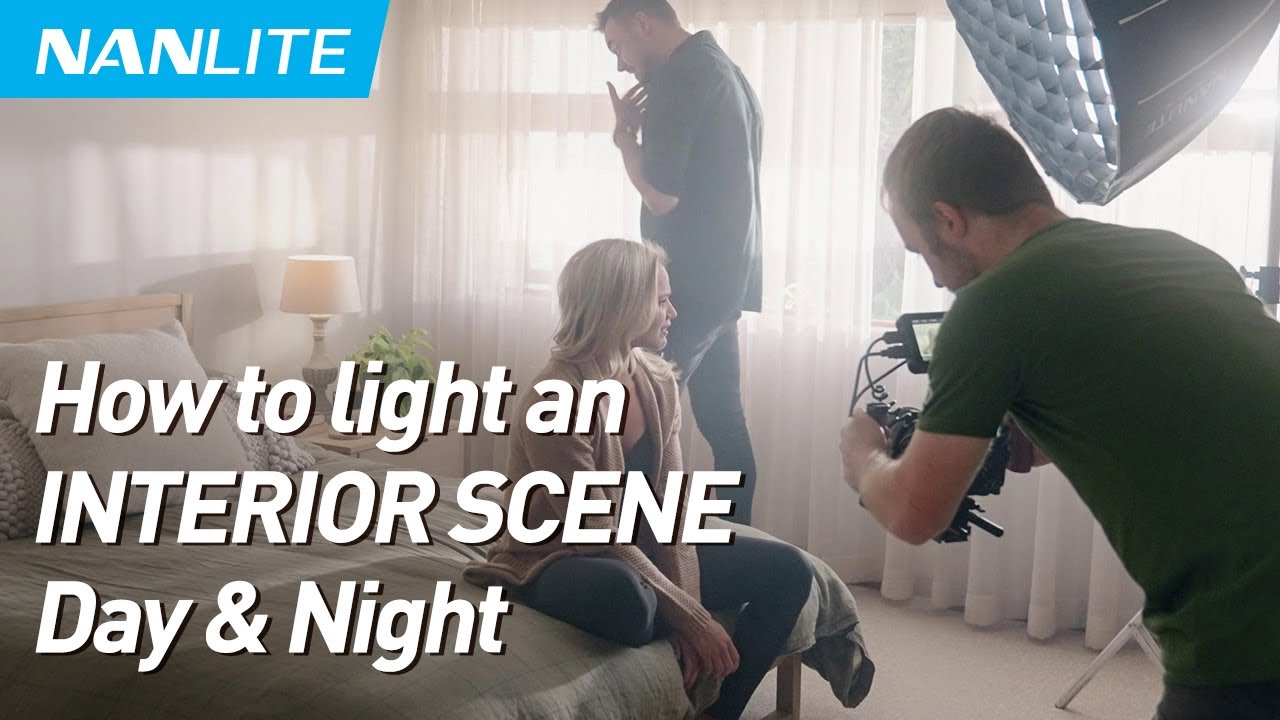
How to light an INTERIOR SCENE - Day & Night with NANLITE Forza 720B | Jacques Crafford
What is Mise-en-scene, Part 2: Lighting

Enscape Lighting - Beginner to Advanced
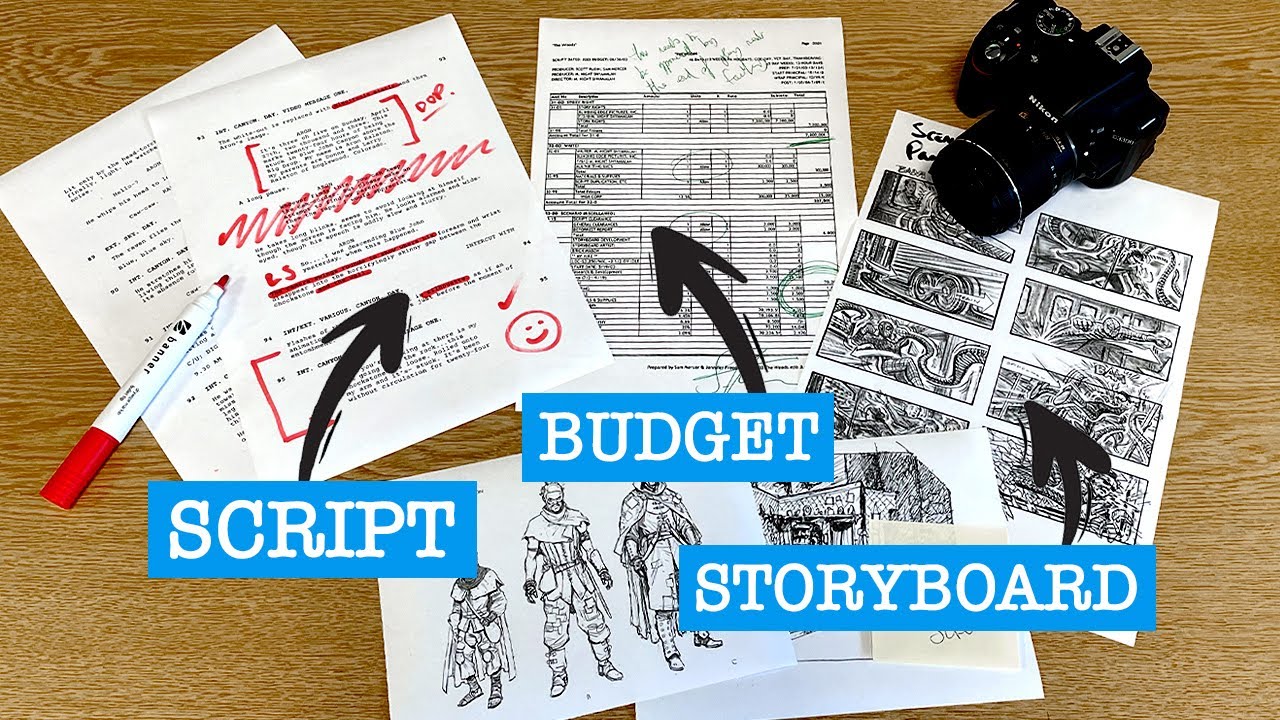
Film pre-production explained - from script to budget! How to plan film for new filmmakers

How to shoot a SIMPLE INTERVIEW in a Boring Room
Cinematic & Photorealistic Ai Image Prompts! - Complete Guide - Midjourney
5.0 / 5 (0 votes)