Common Lab Techniques Video
Summary
TLDRThis chemistry lab tutorial introduces essential laboratory techniques for an introductory chemistry course. It covers the proper use of an electronic balance for precise mass measurement, the importance of using weighing boats or paper, and the correct operation of a Bunsen burner for safety and temperature control. The video also demonstrates how to measure liquid volumes with a graduated cylinder, take accurate temperature readings with a thermometer, and perform filtration to separate mixtures. Each technique is explained with a focus on safety and accuracy, ensuring students are well-prepared for lab work.
Takeaways
- 🔬 Chemistry is the study of matter and its changes, and laboratory techniques are crucial for understanding these processes.
- 📏 Proper use of an electronic balance is essential, with sensitivity to one-hundredth of a gram and a maximum capacity of 400 grams.
- 🚫 Avoid placing substances directly on the balance pan to prevent contamination and ensure accurate measurements.
- ⚖️ Always zero the balance before use and use a weighing boat or paper to measure the mass of substances.
- 🌡️ Measuring specific volumes of liquids accurately requires the use of graduated cylinders, which are more precise than beakers or flasks.
- 💧 When measuring liquids, ensure the meniscus is at eye level for accurate readings and select the appropriate cylinder size for the volume needed.
- 🌡️ Accurate temperature measurements involve submerging the thermometer fully without touching the container walls and estimating to the nearest tenth of a degree.
- 🧪 Filtration is a technique used to separate mixtures, requiring a funnel, filter paper, and a beaker, with careful pouring to avoid spillage.
- 🔥 Safety is paramount when using a Bunsen burner, including removing combustibles, securing loose clothing, and using safety goggles and an apron.
- 🔥 Correctly lighting and adjusting a Bunsen burner involves opening the gas valve, making a spark, and adjusting the combustion column for a blue flame.
Q & A
What is the primary focus of chemistry as a science?
-Chemistry is the science of the study of matter and the changes that matter undergoes.
Why are electronic balances sensitive instruments in a chemistry lab?
-Electronic balances are sensitive because they are designed to measure mass to the nearest one-hundredth of a gram and have a capacity of only 400 grams.
What is the proper way to turn on an electronic balance?
-You can turn on an electronic balance by holding the on button for several seconds or by pressing the on zero button quickly to rezero or tare it.
Why should you not place substances directly on the metal pan of a balance?
-To prevent the substance from coming in contact with the pan, you should use a plastic weighing boat or dish or a piece of weighing paper.
How can you ensure the balance is correctly zero before measuring the mass of an object?
-Before placing an object on the pan, ensure the balance is correctly zero by either turning it on or pressing the zero button to tare it.
What is the significance of the negative mass displayed by the balance when the weighing dish is removed?
-A negative mass indicates that the balance is subtracting the weight of the plastic weighing dish, which means it has been successfully zeroed.
Why should you not touch chemical substances directly with your fingers in a lab?
-Direct contact with chemical substances should be avoided to prevent contamination and ensure safety; use tools like a spoon or other apparatus designed for dispensing chemicals.
How can you accurately measure a specific volume of a liquid in a chemistry lab?
-Use a graduated cylinder, ensuring it is the right size for the volume you need to measure, and check the meniscus at eye level for precise readings.
What is the purpose of swirling a mixture of water, salt, and sand in a beaker?
-Swirling helps the salt dissolve and allows the sand to settle to the bottom of the beaker.
How should you handle a thermometer for accurate temperature readings in a chemistry lab?
-Submerge the thermometer as far as possible into the material without touching the container walls, and use a stand with a clamp for longer measurements.
What is the importance of filtration in a chemistry lab and how is it set up?
-Filtration is used to separate mixtures, such as transferring sand into filter paper while allowing salt water to flow through. It involves setting up a funnel with filter paper, supported by a triangle and a stand.
What safety precautions should be taken when lighting a Bunsen burner in a chemistry lab?
-Ensure the area is clear of combustible materials, wear appropriate safety gear, and adjust the gas valve and combustion column correctly before lighting.
Outlines

This section is available to paid users only. Please upgrade to access this part.
Upgrade NowMindmap

This section is available to paid users only. Please upgrade to access this part.
Upgrade NowKeywords

This section is available to paid users only. Please upgrade to access this part.
Upgrade NowHighlights

This section is available to paid users only. Please upgrade to access this part.
Upgrade NowTranscripts

This section is available to paid users only. Please upgrade to access this part.
Upgrade NowBrowse More Related Video

course overview 2024

Common Scientific Glassware and the Undergraduate Chemistry Laboratory
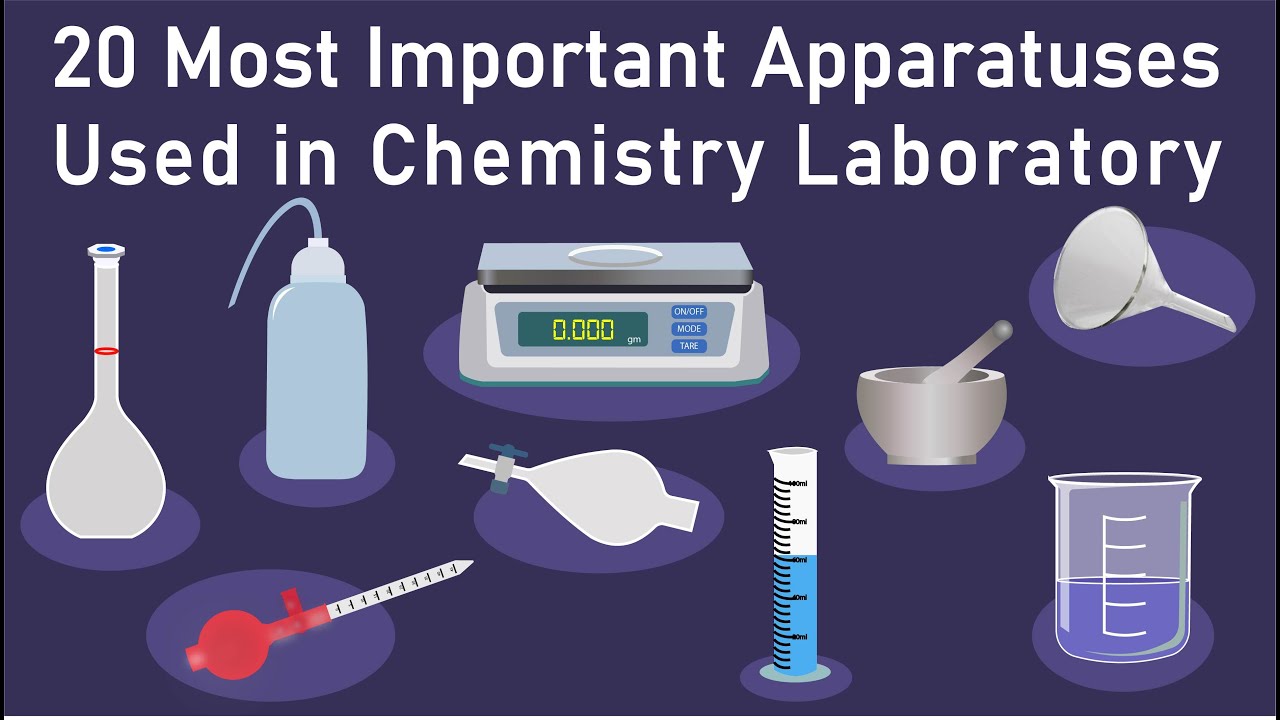
20 most important apparatus used in chemistry lab | chemistry lab apparatus name with picture
Praktikum Kimia Dasar Modul 1. Pengenalan Alat Laboratorium

Ayo kenalan dengan Laboratorium Kimia! Kimia SMA kelas 10 semester 1

Pengenalan Alat Laboratorium
5.0 / 5 (0 votes)