Origami Lucky Star - Tutorial
Summary
TLDRThis instructional video demonstrates the art of creating an origami Lucky Star using a thin strip of paper. The tutorial begins with folding one end into a loop, then threading and tightening it to form a pentagonal base. The video advises on trimming excess paper and provides a step-by-step guide to folding the paper into a star shape, emphasizing the importance of maintaining a puffed center for a realistic look. The host encourages viewers to practice and enjoy the process, concluding with a call to like and subscribe for more content.
Takeaways
- 📏 To make an origami Lucky Star, you need a strip of paper that is 11 inches long and 1 centimeter thick.
- 🔁 Start by folding one end of the paper strip to create a loop, which will serve as the base of the star.
- 🕳️ Leave a hole in the center of the loop without creasing it yet, and thread the shorter end through the center.
- 🔗 Pull the ends tight to form a corner and flatten it out to reveal a pentagonal shape.
- ✂️ You can either cut or tear off the excess paper at the end, and it will be hidden in the final star.
- 🔄 Flip the structure so that the tail is at the bottom, using one edge as a guideline for further folding.
- 🔁 Continue folding the long end of the paper strip over the guideline until you reach the end.
- 🏁 If there's a small tail left at the end, tuck it under to form a layer, ensuring it aligns with the pentagon shape.
- 🤲 To create the star's points, hold the structure between your fingers and gently push the edges towards the center with your thumb and pointer finger.
- 🌟 Shape the star by pushing the edges but keeping the center slightly puffed out to maintain the star's form.
Q & A
What is the main focus of the video?
-The main focus of the video is to demonstrate how to create an origami Lucky Star.
What materials are required to make an origami Lucky Star according to the video?
-To make an origami Lucky Star, you need a thin strip of paper that is at least 11 inches long and cut to one centimeter thick.
How should you start folding the paper to create the Lucky Star?
-You should start by folding one end of the paper over itself to create a loop, which will serve as a support ribbon.
What should you do with the shorter end of the paper after creating the initial loop?
-The shorter end should be threaded through the center of the loop and then pulled tight to form a corner.
What shape should be visible after the initial folding steps?
-After the initial folding steps, a pentagonal shape should be visible, indicating the start of the Lucky Star.
What are the two options mentioned for dealing with the short end after it is threaded through the center?
-The two options mentioned are to either cut it off or fold it behind the structure.
Why does the video suggest cutting off the short end rather than ripping it?
-Cutting off the short end is suggested because the end result will be hidden inside the Lucky Star, so the appearance of the cut does not matter.
How do you ensure the paper folds are aligned correctly during the folding process?
-You should use one edge as a guideline and fold the long end of the paper so that it aligns with this edge.
What should you do with the remaining tail of the paper after the main folding is complete?
-If the tail does not naturally fold over the edge, you should tuck it under to create a layer.
How do you form the five prongs of the Lucky Star?
-To form the five prongs, hold the structure between your points and use your thumb and pointer fingernails to gently push into the center of the edges, going all the way around.
What is the final step to shape the origami Lucky Star?
-The final step is to shape the Lucky Star by pushing the edges towards the center while keeping the center area slightly puffed out.
Outlines

This section is available to paid users only. Please upgrade to access this part.
Upgrade NowMindmap

This section is available to paid users only. Please upgrade to access this part.
Upgrade NowKeywords

This section is available to paid users only. Please upgrade to access this part.
Upgrade NowHighlights

This section is available to paid users only. Please upgrade to access this part.
Upgrade NowTranscripts

This section is available to paid users only. Please upgrade to access this part.
Upgrade NowBrowse More Related Video

How NASA Engineers Use Origami To Design Future Spacecraft

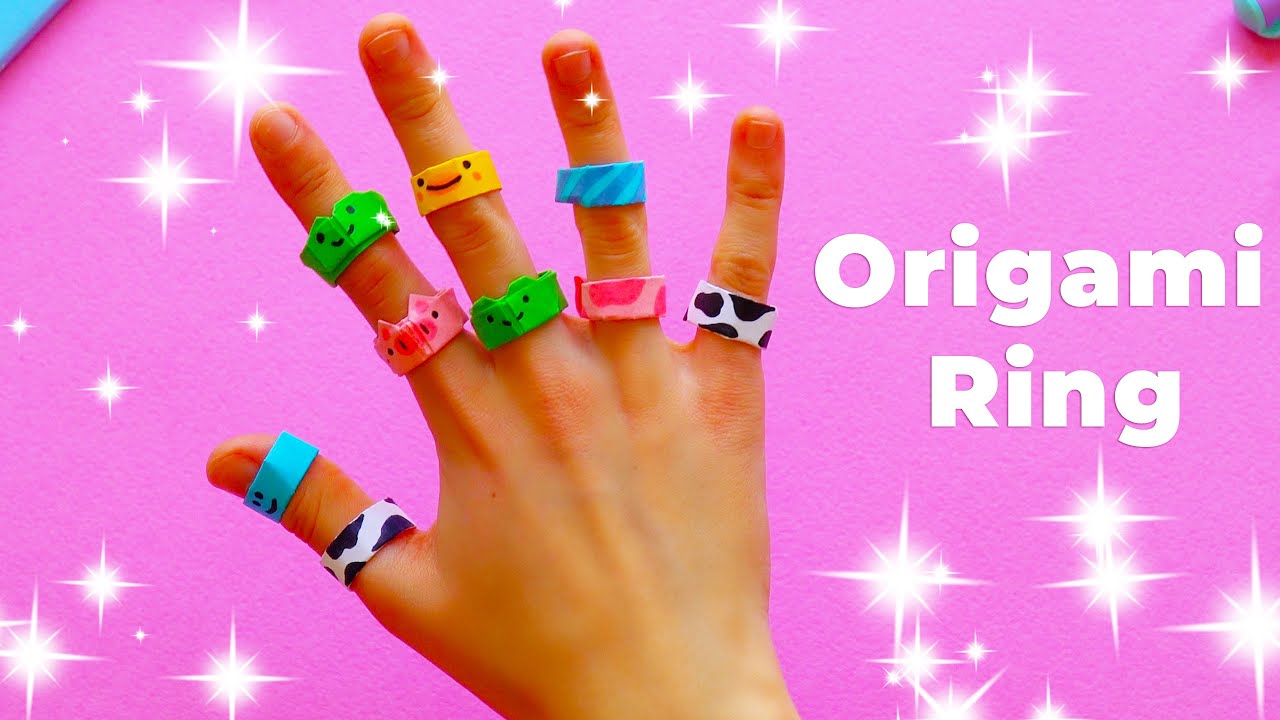
Origami Paper Ring Frog & Pig | Origami and Crafts | Origako

Origami Lucky Star - How to fold

How to make a Paper Speedboat that Floats - NEW VERSION!

Japanese Art - Where did Origami come from? (Primary School Art Lesson)

Media Pembelajaran PAPADA (Papan Akar Pangkat Dua)
5.0 / 5 (0 votes)