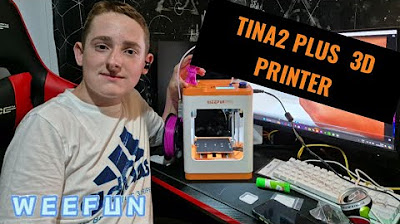
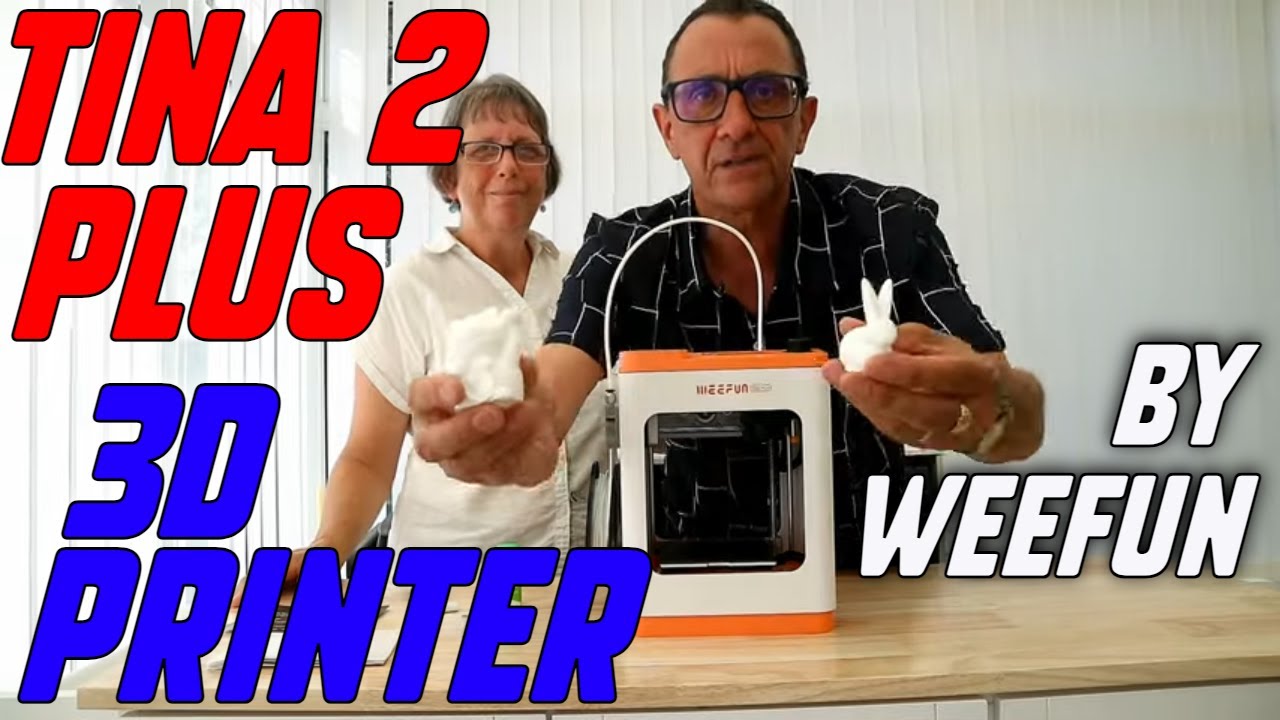
Easily Setup the Entina Tina2 Plus & First Print in Minutes #3dprinter
Summary
TLDR本视频展示了如何快速设置并使用Anycubic的Tina 2 Plus 3D打印机。从开箱到打印,整个过程简单易懂。视频中详细介绍了开箱内容,包括保修卡、电源适配器、SD卡读卡器等配件。随后,演示了如何安装打印材料、预热喷头、插入SD卡,并使用Kira切片软件进行打印设置。最终,成功打印出一个小型立方体模型,展示了Tina 2 Plus的易用性和打印效果。
Takeaways
- 📦 开箱体验:Tina 2 Plus 3D打印机的开箱过程简单,只需去除一些胶带即可准备就绪。
- 🔍 配件清单:包装内包括保修卡、一小卷PLA线材、电源适配器、紧凑的喷嘴、SD卡读卡器、转换器、几个六角扳手、电源线等。
- 📖 快速入门:提供了快速入门指南和安全警告,以及产品概述和规格说明。
- 🚫 第三方线材:明确指出禁止使用第三方线材,因为每种线材需要不同的温度设置,且潮湿或多尘的线材可能导致堵塞。
- 🔧 组装简便:只需移除气泡包装和胶带,卸下顶部螺丝和贴纸,即可轻松组装。
- 🔌 电源连接:电源适配器直接插入打印机,操作简单。
- ⏱️ 快速预热:打印机的喷嘴预热速度快,适合快速开始打印。
- 💾 SD卡使用:通过SD卡读取器插入SD卡,方便将打印文件传输到打印机。
- 🖥️ 切片软件:推荐使用Kira软件进行切片,该软件免费且易于使用。
- 🎉 成功首印:使用推荐的小型立方体模型进行首次打印,确保了打印的成功和快速。
- 🛒 购买信息:Tina 2 Plus 3D打印机可在亚马逊网站购买,视频描述中提供了链接。
Q & A
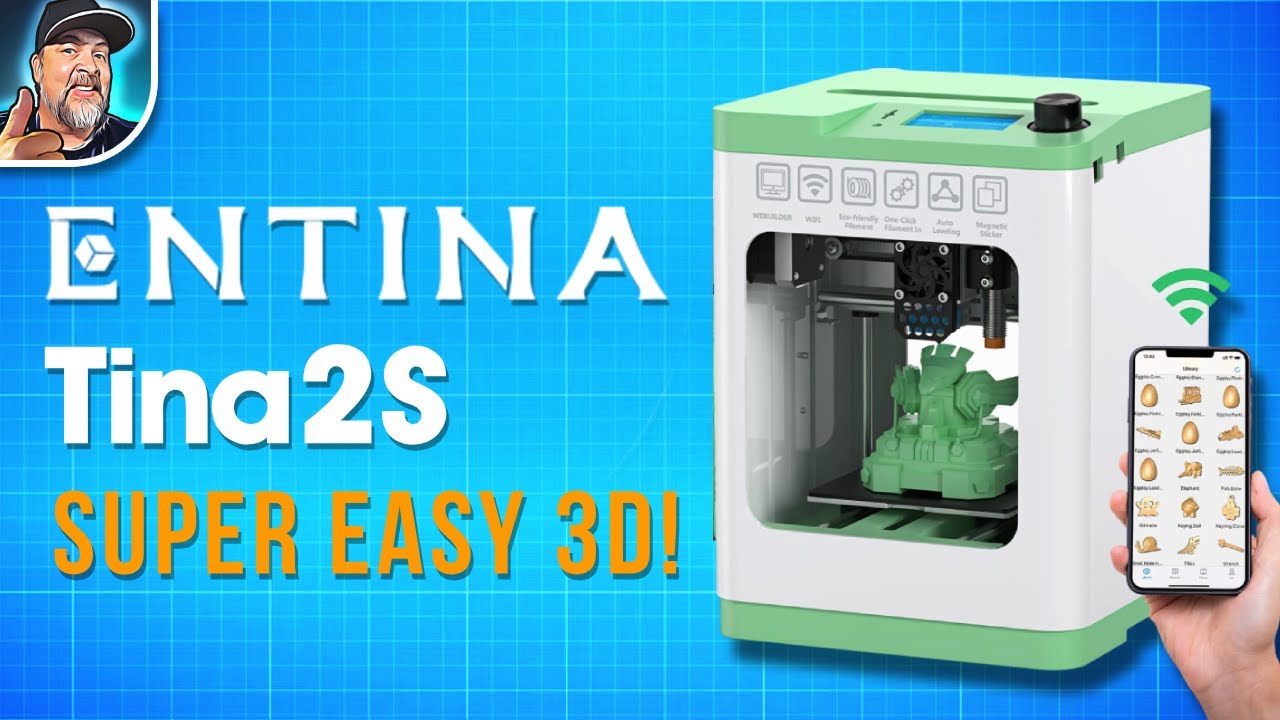
Tina 2 Plus 3D打印机是由哪家公司生产的?
-Tina 2 Plus 3D打印机是由Anycubic公司生产的。
Tina 2 Plus 3D打印机的包装盒内包含了哪些配件?
-包装盒内包含了保修卡、一小卷PLA线材、电源适配器、紧凑的喷嘴、SD卡读卡器、用于PC的转换器SD卡、几个六角扳手、电源线以及Tina 2 Plus 3D打印机本身。
Tina 2 Plus 3D打印机支持哪些类型的线材?
-Tina 2 Plus 3D打印机支持PLA、TPU和PETG类型的线材。
使用第三方线材是否被Tina 2 Plus 3D打印机所允许?
-根据说明书,使用第三方线材是被禁止的。
Tina 2 Plus 3D打印机的快速开始指南中提到了哪些安全警告?
-快速开始指南中提到了检查所有安全警告,但具体的安全警告内容在脚本中没有详细说明。
如何正确安装Tina 2 Plus 3D打印机的线材?
-首先需要剪掉线材的多余部分使其更直,然后从打印机底部插入线材,并通过挤压开始线材的进给。
Tina 2 Plus 3D打印机的电源适配器如何连接?
-电源适配器直接插入打印机上的相应插口。
如何将模型文件传输到Tina 2 Plus 3D打印机?
-首先需要将模型文件保存到TF卡上,然后将TF卡插入打印机的SD卡槽中。
在进行3D打印之前,需要对Tina 2 Plus 3D打印机进行哪些设置?
-需要设置Z轴偏移量,以确保打印平台与喷头之间的距离合适。
Tina 2 Plus 3D打印机的首次打印推荐使用哪个模型文件?
-推荐使用一个简单的立方体模型文件,可以在HL modtech的网站上下载。
如何调整Tina 2 Plus 3D打印机的打印参数?
-可以使用切片软件Kira进行参数调整,包括打印温度、打印速度、冷却设置等。
Outlines

This section is available to paid users only. Please upgrade to access this part.
Upgrade NowMindmap

This section is available to paid users only. Please upgrade to access this part.
Upgrade NowKeywords

This section is available to paid users only. Please upgrade to access this part.
Upgrade NowHighlights

This section is available to paid users only. Please upgrade to access this part.
Upgrade NowTranscripts

This section is available to paid users only. Please upgrade to access this part.
Upgrade NowBrowse More Related Video


5.0 / 5 (0 votes)
