Use AI to Create Halloween KDP Coloring Books to Sell on Amazon
Summary
TLDRCette vidéo détaille les étapes pour créer un livre à colorier pour enfants sur le thème d'Halloween à l'aide de l'intelligence artificielle, puis le publier sur Amazon. Elle explique comment utiliser MidJourney pour générer des illustrations par AI, créer une couverture de livre attrayante sur Canva, assembler les pages intérieures et configurer le livre sur KDP d'Amazon. En se concentrant sur les titres et mots-clés populaires, ainsi que les aspects tarifaires et de mise en page, la vidéo présente une méthode complète et rentable pour créer et vendre des livres à colorier de niche sur Amazon, en exploitant la demande saisonnière.
Takeaways
- 😀 Créer un livre à colorier pour enfants sur le thème d'Halloween en utilisant l'IA MidJourney pour générer les illustrations.
- 🖼️ Élaborer une invite appropriée pour guider l'IA à créer les images souhaitées, en précisant le style, les couleurs, etc.
- 📃 Concevoir la couverture du livre sur Canva en téléchargeant l'image de l'IA et en ajoutant du texte attrayant.
- 📑 Préparer les pages intérieures avec une image de l'IA sur une page et une page blanche suivante pour éviter que l'encre ne traverse.
- 💻 Convertir les fichiers en PDF avant de les télécharger sur la plateforme d'édition KDP d'Amazon.
- ⚙️ Configurer les détails du livre sur KDP: titre, description, catégories, mots-clés, prix, etc.
- 📈 Les livres à colorier sur le thème d'Halloween connaissent des pics de ventes importants avant Halloween chaque année.
- 💰 Un livre à colorier bien vendu peut rapporter des bénéfices mensuels substantiels pendant la période de pointe.
- 🎯 Viser le groupe d'âge des 4 à 8 ans pour ce type de livre à colorier.
- ✍️ Pour démarrer, obtenir une licence commerciale avec MidJourney afin de pouvoir vendre légalement les illustrations générées.
Q & A
Quelle est la première étape dans la création d'un livre à colorier avec l'IA ?
-La première étape est de créer la couverture du livre en utilisant l'IA MidJourney.
Quel type de licence est nécessaire pour utiliser les images de MidJourney dans un livre à vendre ?
-Une licence commerciale est nécessaire pour utiliser les images de MidJourney dans un livre destiné à la vente. L'abonnement de base à 10$ par mois permet d'obtenir cette licence.
Comment choisir le meilleur prompt pour créer une image avec MidJourney ?
-Le secret pour créer de bonnes images avec MidJourney ou tout autre outil d'IA réside dans le prompt que vous utilisez. Il faut expérimenter avec différents prompts pour trouver celui qui fonctionne le mieux.
Pourquoi faut-il upscaler les images créées par MidJourney ?
-Les images créées par MidJourney ont une résolution de 72 ppp, ce qui est insuffisant pour une couverture de livre. Il faut donc upscaler les images à 300 ppp pour obtenir une meilleure qualité d'impression.
Comment créer l'intérieur du livre à colorier ?
-L'intérieur du livre est créé avec les images générées par MidJourney, en les disposant de manière alternée avec des pages blanches pour éviter que le coloriage ne transperce au verso.
Quelle taille de livre à colorier est recommandée dans la vidéo ?
-La taille de livre recommandée est 8,5 x 11 pouces, qui est une taille standard pour les livres à colorier pour enfants.
Quel type de finition de couverture est préférable pour un livre à colorier ?
-La vidéo recommande une finition mate pour la couverture, mais indique qu'une finition brillante peut également bien fonctionner si la couverture comporte beaucoup de couleurs vives.
Quelle tranche d'âge est ciblée par le livre à colorier créé dans la vidéo ?
-Le livre à colorier créé dans la vidéo cible les enfants de 4 à 8 ans.
Quels sont les principaux éléments à inclure dans la description du livre sur Amazon KDP ?
-Il est recommandé d'inclure la taille du livre, le nombre de pages, le type d'intérieur (noir et blanc ou couleur) et le type de finition de la couverture (mate ou brillante).
Combien de temps faut-il généralement pour qu'Amazon approuve un livre publié via KDP ?
-La vidéo indique qu'il faut généralement environ 72 heures pour qu'Amazon approuve un livre publié via KDP, mais que cela peut prendre plus longtemps lors des périodes chargées comme Noël.
Outlines

This section is available to paid users only. Please upgrade to access this part.
Upgrade NowMindmap

This section is available to paid users only. Please upgrade to access this part.
Upgrade NowKeywords

This section is available to paid users only. Please upgrade to access this part.
Upgrade NowHighlights

This section is available to paid users only. Please upgrade to access this part.
Upgrade NowTranscripts

This section is available to paid users only. Please upgrade to access this part.
Upgrade NowBrowse More Related Video

ChatGPT écrit mon livre pour Amazon KDP et DALL.E2 fait la couverture 📚
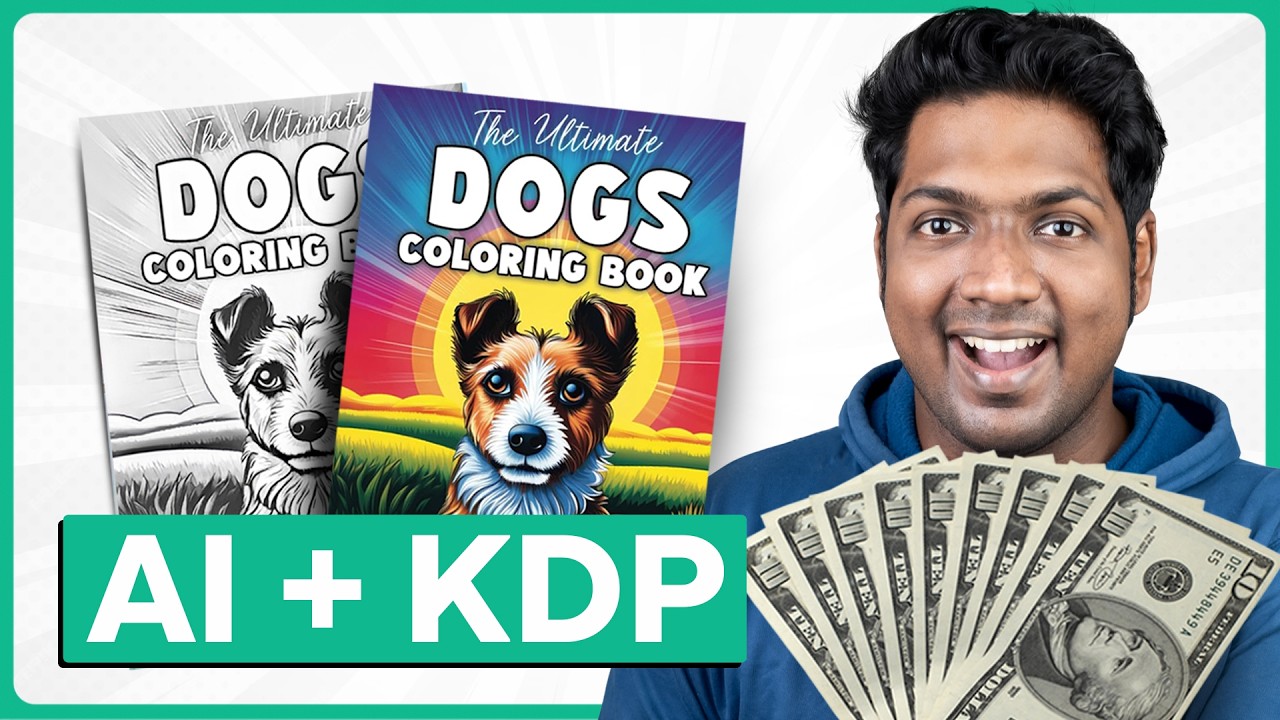
How to Create & Sell Kids' Coloring Books with AI | Earn Passive Income on Amazon
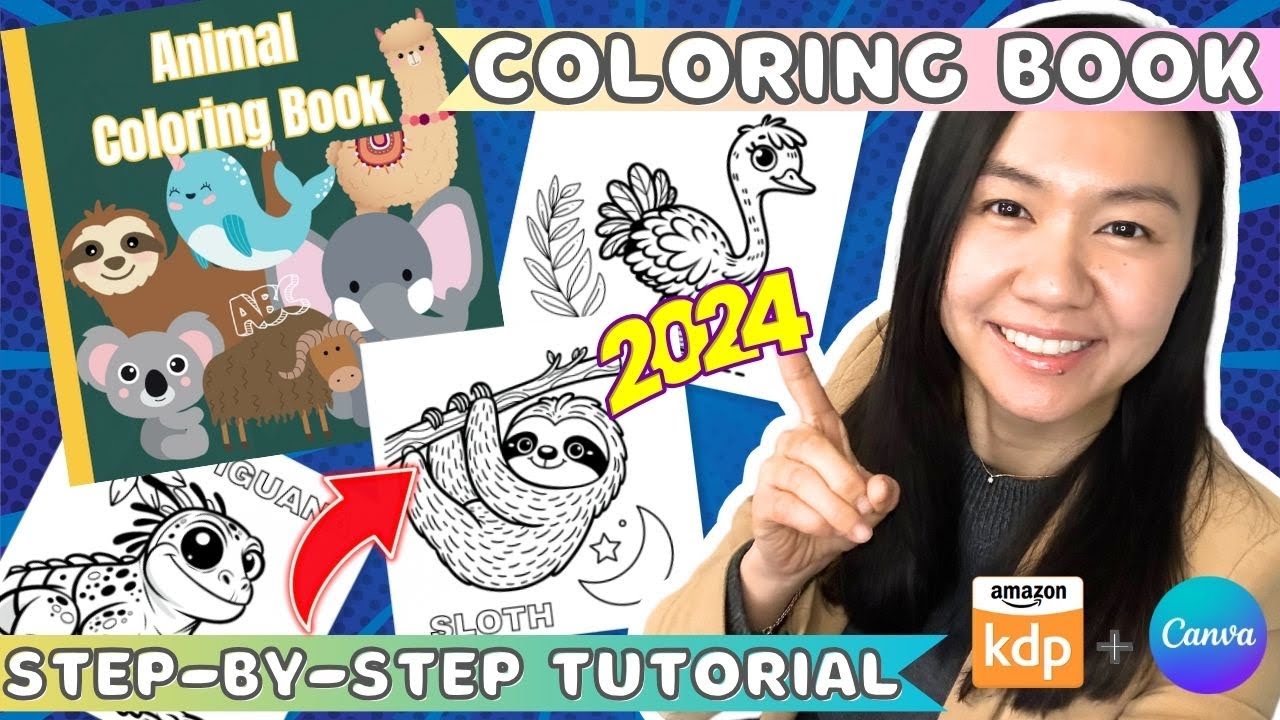
Create a Coloring Book to Sell on Amazon KDP using Canva - Step by Step Tutorial (2024)
Les Étapes pour Passer de 0 à 2000€ par Mois : Comment débuter sur Amazon KDP ?
Comment gagner de l'argent avec Amazon KDP en 2024 ? (1000€/mois)

ChatGPT : 10 étapes pour créer ton livre sur AMAZON KDP
5.0 / 5 (0 votes)
