Microscope Parts, Function, and Care
Summary
TLDRThis video demonstrates the parts and operation of a compound light microscope. It covers essential components like the arm, base, oculars, revolving nosepiece, stage, condenser, and light source. The video explains how to handle the microscope, adjust the magnification, move the stage, and control the light. Proper cleaning and maintenance techniques are also discussed, including the use of lens paper and lens cleaner. Finally, instructions on how to store the microscope correctly are provided to ensure its longevity.
Takeaways
- 🔬 The video demonstrates the parts and operation of a compound light microscope.
- 👁️ When picking up the microscope, hold the arm and support the base to ensure stability.
- 🔍 The oculars have a magnification of 10x and can be adjusted to fit the width of the eyes.
- 🔭 The microscope is equipped with three objectives with different magnifications: 10x, 40x, and 100x.
- 📏 The stage has a clamp for holding the slide and stage moving controls for precise specimen positioning.
- 🔧 The coarse and fine adjustments allow for quick and precise focusing of the specimen.
- 💡 The condenser, located under the stage, can be moved up and down, with the top position being optimal for most uses.
- 🌞 The iris diaphragm lever controls the amount of light passing through the condenser, affecting specimen visibility.
- 🔆 The light source's brightness can be adjusted with a dial, starting with low light for initial observation.
- 🧼 Proper cleaning of the microscope is essential, using lens paper for the oculars and objectives, and lens cleaner for oil removal.
- 🛡️ The microscope should be stored with the light turned off, the stage lowered, and the power cord wrapped around the base, with a dust cover if available.
Q & A
What is the correct way to pick up a compound light microscope?
-Hold the arm and support the base to ensure stability when picking up the microscope.
What are the magnification powers of the oculars in the described microscope?
-The oculars have a magnification of 10x.
How many different objectives does the microscope have, and what are their magnifications?
-The microscope is equipped with three objectives: 10x, 40x, and 100x.
What is the purpose of the revolving nosepiece on the microscope?
-The revolving nosepiece allows for the selection of different magnification lenses for examination.
What is the function of the stage on the microscope?
-The stage is where the slide is placed for examination and has a clamp to hold it in place.
How does the stage moving control work on the microscope?
-One control moves the stage back and forth, while the other moves it right and left.
What are the two types of adjustments available to move the stage vertically?
-The coarse adjustment moves the stage quickly, while the fine adjustment moves it in smaller increments for precise focusing.
What is the role of the condenser in the microscope setup?
-The condenser is positioned under the stage with a hole and helps to control the light passing through the specimen.
How can the amount of light passing through the condenser be controlled?
-The iris diaphragm lever is used to control the amount of light that passes through the condenser.
What is the purpose of the light source and how is its brightness adjusted?
-The light source illuminates the specimen, and its brightness is adjusted by a dial on the side of the microscope.
What are the recommended steps for cleaning and storing the microscope after use?
-Clean the oculars and objectives with lens paper, remove any oil with lens cleaner if necessary, turn the light down, turn off the power, rotate the nosepiece to the low power objective, lower the stage, wrap the power cord, and cover with a dust cover if available.
Outlines

This section is available to paid users only. Please upgrade to access this part.
Upgrade NowMindmap

This section is available to paid users only. Please upgrade to access this part.
Upgrade NowKeywords

This section is available to paid users only. Please upgrade to access this part.
Upgrade NowHighlights

This section is available to paid users only. Please upgrade to access this part.
Upgrade NowTranscripts

This section is available to paid users only. Please upgrade to access this part.
Upgrade Now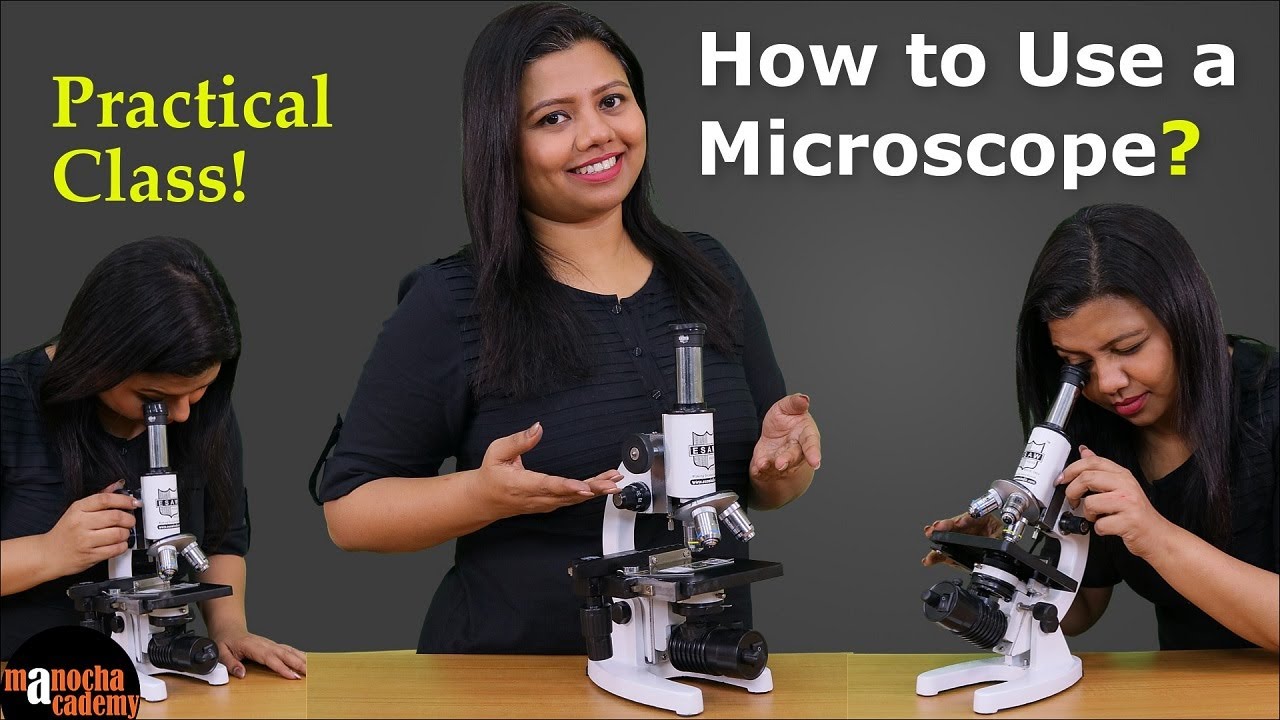


5.0 / 5 (0 votes)