komponen mesin cylinder head mobil
Summary
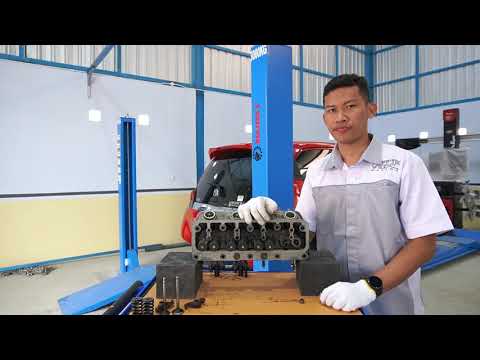
TLDRThis instructional video script details the components and assembly process of a Kijang 5K engine's cylinder head. It begins with the removal of bolts using a 12mm wrench and proceeds to explain the function of various parts, including seal washers, cylinder head cover, intake and exhaust valves, and rocker arms. The script also covers the disassembly and reassembly of valves, using tools such as a magnet and a spring compressor. It emphasizes the importance of proper installation of the valves and the rocker arm assembly, and concludes with the tightening of bolts in a specific sequence to ensure engine integrity.
Takeaways
- 🔧 The video script is a tutorial on the components of an engine, specifically focusing on the cylinder head of a Kijang 5K engine trainer.
- 🔨 It begins with the removal of a silver bolt using a size 12 wrench.
- 🛠 The script describes the presence of seal washers and the cylinder head cover, followed by the identification of intake and exhaust ports leading to the carburetor.
- 🔧 The intake and exhaust valves, referred to as 'X' and 'in', are distinguished by their shape and function.
- 🔧 The script explains the removal of the rocker arm bolts and the presence of a pushrod, which is essential for the engine's operation.
- 🔧 The removal of the valves, or 'klep', is demonstrated using a tool, and the importance of the valve springs and keepers is highlighted.
- 🔧 The use of a magnet tool to remove the 'kuku macan', or tappet, is shown, which is a critical part in the valve train.
- 🔧 The script mentions the presence of a bushing and a rotating valve, indicating the complexity of the cylinder head assembly.
- 🔧 The reassembly process is outlined, emphasizing the correct placement and securing of the valves, springs, and keepers.
- 🔧 The importance of using the correct size wrenches and tools for assembly is stressed to ensure proper fit and function.
- 🔧 The final steps involve tightening the bolts in a specific order and using a torque wrench to meet standard specifications, ensuring the engine's optimal performance.
Q & A
What is the video script about?
-The video script is about explaining the components of an engine, specifically focusing on the cylinder head of a Kijang 5K engine trainer.
What tool is used to open the silver bolt on the engine?
-A wrench with a size 12 is used to open the silver bolt on the engine.
How many seal washers are there in the cylinder head?
-There are two seal washers in the cylinder head.
What is the purpose of the intake and exhaust in the engine?
-The intake and exhaust are responsible for the flow of air and fuel mixture into the carburetor (intake) and the expulsion of exhaust gases (exhaust).
What is the term used for the valve that controls the intake and exhaust in the engine?
-The valve that controls the intake and exhaust is referred to as the 'klep' or valve in the script.
How many pushrods are there in the type of car being discussed?
-There are 8 pushrods in the type of car being discussed in the script.
What is the purpose of the rocker arm in the engine?
-The rocker arm is a component that helps in the movement of the valves, transferring the motion from the camshaft to the valves.
What is the term used for the camshaft in the script?
-The term used for the camshaft in the script is 'kuku macan'.
What is the function of the valve springs in the engine?
-The valve springs are responsible for closing the valves after they have been opened by the camshaft.
How many valves are there in one cylinder head according to the script?
-There are two valves in one cylinder head, one for intake and one for exhaust.
What is the significance of the 'bushing' mentioned in the script?
-The bushing is a component that provides a smooth surface for the valve stem to move within, reducing friction and wear.
Outlines

Этот раздел доступен только подписчикам платных тарифов. Пожалуйста, перейдите на платный тариф для доступа.
Перейти на платный тарифMindmap

Этот раздел доступен только подписчикам платных тарифов. Пожалуйста, перейдите на платный тариф для доступа.
Перейти на платный тарифKeywords

Этот раздел доступен только подписчикам платных тарифов. Пожалуйста, перейдите на платный тариф для доступа.
Перейти на платный тарифHighlights

Этот раздел доступен только подписчикам платных тарифов. Пожалуйста, перейдите на платный тариф для доступа.
Перейти на платный тарифTranscripts

Этот раздел доступен только подписчикам платных тарифов. Пожалуйста, перейдите на платный тариф для доступа.
Перейти на платный тарифПосмотреть больше похожих видео

Cylinder Head Warpage Check - How to Measure Warpage
Identifikasi Komponen Kepala Silinder Tipe OHV

Ship engine components and functions #mainengine #2strokeengine
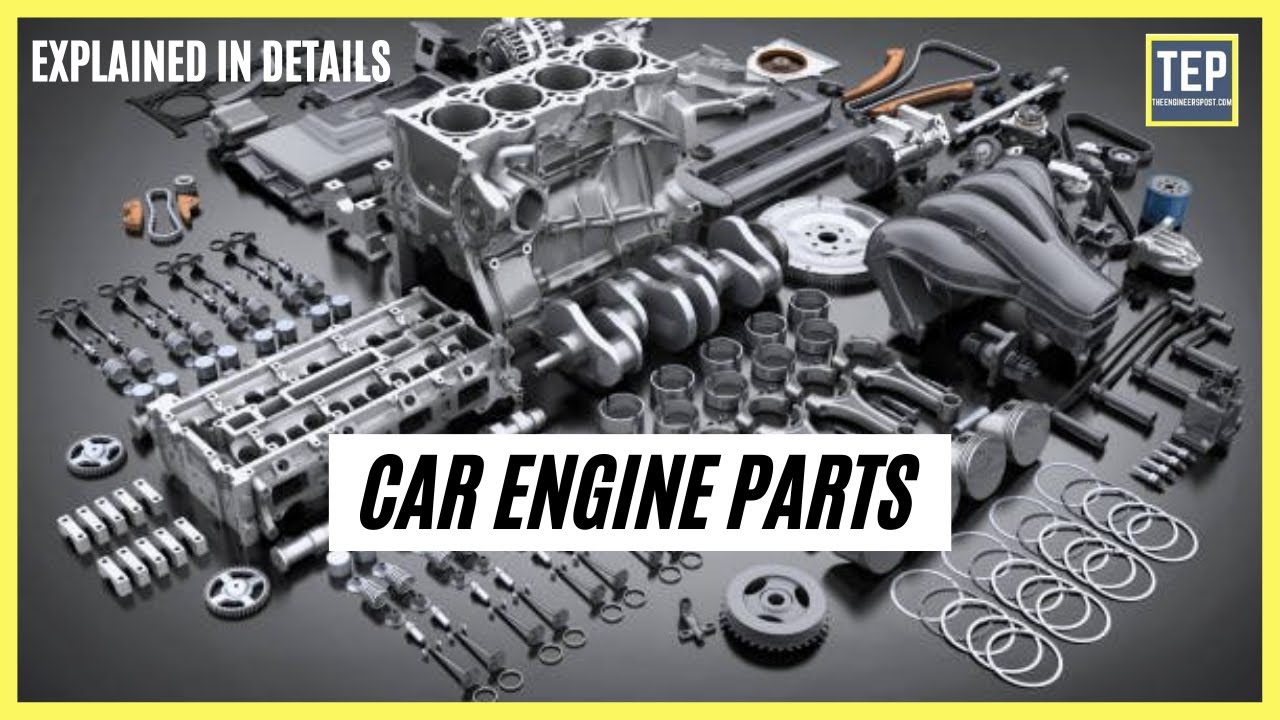
Car Engine Parts & Their Functions Explained in Details | The Engineers Post

D155 Cara overhaul lift cylinder

Mengenal Fungsi dan Komponen Mesin Mobil
5.0 / 5 (0 votes)
