ESP32 Servo Motor Web Server with Arduino IDE
Summary
TLDRThis video explains how to control a servo motor using the ESP32 microcontroller. It covers wiring the servo motor, generating pulse-width modulation (PWM) signals, and using the ESP32 Arduino Servo library. Viewers learn to build a web server with a slider to adjust the servo's position remotely, using Ajax to send HTTP requests without refreshing the page. The tutorial demonstrates how to integrate HTML and JavaScript into the ESP32 sketch to control the motor and offers alternative input methods for various use cases.
Takeaways
- 🔧 Learn how to control a servo motor using the ESP32 with a web server.
- ⚡ Servo motors typically have three wires: power (red), ground (black/brown), and signal (yellow/orange/white).
- 🛠 Small servos can be powered directly by the ESP32, but larger or multiple servos require an external power supply.
- 📍 Connect the servo's signal wire to GPIO pin 13 for control via the ESP32.
- 📐 Servo motors can be positioned at angles between 0 and 180 degrees using Pulse Width Modulation (PWM) signals.
- 📚 The ESP32 Arduino Servo Library simplifies controlling the servo, similar to Arduino’s servo control.
- 💻 Create a web server with an HTML slider (range 0-180) to control the servo motor’s position remotely.
- 📡 The slider uses Ajax to update the servo's position in real-time without refreshing the web page.
- 🌐 The HTML input slider sends HTTP requests to the ESP32, which adjusts the servo based on the slider's value.
- 🚀 Uploading the code to the ESP32 allows you to access the web server via the ESP32’s IP address and control the servo from a browser.
Q & A
What is the main objective of the video?
-The main objective of the video is to teach how to build a website with the ESP32 that controls the shaft position of a servo motor using a slider.
What are the three wires on a servo motor and what are their functions?
-Servo motors have three wires: power (usually red), ground (black or brown), and signal (frequently yellow, orange, or white). The power wire provides the electrical supply, the ground wire is for grounding, and the signal wire receives the pulse width modulation (PWM) signal to control the motor.
How can the ESP32 power a servo motor, and when would you need an external power supply?
-For small servos, the ESP32 can directly power them. However, if you're using more than one servo or different types of servos, an external power supply is required to avoid overloading the ESP32.
Which GPIO pin is used to control the servo motor in this project?
-The servo motor is connected to GPIO 13 on the ESP32 to receive the PWM signal.
How does the ESP32 control the servo motor’s shaft position?
-The ESP32 controls the servo motor’s shaft position using a pulse width modulation (PWM) signal. The duty cycle of the PWM signal determines the angle of the shaft, which can range from 0 to 180 degrees.
Which library is used to simplify controlling the servo motor with the ESP32?
-The ESP32 Arduino Servo library is used, which has the same interface as the Arduino Servo library, simplifying servo control with familiar functions.
What is the purpose of the slider on the web server?
-The slider on the web server allows users to control the position of the servo motor’s shaft by sending values between 0 and 180 degrees to the ESP32.
How is the current slider value updated on the webpage without refreshing it?
-The current slider value is updated using Ajax, which sends an HTTP request to the ESP32 in the background, allowing real-time updates without refreshing the webpage.
What role does JavaScript play in the web server’s functionality?
-JavaScript is used to dynamically update the slider position displayed on the webpage and to send HTTP requests to the ESP32 when the slider is moved, instructing the ESP32 to adjust the servo motor accordingly.
What should be modified in the sketch before uploading it to the ESP32?
-Before uploading the sketch, you need to modify two lines in the code to include your network credentials (Wi-Fi SSID and password) so that the ESP32 can connect to your network.
Outlines

Этот раздел доступен только подписчикам платных тарифов. Пожалуйста, перейдите на платный тариф для доступа.
Перейти на платный тарифMindmap

Этот раздел доступен только подписчикам платных тарифов. Пожалуйста, перейдите на платный тариф для доступа.
Перейти на платный тарифKeywords

Этот раздел доступен только подписчикам платных тарифов. Пожалуйста, перейдите на платный тариф для доступа.
Перейти на платный тарифHighlights

Этот раздел доступен только подписчикам платных тарифов. Пожалуйста, перейдите на платный тариф для доступа.
Перейти на платный тарифTranscripts

Этот раздел доступен только подписчикам платных тарифов. Пожалуйста, перейдите на платный тариф для доступа.
Перейти на платный тарифПосмотреть больше похожих видео
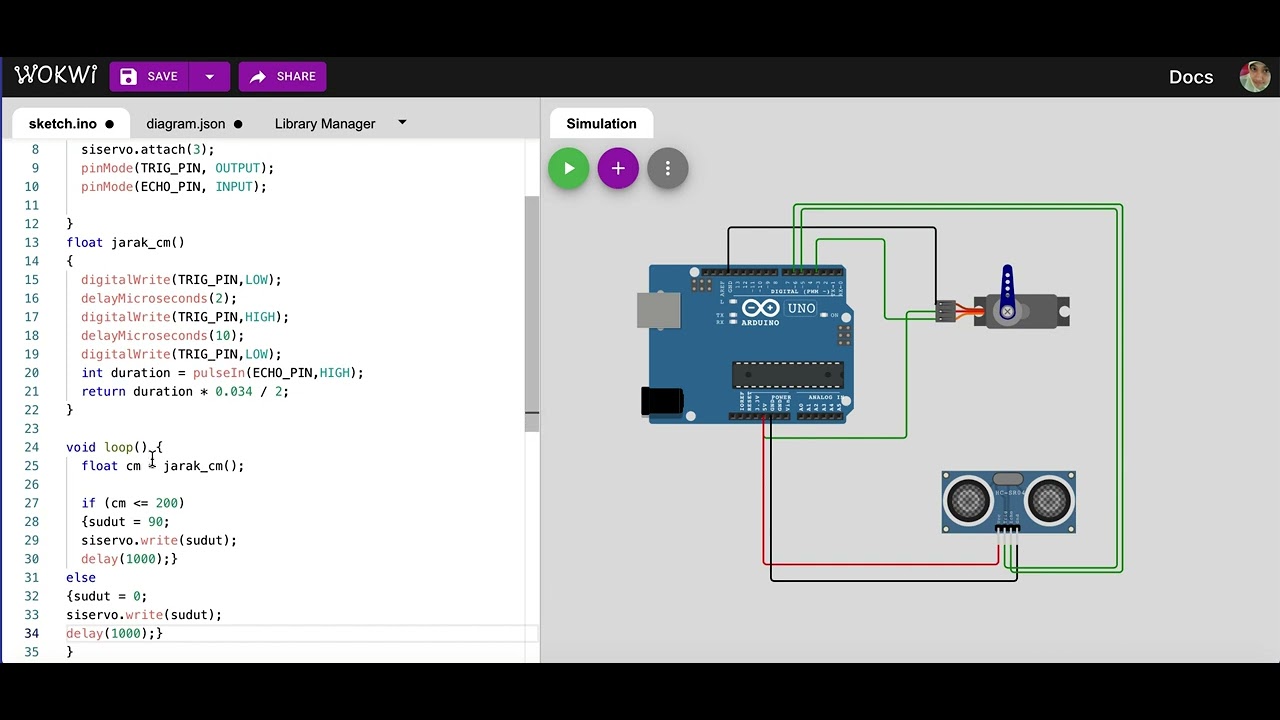
Simulasi kontrol gerakan servo dengan sensor ultrasonik | mikrokontroler arduino di wokwi.com
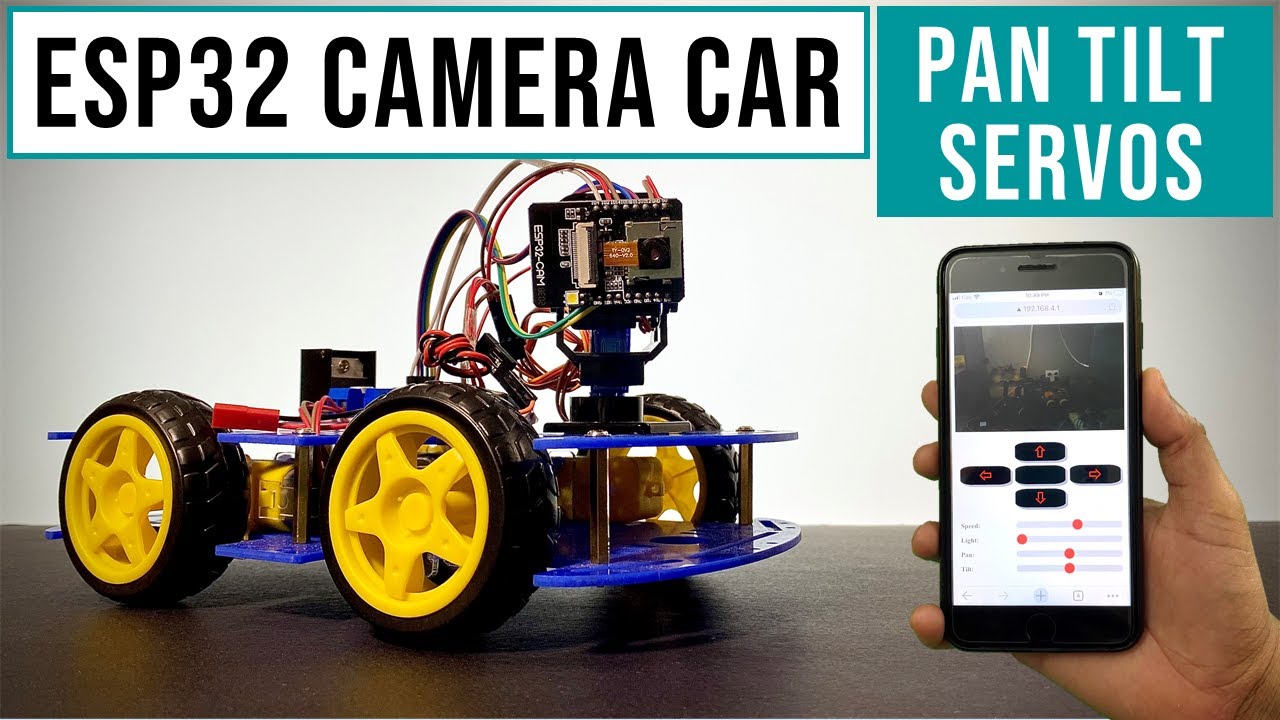
Camera Car With Pan Tilt Control | ESP32Cam
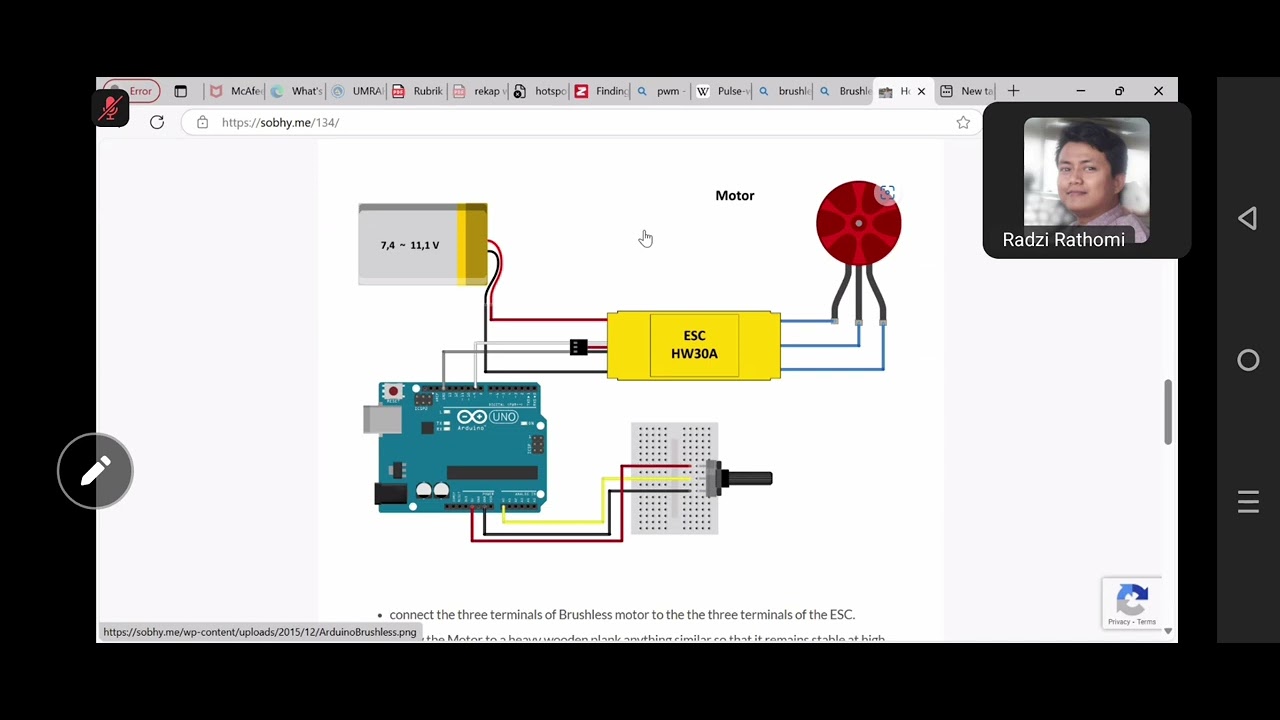
Sisdig pertemuan 6
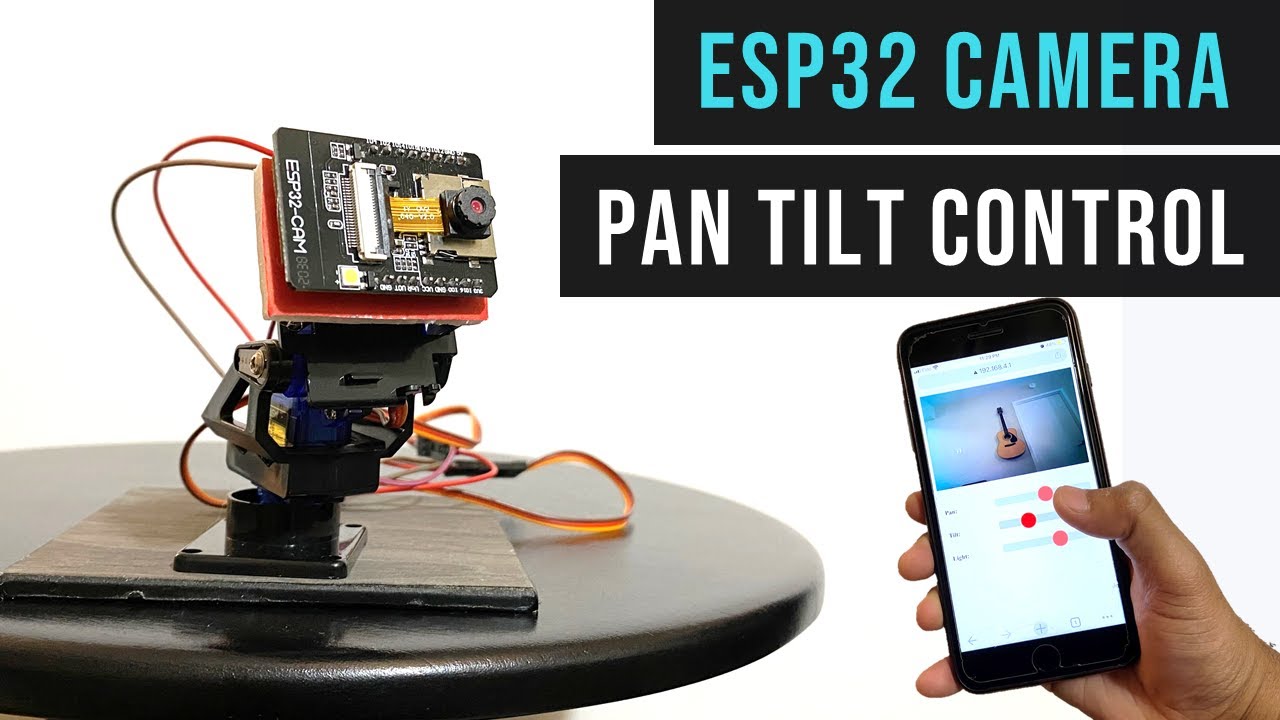
Pan Tilt Control using Servos for ESP32 Cam | WiFi Security Camera

Introduction to ESP32 Board - Getting Started ( Step by Step)
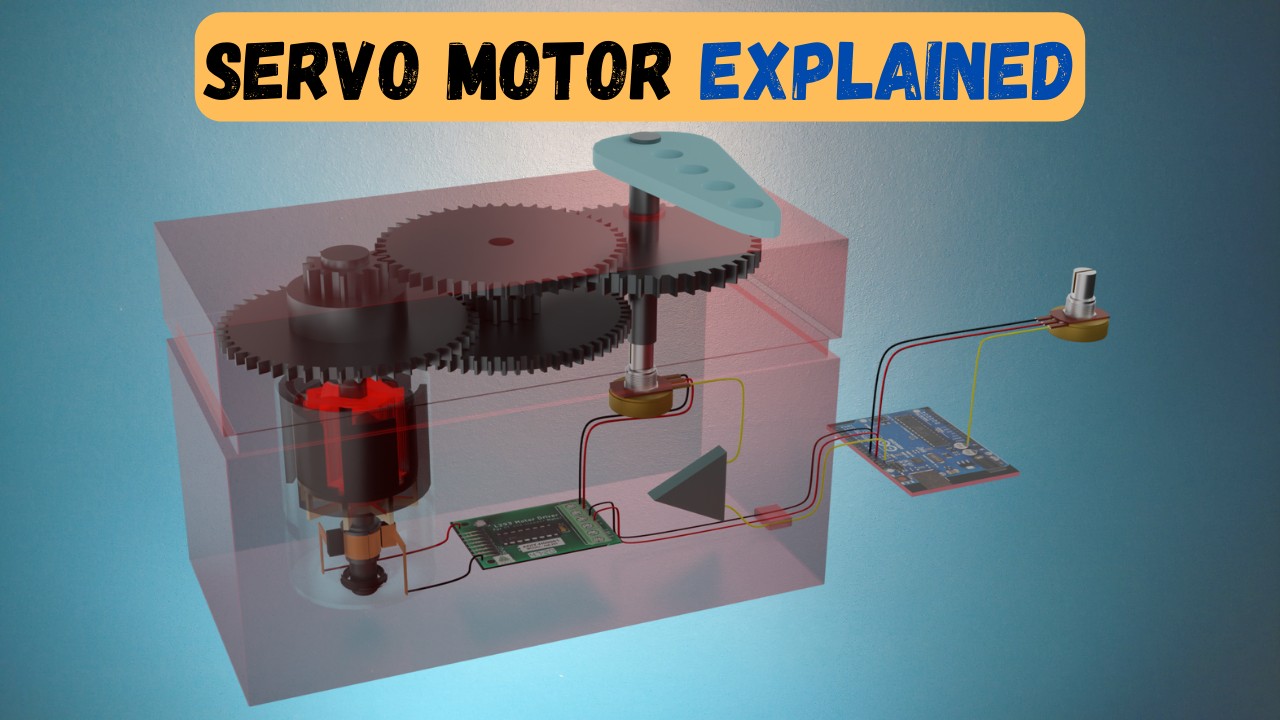
Servo Motor Explained - 3D Animation
5.0 / 5 (0 votes)
