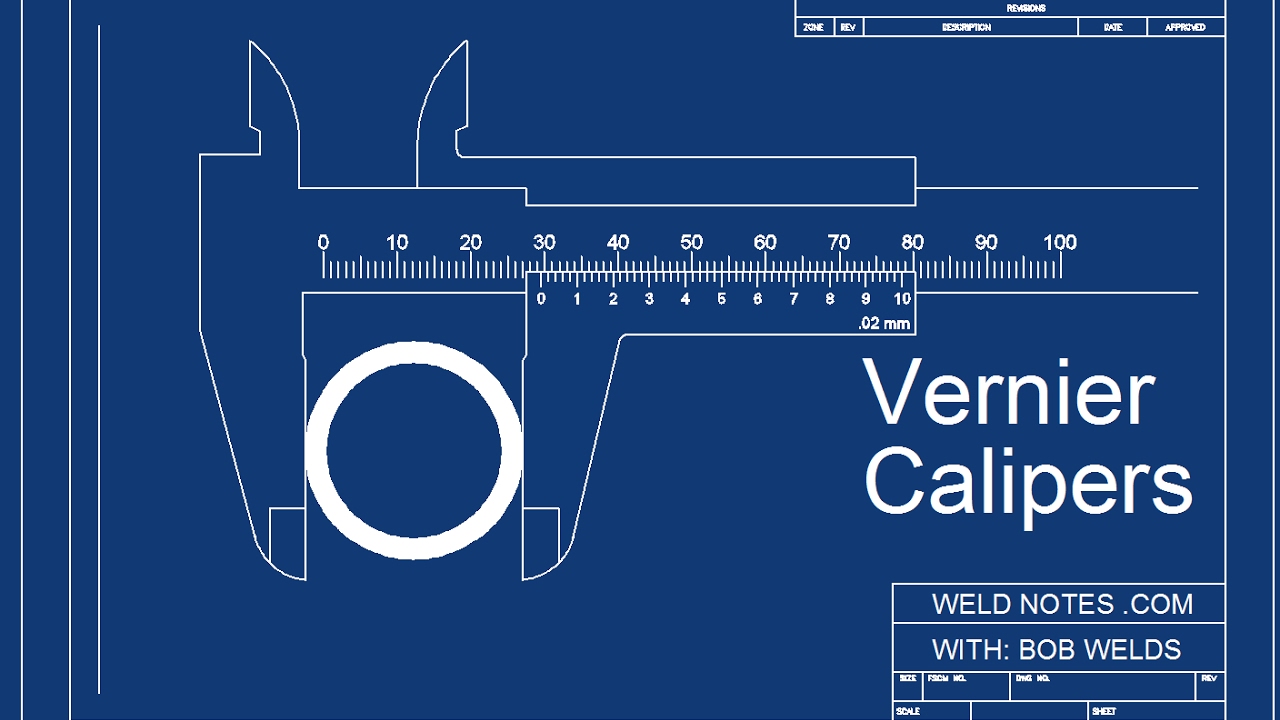
how to find the diameter of spherical/cylindrical body using vernier caliper/class11experiment 1 phy
Summary
TLDRThis instructional video teaches students how to use a vernier caliper to measure the diameter of a spherical or cylindrical object. It covers the importance of zero error, explains how to read the vernier scale, and demonstrates the process of taking accurate measurements. The video also emphasizes the need for precision and the impact of zero error on measurement results, providing practical tips for obtaining reliable measurements.
Takeaways
- 📏 The goal of the experiment is to measure the diameter of a spherical or cylindrical object using a Vernier caliper.
- 🧪 The main apparatus required for the experiment includes a Vernier caliper and a spherical or cylindrical body.
- 🔍 To determine the least count of the Vernier caliper, the value of one division on the main scale is divided by the number of Vernier divisions, which is 0.1 cm or 1 mm.
- ⚖️ It's important to check for zero error in the instrument by closing the jaws of the Vernier caliper and aligning the zero marks on both scales.
- ❌ If the zero of the Vernier scale does not align with the main scale, there could be a positive or negative zero error. Positive zero error gives a higher reading, while negative zero error gives a lower reading.
- 📊 Once the least count is known, readings are taken by aligning the Vernier scale with the main scale, noting both the main scale reading and Vernier scale reading.
- 🛠 To find the total reading, add the main scale reading to the Vernier scale reading (calculated by multiplying the least count with the Vernier divisions).
- 🔄 Multiple measurements in different orientations are recommended to ensure accuracy, especially with non-uniform objects.
- 📝 The final diameter is calculated by averaging multiple readings and adjusting for any zero error.
- ✅ Precautions include ensuring the Vernier caliper is perpendicular to the object during measurement and that zero error is handled carefully for accurate results.
Q & A
What is the main objective of the experiment described in the video?
-The main objective is to measure the diameter of a small sphere or cylindrical object using a Vernier caliper.
What is a Vernier caliper, and what are its components?
-A Vernier caliper is a measuring tool used for precise measurements. It consists of two scales: a main scale (measured in centimeters and inches) and a Vernier scale, which provides finer measurement increments.
How is the least count of the Vernier caliper determined?
-The least count is calculated by dividing the value of one division on the main scale by the total number of Vernier scale divisions. For example, if one main scale division equals 0.1 cm and there are 10 Vernier divisions, the least count would be 0.01 cm or 0.1 mm.
What is the significance of 'zero error' in Vernier calipers?
-Zero error occurs when the Vernier caliper is closed, but the zero on the Vernier scale does not align with the zero on the main scale. If it happens, the instrument gives inaccurate readings and needs correction.
What is the difference between positive and negative zero error?
-A positive zero error occurs when the Vernier scale zero is slightly ahead of the main scale zero, leading to readings that are higher than actual. A negative zero error occurs when the Vernier scale zero is behind the main scale zero, leading to lower readings.
How is the diameter of the sphere measured using a Vernier caliper?
-The sphere is placed between the jaws of the Vernier caliper, and the main scale reading is noted along with the Vernier scale reading. The total reading is obtained by adding the main scale and Vernier scale readings.
Why is it important to measure in different directions when measuring the diameter of a spherical object?
-It is important to measure in different directions to ensure accuracy and account for any potential non-uniformity in the object's shape.
What precautions should be taken when using a Vernier caliper?
-Precautions include checking for zero error, taking readings perpendicular to the object, and applying consistent pressure to avoid deforming the object being measured.
How is the final average diameter calculated?
-Multiple readings are taken from different directions, and their average is calculated to determine the final diameter.
How is zero error accounted for in the final reading?
-If zero error is present, it is added or subtracted (depending on whether it’s positive or negative) from the observed reading to obtain the corrected diameter.
Outlines

Этот раздел доступен только подписчикам платных тарифов. Пожалуйста, перейдите на платный тариф для доступа.
Перейти на платный тарифMindmap

Этот раздел доступен только подписчикам платных тарифов. Пожалуйста, перейдите на платный тариф для доступа.
Перейти на платный тарифKeywords

Этот раздел доступен только подписчикам платных тарифов. Пожалуйста, перейдите на платный тариф для доступа.
Перейти на платный тарифHighlights

Этот раздел доступен только подписчикам платных тарифов. Пожалуйста, перейдите на платный тариф для доступа.
Перейти на платный тарифTranscripts

Этот раздел доступен только подписчикам платных тарифов. Пожалуйста, перейдите на платный тариф для доступа.
Перейти на платный тарифПосмотреть больше похожих видео

Pengukuran | Jangka Sorong | IPA Kelas 7 SMP/MTs | EDURAYA MENGAJAR

TUTORIAL JANGKA SORONG : Mengukur Ketebalan, Diameter Luar, Diameter Dalam, serta Kedalaman

Medida de longitudes con el pie de rey

Comprimento da circunferência e o número pi

How to Read a Metric Vernier Caliper

CARA MEMBACA JANGKA SORONG | KETELITIAN 0.02 mm | VERNIER CALIPER | SIGMAT
5.0 / 5 (0 votes)
