This Quad is Wife APPROVED! | BetaFPV Pavo20 2" Whoop Build & Review
Summary
TLDR视频展示了一款名为Pavo 20的FPV无人机,这是一款重量约150克的2英寸(90毫米)无人机,支持DJI FPV Air Unit 3和Vista等设备。推荐使用3S 450mAh电池,飞行时间可达5分钟。视频还介绍了安装过程、飞行测试以及一些配置细节,最终评价其为性价比高的小型无人机,适合初学者和室内飞行。
Takeaways
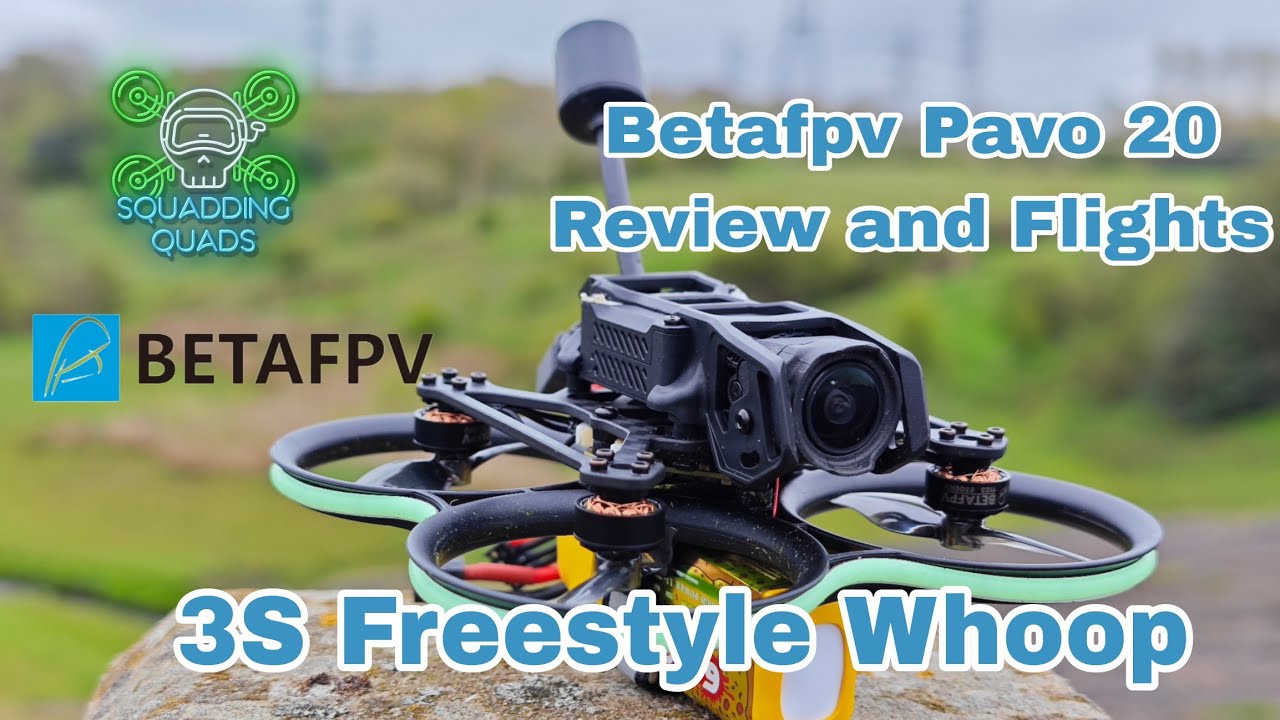
- 🚁 视频介绍了Beta FPV的Pavo 20 Whoop无人机,这是一款2英寸或90毫米的无人机,重量大约150克。
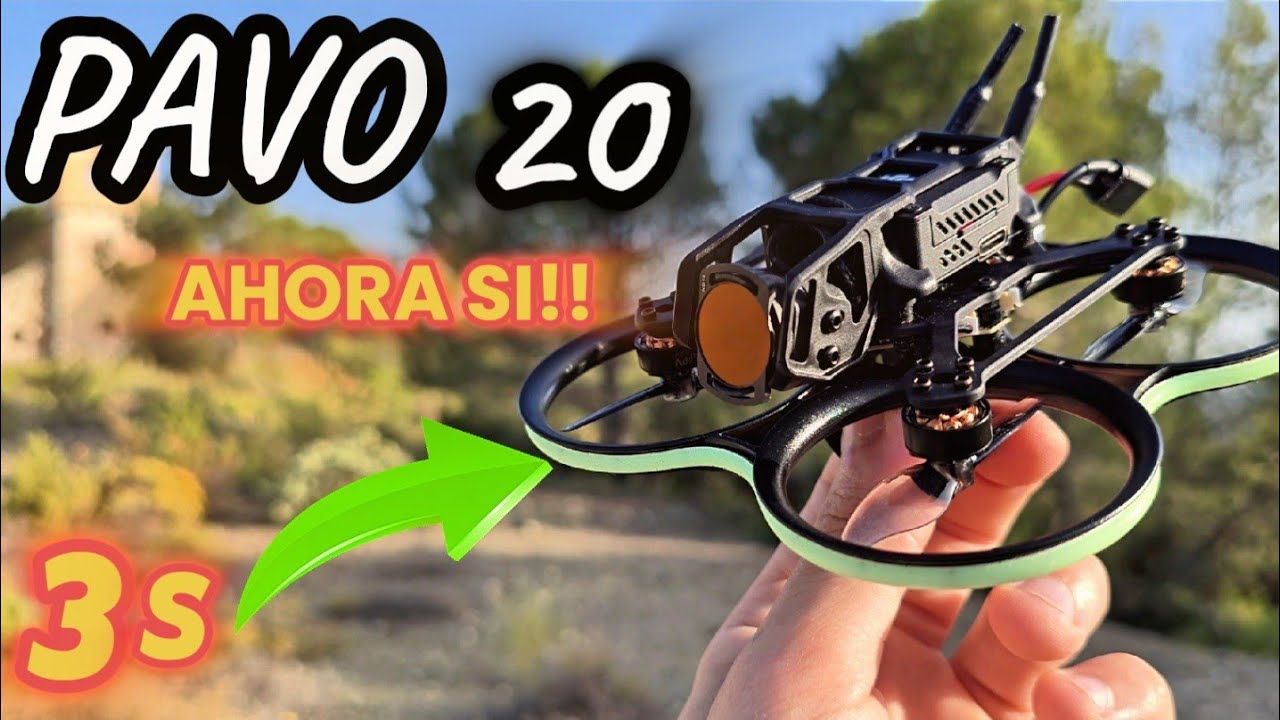
- 🔋 Pavo 20 Whoop支持DJI的O3飞行控制器和Vista或等效图传系统,推荐使用3S 450mAh电池,提供约5分钟的飞行时间。
- 📦 无人机包装完备,包括螺丝、天线、LED灯带和额外的螺旋桨,但USB接口不在无人机本身,需要连接一个小型子板。
- 🔧 无人机的框架是透明灰色,电机线不是直接焊接到飞控板上,而是通过连接器连接,便于维护但增加了一些重量。
- 📐 无人机的重量为51克,安装O3飞行控制器后重量为83克,加上电池后总重量为121克。
- 📡 视频提到了Express LRS 2.4 GHz接收器的绑定过程,以及如何使用Betaflight配置器进行设置。
- 🛠 视频展示了无人机的组装过程,包括安装O3飞行控制器、LED灯带和相机电缆。
- 🌬 视频记录了在不同风速条件下的飞行表现,包括在无风和有风的日子里的飞行体验。
- 📹 视频提供了无人机在户外飞行的原始录像,展示了无人机在不同条件下的飞行稳定性和图像质量。
- 💰 Pavo 20 Whoop的价格为104美元,被认为是性价比极高的选择,适合初学者或寻求小型无人机的用户。
- 🔧 视频提出了一些改进建议,如更新Betaflight版本、改进配置和增加更多螺旋桨,以及相机安装位的ND滤镜兼容性问题。
Q & A
Pavo 20 Whoop无人机的尺寸和重量是多少?
-Pavo 20 Whoop无人机是一个2英寸或90毫米的无人机,重量大约为150克。
Pavo 20 Whoop无人机支持哪些视频传输系统?
-Pavo 20 Whoop无人机支持DJI的O3系统以及Vista或等效的视频传输系统。
推荐的电池类型是什么,它提供多少飞行时间?
-推荐的电池是3S 450mAh的电池,据说可以提供5分钟的飞行时间。
Beta FPV提供的LED灯带有哪些颜色?
-Beta FPV提供了蓝色和红色的LED灯带。
无人机的USB端口是如何连接的?
-无人机本身没有USB端口,需要通过连接一个小的子板到飞行控制器上,然后才能连接到电脑。
无人机的接收器协议有哪些选项?
-无人机提供不同的接收器协议选项,包括Express LRS 2.4GHz。
无人机的电机是什么牌子和规格的?
-无人机使用的是Beta FPB品牌的电机,规格为1103 8500 KV。
无人机的电机线是如何连接到飞行控制器的?
-电机线不是直接焊接到飞行控制器上,而是通过连接器连接,这增加了一些重量,但使维护变得更容易。
无人机的重量是多少,加上电池后的总重量又是多少?
-仅无人机框架和电子设备的重量是51克,加上电池后的总重量是121克。
无人机的飞行控制器使用的是哪个版本的Betaflight固件?
-无人机的飞行控制器使用的是Betaflight 4.4.1版本的固件。
无人机在户外飞行的表现如何?
-在户外飞行时,无人机表现良好,特别是在无风的日子里,可以进行一些自由式飞行动作,但不是专门用于自由式飞行的无人机。
无人机在风大的日子里飞行表现如何?
-在风大的日子里,无人机会显得更加摇晃,需要更多的操作来保持稳定,但仍然可以处理得很好。
无人机的平均飞行时间是多少?
-无人机的平均飞行时间大约是3分半钟。
Pavo 20无人机的价格是多少?
-Pavo 20无人机的价格是104美元。
无人机的配置有哪些可以改进的地方?
-无人机的配置可以改进的地方包括使用更近期版本的Betaflight固件,以及更好的配置和调校。
无人机的螺旋桨更换频率如何?
-由于无人机的导管非常灵活,所以螺旋桨的更换频率会比较高。
无人机的相机安装座是否适合所有类型的ND滤镜?
-无人机的相机安装座对于水平ND滤镜来说有点紧,如果需要安装ND滤镜,可能需要选择垂直类型的。
无人机的信号接收能力如何?
-即使在有风的日子里,无人机也没有出现信号强度问题,表现良好。
Outlines

このセクションは有料ユーザー限定です。 アクセスするには、アップグレードをお願いします。
今すぐアップグレードMindmap

このセクションは有料ユーザー限定です。 アクセスするには、アップグレードをお願いします。
今すぐアップグレードKeywords

このセクションは有料ユーザー限定です。 アクセスするには、アップグレードをお願いします。
今すぐアップグレードHighlights

このセクションは有料ユーザー限定です。 アクセスするには、アップグレードをお願いします。
今すぐアップグレードTranscripts

このセクションは有料ユーザー限定です。 アクセスするには、アップグレードをお願いします。
今すぐアップグレード関連動画をさらに表示

BetaFPV Pavo20, SIMPLE et EFFICACE !
🚀 Betafpv Pavo 20 3S Cinewehoop - Great Newbie Drone

INITIAL REVIEW OF THE BETAFPV PAVO20 | Is this drone the budget-friendly cinewhoop for you?..
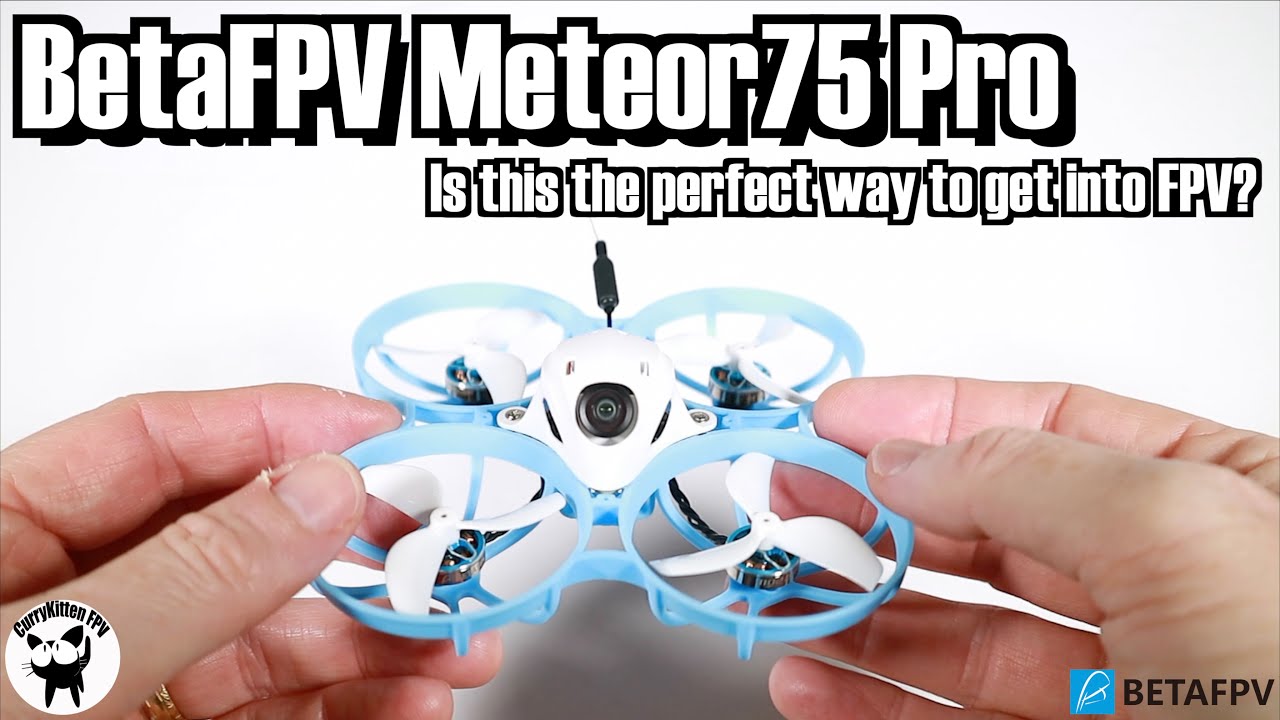
BetaFPV Meteor75 Whoop - is this the perfect way to get into FPV?

Meteor75 Pro - $109 // 82mm Frame // 45mm Prop
EL DRONE que BUSCABA * PAVO 20 * 🔥 #betafpv
5.0 / 5 (0 votes)
