HOW TO CONNECT TO EC2 INSTANCE FROM WINDOWS LAPTOP | MOBAXTERM | #aws #devops #abhishekveeramalla
Summary
TLDRIn this tutorial, Abhishek addresses the common issue of Windows users struggling to log into AWS EC2 instances. He demonstrates step-by-step how to access EC2 instances using MobaXterm, an alternative to PuTTY, which he recommends for its ease of use. The video guides viewers from launching an instance to setting up MobaXterm, including downloading and using the correct private key. By the end, Abhishek successfully connects to an EC2 instance, showcasing the process for Windows users to follow.
Takeaways
- 😀 The video is part of the AWS 020 series, addressing difficulties faced by Windows users in logging into EC2 instances.
- 🔒 Many viewers are using the AWS terminal or facing issues with PuTTY, a common SSH client, to access EC2 instances from their Windows machines.
- 💻 The presenter, Abhishek, demonstrates the process on a borrowed Windows laptop that has no prior setup.
- 🚀 The video starts by launching an EC2 instance, with a focus on creating a key pair for SSH access, using the .pem file format.
- 🛠️ The presenter recommends using MobaXterm, an alternative to PuTTY, for a better user experience.
- 📥 The key pair for the EC2 instance is downloaded to the laptop's download folder.
- 🌐 The video ensures that network settings, including public IP and SSH access, are correctly configured.
- 🔄 After launching the EC2 instance, the presenter guides viewers to download and install MobaXterm from the official website.
- 🔑 The installation of MobaXterm involves extracting the ZIP file and running the installer, agreeing to the terms, and completing the setup.
- 🔍 Once MobaXterm is installed, the presenter shows how to connect to the EC2 instance using the downloaded .pem key and the instance's IP address.
- 📝 The video concludes with a successful connection to the EC2 instance, demonstrating the use of commands within the instance's environment.
Q & A
What is the main purpose of the video?
-The main purpose of the video is to guide Windows users on how to access AWS EC2 instances from their laptops without needing to install Oracle VirtualBox or other similar software.
Why are some users finding it difficult to log into EC2 instances from their Windows machines?
-Some users are finding it difficult because they are not familiar with the process of accessing EC2 instances using tools like AWS terminal or PuTTY, which is why the video provides a step-by-step guide.
What is the name of the software recommended in the video for accessing EC2 instances?
-The video recommends using MobaXterm, which is suggested to be a better software than PuTTY for accessing EC2 instances.
What type of instance is being launched in the video?
-An Ubuntu instance is being launched in the video for demonstration purposes.
What is the recommended edition of MobaXterm for users to download?
-The video recommends downloading the Community Edition of MobaXterm, specifically the Home Edition installer.
How does the video ensure that the network settings are correct for launching an instance?
-The video suggests checking the network settings by clicking on the 'Edit' button and ensuring that the public IP is enabled and SSH is allowed from anywhere.
What is the username that should be used when connecting to the EC2 instance via MobaXterm?
-The username that should be used is 'Ubuntu' when connecting to the EC2 instance.
How is the private key used in the video to connect to the EC2 instance?
-The private key, which is a .pem file in this case, is selected in MobaXterm's advanced shell settings under 'Use private key' to authenticate and connect to the EC2 instance.
What is the significance of the '.pem' file in accessing the EC2 instance?
-The '.pem' file is a private key file that is necessary for authentication when connecting to an EC2 instance securely.
What command is used in the video to verify the successful connection to the EC2 instance?
-The 'sudo apt update' command is used in the video to verify that the connection to the EC2 instance is successful and that the user has the necessary permissions.
What is the next topic that the video series will cover after this one?
-The next topic in the video series will be about AWS CloudWatch.
Outlines
🔒 Accessing EC2 Instances from Windows with MobaXterm
In this segment, Abhishek addresses the common issue faced by Windows users in logging into Amazon EC2 instances. He introduces a tutorial on how to use MobaXterm, an alternative to PuTTY, for a smoother connection process. Starting with a fresh Windows laptop, he demonstrates the process of launching an EC2 instance, selecting an instance type, and creating a key pair. He emphasizes the use of a .pem file for MobaXterm and contrasts it with the .PPK file required for PuTTY. Abhishek guides viewers through downloading and installing MobaXterm, extracting the installer from a ZIP file, and launching the application. The tutorial is aimed at beginners, ensuring that even those unfamiliar with Windows can follow along.
🖥️ Connecting to EC2 Instances Using MobaXterm
This paragraph continues the tutorial by showing how to connect to an EC2 instance using MobaXterm after it has been installed. Abhishek instructs viewers to find the IP address of the created EC2 instance and use it as the hostname in MobaXterm. He details the steps to configure the session with the correct username, which is 'Ubuntu' for the instance, and to use the downloaded private key file (.pem) for authentication. The video script includes a walkthrough of the MobaXterm interface, showing how to navigate to the sessions tab, input the necessary details, and establish a connection to the EC2 instance. Abhishek concludes by verifying the connection with a command prompt within the EC2 instance, demonstrating a successful login and highlighting the ease of using MobaXterm for Windows users.
Mindmap
Keywords
💡AWS
💡EC2
💡Windows Machine
💡SSH
💡PuTTY
💡MOBAXterm
💡Key Pair
💡.pem File
💡Ubuntu
💡T2 Micro
💡AWS CloudWatch
Highlights
Introduction to the video series on AWS 020, addressing difficulties in logging into EC2 instances from Windows machines.
Common issues with AWS Terminal and PuTTY for accessing EC2 instances on Windows are discussed.
The video aims to guide Windows users on how to access EC2 instances without additional software like Oracle VirtualBox.
The presenter has not used a Windows laptop for six years and is demonstrating from a fresh setup.
Step-by-step guide begins with launching an instance and naming it 'test windows'.
Selection of Ubuntu as the operating system for the EC2 instance.
Explanation of choosing the T2 micro instance type and creating a key value pair named 'Windows demo'.
Recommendation to use MOBAXterm over PuTTY for a better experience.
Instructions on downloading MOBAXterm Community Edition for Windows users.
Preference for the installer version of MOBAXterm for ease of use.
Demonstration of installing MOBAXterm on a Windows laptop.
How to locate and use the downloaded '.pem' key file for EC2 instance access.
Connecting to the EC2 instance using MOBAXterm with the provided IP address and private key.
Verification of successful connection to the EC2 instance with command execution examples.
Conclusion of the tutorial with a preview of the next video on AWS CloudWatch.
The video is specifically tailored for Windows users having trouble with EC2 access.
Transcripts
hello everyone my name is Abhishek and
welcome back to my channel today ideally
has to be day 16 of AWS 020 series but
many of our friends who are following
this series and learning AWS are finding
it difficult to log into the ec2
instances from their Windows machines
I've seen many comments saying that they
are using the AWS terminal because they
are not able to access the ec2 instances
from their machines and people have
issues with putty they don't know how to
access the ec2 instances from their
Windows machine so I am doing this video
to explain for all of our Windows users
how to access the ec2 instances from
your laptop so you don't need to install
any Oracle virtualbox or something for
this one you can simply follow this
video and connect to the ec2 instances
in next 5 minutes
so firstly I'll start with right from
the basics and this is a laptop that I
have borrowed I haven't used Windows
laptop for almost six years so I got
this laptop from someone else and I
don't have any setup of mine in this
laptop so I'm just recording this screen
and I'll show you right from the basics
there is nothing installed in this
laptop as of now so firstly click on the
launch instance
and provide any name let's say
test windows
and what I'll do is uh let me select
Ubuntu will connect to a Linux machine
here let's use T2 micro and let me
create the key value pair okay so create
key value pair provide the name let's
say as
Windows demo
right so let's call this as Windows Down
perfect and I'm not changing any
settings here
I am using the dot pem file itself
because if you are using putty you have
to go with this option but in this demo
I am going to use MOBA extern I am going
to show you how to use it through mobile
extreme which is a even better software
than putty but if you want to use putty
then you have to click on this option
and use the dot PPK file but my
recommendation would be to use mobile
external so dot Pam and create key value
pair so now this key value pair will
also be downloaded on your laptop right
so it got downloaded in the download
folder we'll go back to that
now just check all your network settings
are fine you can click on the edit
button and see if the public IP is
enabled or not then everything looks
fine
SSH is enabled right from anywhere
perfect let's scroll down and click on
the launch instance
now this instance will get launched
meanwhile let me show you what you need
to do from your end
so you need to take a different Tab and
search for download MOBA external right
so just download mobile stuff
click on this button
and you will see two options once you
click on download mobile external you
will find a Community Edition and
professional Edition go for the home
edition or the Community Edition click
on the download now button and after
that what you will do is you will
have two options mobile extreme free
home Edition portable one and installer
one better to go with installer one
because it makes your life much easier
so again I clicked on this home
installer and it is getting installed I
click two times sorry for that okay so
let me cancel one and I have the other
one that is installed already
perfect so it is installed on my laptop
locally now what I need to do is I need
to switch to the downloads folder Okay
so
click on the downloads folder
when I am using this after a long long
time
right so now this is the place where my
mobile external got installed or
downloaded so what actually happens is
it gets installed as a zip file so if
you see here this is a ZIP file that got
installed you can just click on the
right arrow and click on extract all
once you click on extract all you will
get a folder like this mobile extern
installer the latest version go into
that one do not go into the zip file but
go into the extracted folder now double
click on this one and a installer gets
opened
preparing to install
click on the next button
agree to all the conditions click on the
next button
perfect
install
now this will install all of your uh you
know mobile extreme related things
perfect click on the Finish button
now the mobile extern is installed you
can go to the search bar and search for
MOBA external perfect and open this one
now you are almost done what you need to
do now is just take the ec2 instance
that you have created
this should be the easy to instance that
I have created where was it perfect
go to the instance get the IP address
this is the IP address right so copy the
IP address
to the mobile stuff so here go to the
sessions
right you have this option SSH telnet
rsh just go with SSH and provide the
host name here that is the IP address
what do you what should be your username
your username should be Ubuntu
perfect click on the advanced shell
settings and here click on use private
key
and now select the private key that you
have downloaded right so how do you do
that just go to the downloads folder and
you will see windows demo.pem open that
okay now I have downloaded the sorry I
have added the windows uh Pam click on
the OK button
and that should be it it will just ask a
pop-up for accept accept it and now your
mobile extern will be able to
authenticate to the ec2 instance if you
see here now I am inside the ec2
instance already this is my ec2 instance
you can try out bunch of commands to
verify uh you can just say sudo
app update done perfect so this is your
mobile extern and I have connected to
the ec2 instance
so uh this is basically how you will
access
ec2 instance I hope
I hope you enjoyed today's video and see
you all in the next one I made this
video very specifically for our friends
who are using Windows machines
so yeah that's all see you in the next
video day 16 where we will cover about
the AWS Cloud watch
関連動画をさらに表示
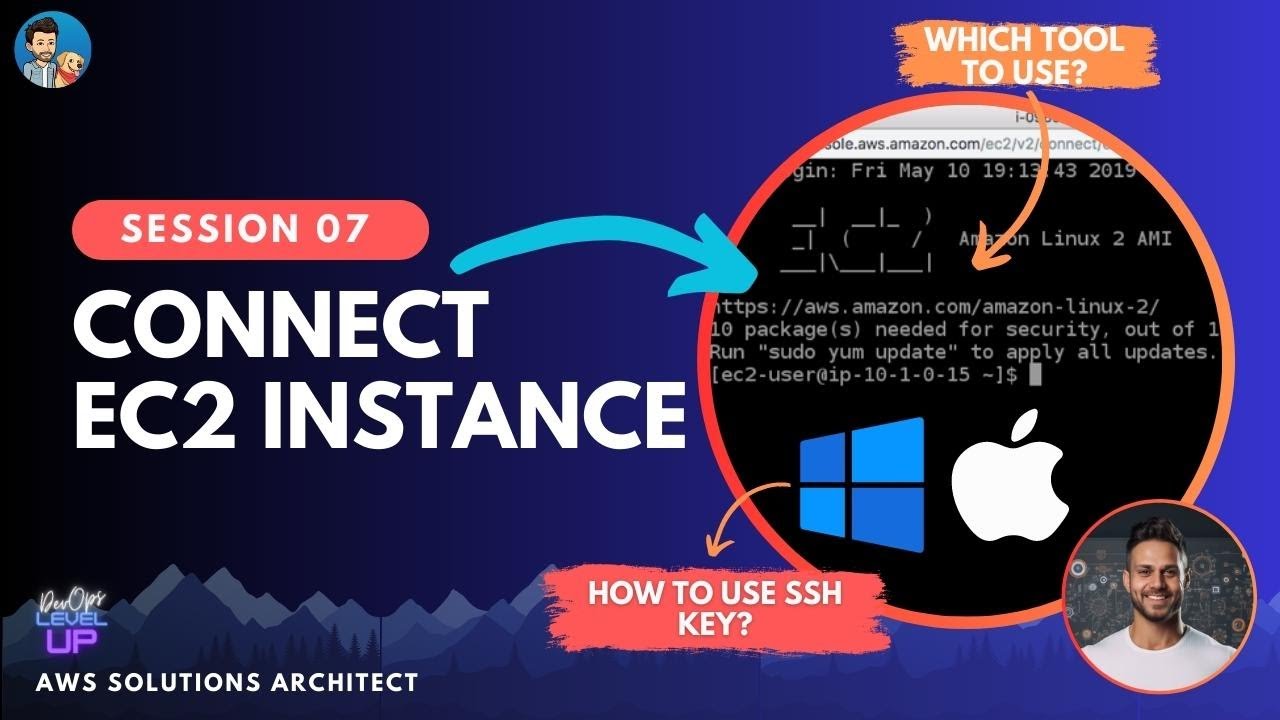
How to connect EC2 instance over SSH using Windows and Mac? | Visual Explanations
AWS Cloud9 | Cloud IDE | Concept | Environment Setup | @Cloud4DevOps
AWS ALB (Application Load Balancer) - Step By Step Tutorial (Part -9)
Day-15 | Ansible Zero to Hero | #ansible #devops
How To: EC2 Email Alarm Using CloudWatch (3 Min) | AWS EC2 CloudWatch Threshold Alert SNS Alarm
AWS: How To Setup A Site-to-Site VPN (Start to Finish) 2024
5.0 / 5 (0 votes)