How to Generate Certificate from Google Form using Certifier!
Summary
TLDRThis video tutorial demonstrates how to transform Google Form responses into personalized certificates using Certifier.io. The process involves exporting responses to a spreadsheet, creating a custom certificate design, and mapping dynamic attributes for recipient names and emails. Certifier.io automates certificate generation and delivery, allowing for fully customized certificates and branded email notifications. The tutorial highlights how easy it is to use the platform for large-scale certificate issuance and offers a preview of how recipients receive and verify their certificates. For further automation, API integration is also suggested.
Takeaways
- 😀 You can easily create certificates for Google Forms responses by using Certifier.io.
- 😀 To get started, export your Google Forms responses to a spreadsheet (Google Sheets).
- 😀 Certifier allows you to create beautiful, professional certificate designs without starting from scratch.
- 😀 Certifier provides a wide range of customizable certificate templates for easy design.
- 😀 Dynamic attributes in Certifier allow you to personalize each certificate with unique recipient details like name and email.
- 😀 After creating the certificate design, you'll need to upload the spreadsheet of recipient information to Certifier.
- 😀 Certifier helps you map spreadsheet columns (e.g., name and email) to the dynamic fields in your certificate design.
- 😀 Certifier automatically generates personalized certificates for each recipient based on the uploaded spreadsheet.
- 😀 You can fully customize the email templates sent to recipients, including the sender's name and email.
- 😀 After certificates are generated, recipients will receive an email with a link to view or download their certificate in PDF format.
- 😀 Certifier also provides a verification feature, allowing third parties to verify the authenticity of the certificates.
Q & A
What is the first step to create certificates from Google Forms responses?
-The first step is to transform all the responses from your Google Forms into a spreadsheet. This can be done by opening the Google Forms, going to the 'Responses' tab, and clicking the 'Create' button to generate a spreadsheet.
What should you do with the spreadsheet once it's created?
-You don't need to modify the spreadsheet. You can leave it as is, even if it has many columns. Just make sure that it contains the names and emails of the recipients, as these will be used to generate and send the certificates.
How do you create a certificate design on Certifier?
-To create a certificate design on Certifier, log in to your account, go to the 'Designs' tab, click 'Create Design,' and choose the 'Certificate Design' option. You can select from pre-made templates or customize your design.
What is the benefit of using dynamic attributes in Certifier?
-Dynamic attributes allow you to create a single certificate template that can automatically generate personalized certificates for multiple recipients. These attributes are placeholders like recipient name, certificate UUID, etc., that get replaced with actual data when the certificate is generated.
Can you customize the email template when sending certificates?
-Yes, you can fully customize the email template that accompanies your certificates. You can change the branding, colors, text, and even add a company logo to align with your branding.
What do you need to do after creating the certificate design?
-After creating the certificate design, you need to create a group in Certifier, provide event details such as the event name, description, and any additional information like skills gained or certificate expiration date. You can also select the certificate design you created.
How do you upload the recipient list to Certifier?
-You need to export your Google Forms responses into a Microsoft Excel or CSV file, then upload that list to Certifier by selecting the 'Spreadsheet Upload' option under 'Issue Credentials.'
What is the process for mapping the columns from your spreadsheet to the certificate attributes?
-In Certifier, you map the columns from your spreadsheet to the dynamic attributes in the certificate design, such as recipient name and email. The goal is to match the correct columns with the corresponding dynamic placeholders, ensuring no invalid records.
What does the 'Preview Before Publishing' feature do?
-'Preview Before Publishing' allows you to see how the final certificates will look for each recipient before sending them. You can also preview the email template to make sure everything is set up correctly.
What happens once you click the 'Save and Preview' button in Certifier?
-Once you click 'Save and Preview,' Certifier generates and sends the certificates based on the spreadsheet data. The certificates are then delivered straight to your recipients' inboxes.
Outlines

このセクションは有料ユーザー限定です。 アクセスするには、アップグレードをお願いします。
今すぐアップグレードMindmap

このセクションは有料ユーザー限定です。 アクセスするには、アップグレードをお願いします。
今すぐアップグレードKeywords

このセクションは有料ユーザー限定です。 アクセスするには、アップグレードをお願いします。
今すぐアップグレードHighlights

このセクションは有料ユーザー限定です。 アクセスするには、アップグレードをお願いします。
今すぐアップグレードTranscripts

このセクションは有料ユーザー限定です。 アクセスするには、アップグレードをお願いします。
今すぐアップグレード関連動画をさらに表示
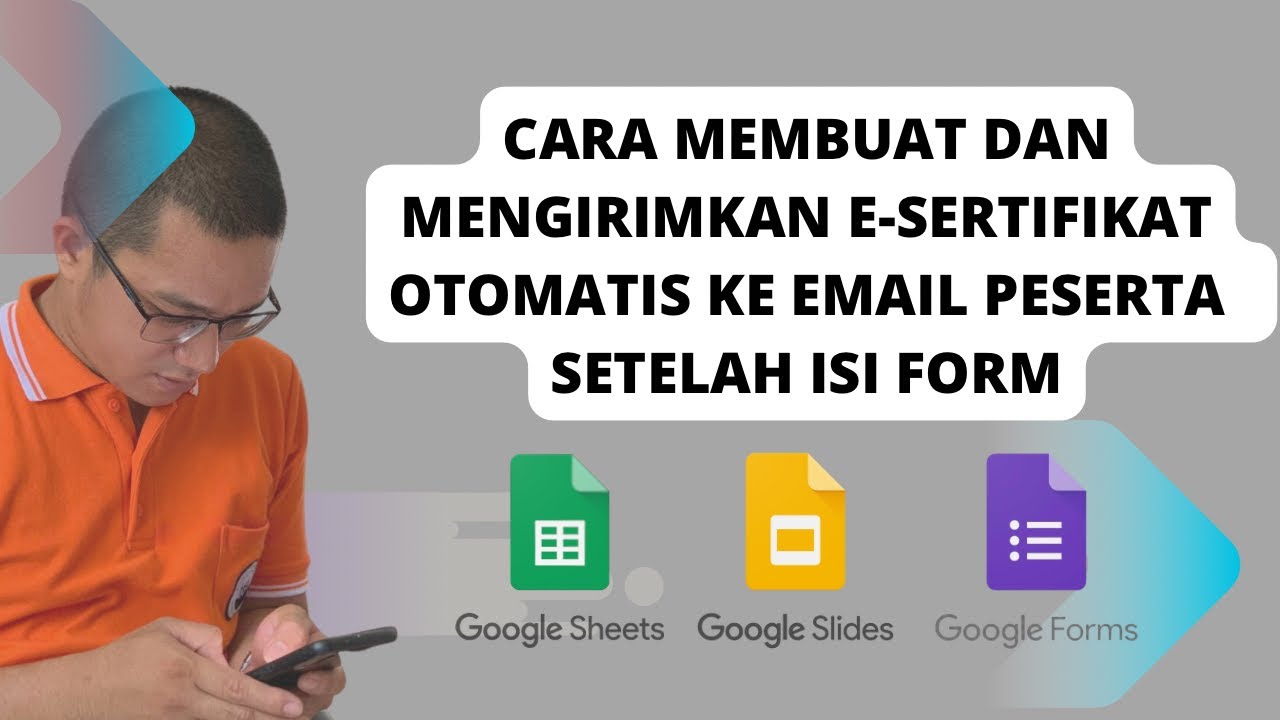
Membuat dan mengirimkan E Sertifikat PDF ke email peserta otomatis setelah mengisi Google Form

Membuat dan Mengirim Sertifikat Otomatis Google Slide-Google Sheets (Autocrat Tutorial)
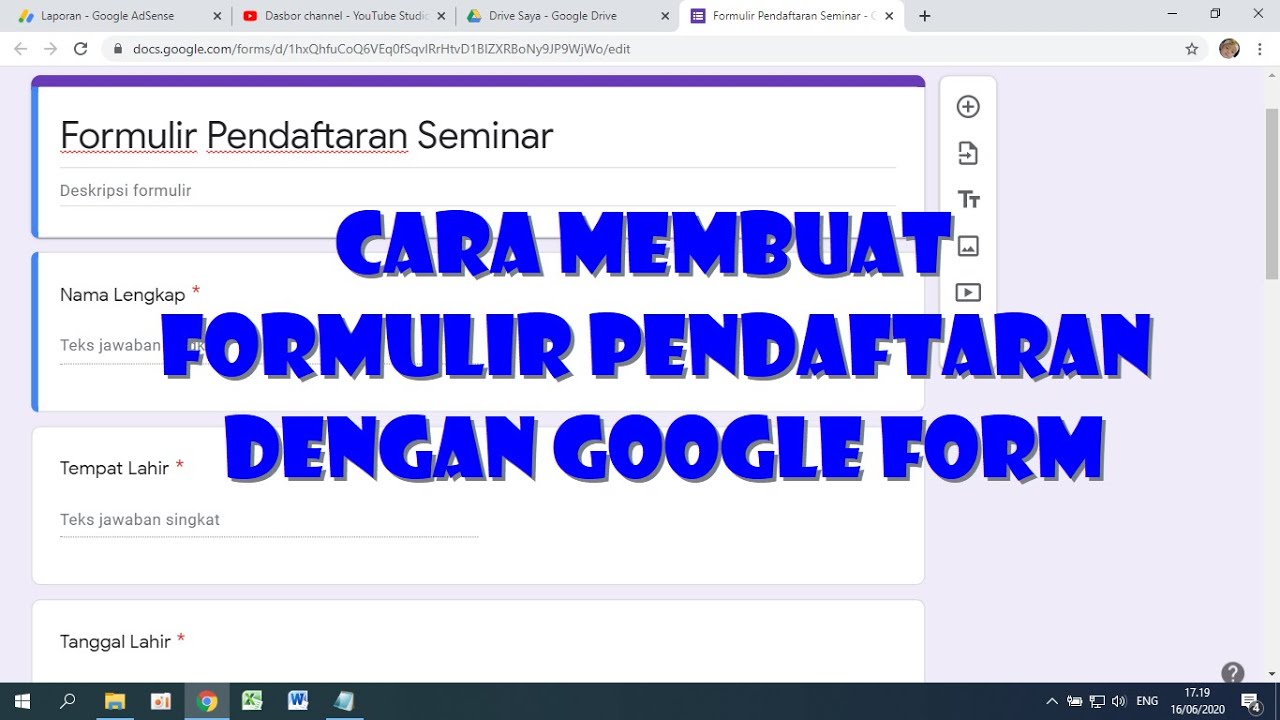
Cara Membuat Form Pendaftaran dengan Google Form
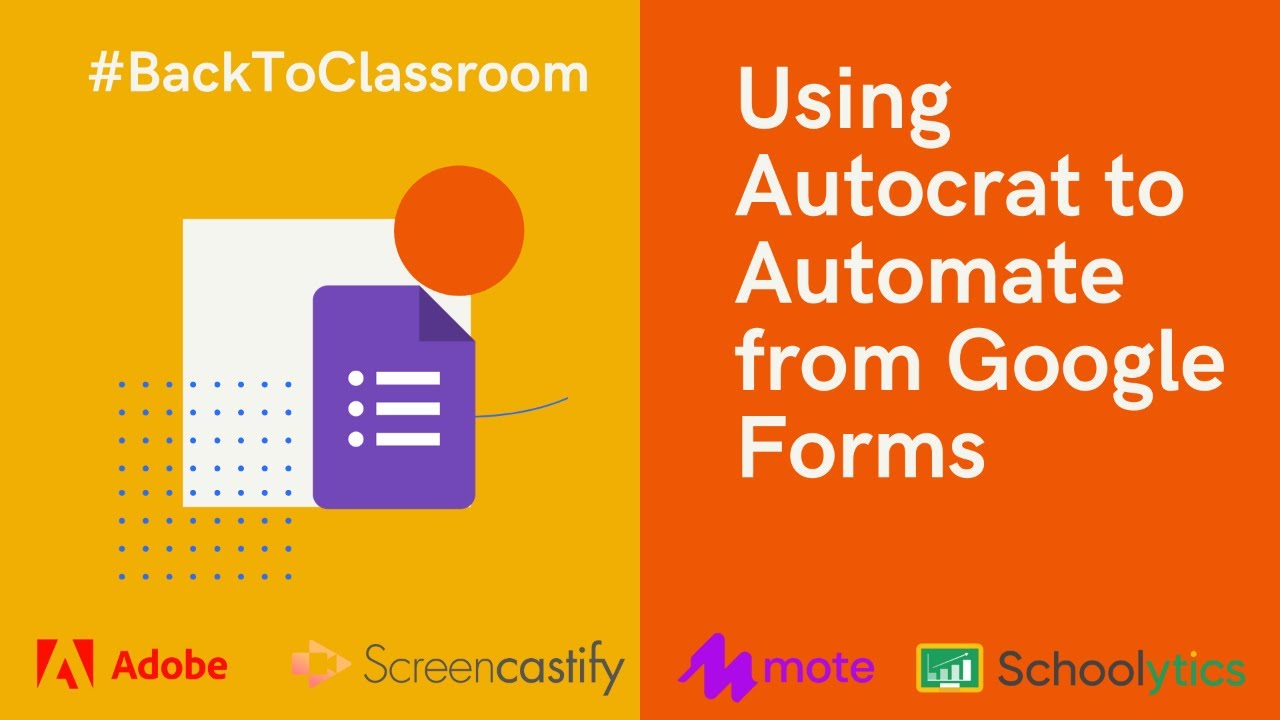
Using Autocrat to Automate from Google Forms

How to Create a Google Sheet from a Form | Complete Data Analysis Guide! Part 2
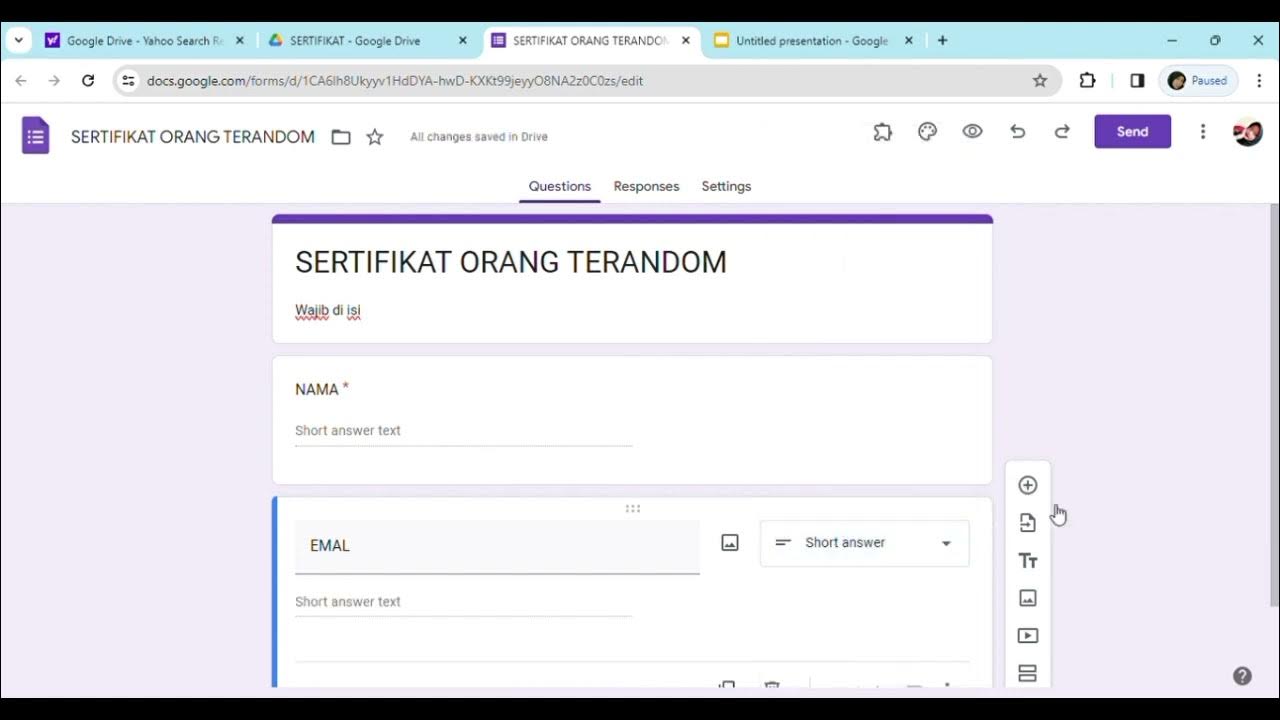
Cara membuat sertifikat dengan menggabungkan Google form, Google slide, Exel dan QR code
5.0 / 5 (0 votes)
