Cara Membuat Lampu Tidur | Lampu Hias Dinding Atap | Lampu Tidur Proyektor, Pakai Lampu LED Bekas !!
Summary
TLDRIn this DIY tutorial, the creator demonstrates how to transform a broken LED lamp into a projector night light. Using simple materials like a 3V HPL lamp, soldering tools, and a USB cable, the project is easy to follow. The creator guides viewers through each step: disassembling the lamp, wiring the LEDs in parallel, and assembling the components with hot glue. The final result is a soothing, round light projection that makes a perfect night light for your room. This upcycling project is both practical and decorative, ideal for anyone looking to repurpose old items.
Takeaways
- 😀 Use a broken LED light as the base for creating a projector nightlight.
- 😀 You'll need a 3V HPL bulb, which can be bought online for a low cost (around 1,000-2,000 IDR).
- 😀 Isolate the PCB of the broken LED and wire the HPL bulbs in a parallel circuit for proper connection.
- 😀 Solder the positive terminals of the HPL bulbs together and the negative terminals together to create the circuit.
- 😀 Use hot glue or Korean glue to attach the HPL bulbs securely in place on the project.
- 😀 You will need a USB cable to power the new nightlight. Cut and strip the cable to separate the positive and negative wires.
- 😀 Drill random holes in the lamp cover to allow the light to project in an interesting pattern.
- 😀 Attach the USB cable’s positive wire to the LED's positive terminal and the negative wire to the LED's negative terminal.
- 😀 Once assembled, seal the lamp cover and ensure all parts are securely glued for stability.
- 😀 Test the projector nightlight by connecting it to a USB power source, and observe its bright and captivating light effects.
- 😀 This DIY project provides an easy and affordable way to recycle old LEDs into a functional and aesthetically pleasing nightlight.
Q & A
What is the main objective of the video?
-The main objective of the video is to demonstrate how to transform a damaged LED light into a functional and decorative sleep projector light.
What materials are needed for this project?
-The materials needed for this project include a broken LED light, a 3V HPL light, soldering tools, a USB cable, glue (either hot glue or Korean glue), and a casing for the projector.
How do you connect the LED lights in the project?
-The LED lights are connected in a parallel circuit, with the positive terminals (plus) joined together and the negative terminals (minus) also connected to each other.
What is the purpose of isolating the PCB in the project?
-Isolating the PCB ensures that the electronic components are protected from short circuits or damage during the assembly process.
How do you attach the LED lights to the casing?
-The LED lights are attached to the casing using either hot glue or Korean glue to secure them in place.
What role does the USB cable play in this project?
-The USB cable is used to provide power to the LED lights. It is cut and connected, with the red wire (positive) attached to the LED's positive terminal and the black wire (negative) to the negative terminal.
Why do you need to drill holes in the lamp cover?
-The holes are drilled in the lamp cover to allow the light to project out, creating the desired pattern effect on the wall or ceiling.
What is the final result of the project?
-The final result is a functional sleep projector light that projects a circular light pattern, making it a decorative and relaxing addition to a bedroom, especially useful for bedtime.
How do you ensure the lamp is securely assembled?
-To ensure the lamp is securely assembled, additional glue is applied to the USB connections and other parts that need reinforcement.
What is the purpose of testing the lamp at the end of the process?
-Testing the lamp ensures that it works properly, with the LED lights shining brightly and the projection effect functioning as intended. It also checks if the connections are secure and stable.
Outlines

このセクションは有料ユーザー限定です。 アクセスするには、アップグレードをお願いします。
今すぐアップグレードMindmap

このセクションは有料ユーザー限定です。 アクセスするには、アップグレードをお願いします。
今すぐアップグレードKeywords

このセクションは有料ユーザー限定です。 アクセスするには、アップグレードをお願いします。
今すぐアップグレードHighlights

このセクションは有料ユーザー限定です。 アクセスするには、アップグレードをお願いします。
今すぐアップグレードTranscripts

このセクションは有料ユーザー限定です。 アクセスするには、アップグレードをお願いします。
今すぐアップグレード関連動画をさらに表示
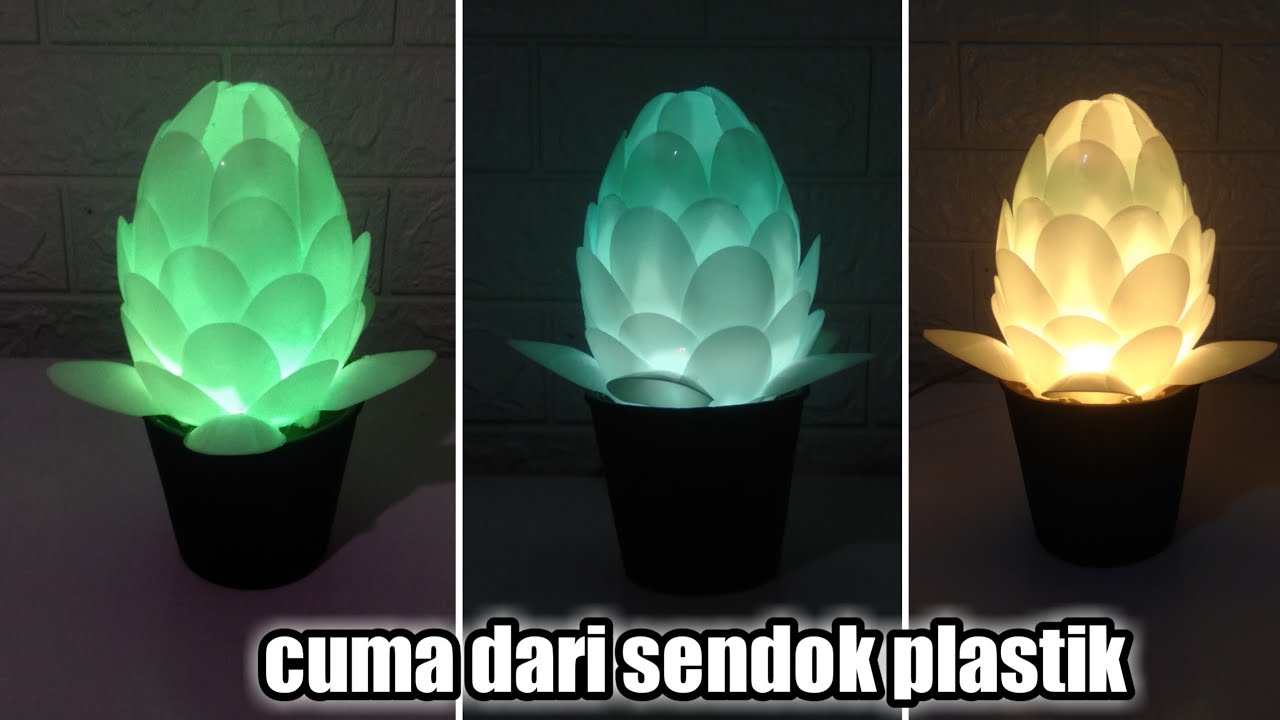
Lampu tidur sederhana lampu hias dari botol bekas dan sendok plastik

Cuma modal Tespen !! Semua orang bisa memperbaiki Lampu rumah Rusak

MODAL KIPAS 12volt RUMAH BEBAS DARI NYAMUK !!

How to make automatic night lamp |LDR Project| Automatic night light| Zubairs Lab
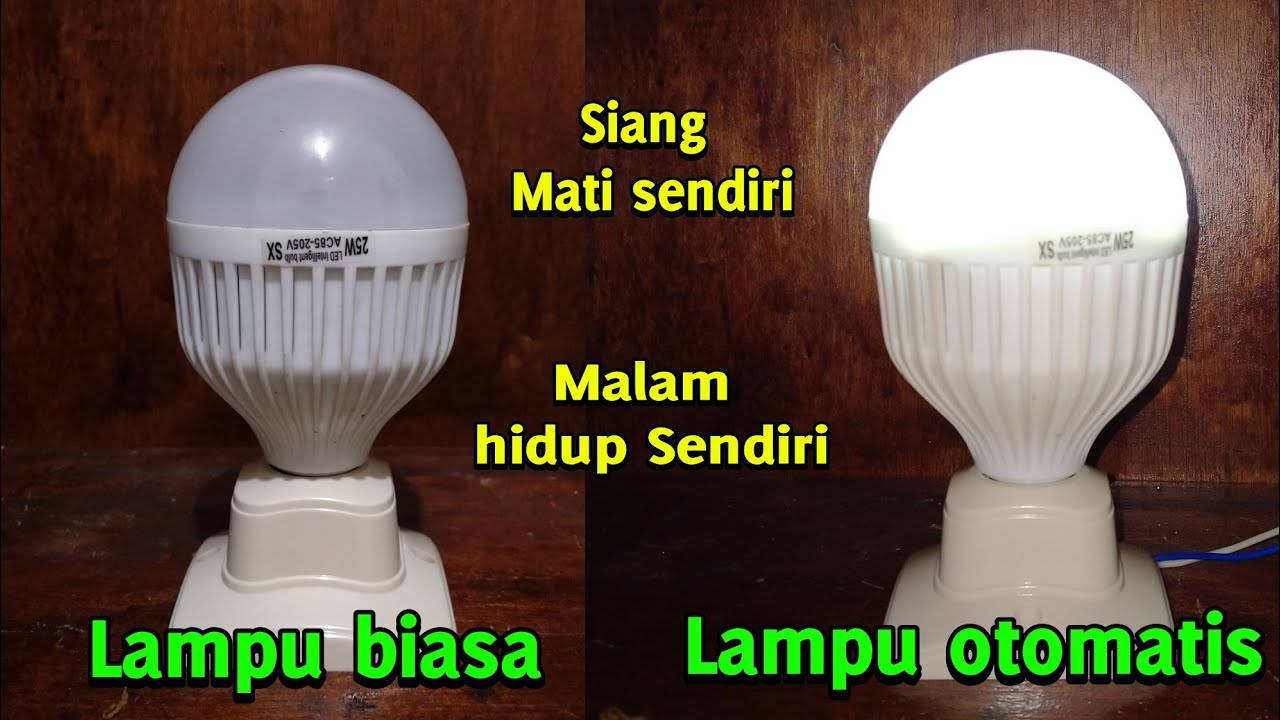
Cara merubah lampu biasa jadi lampu otomatis
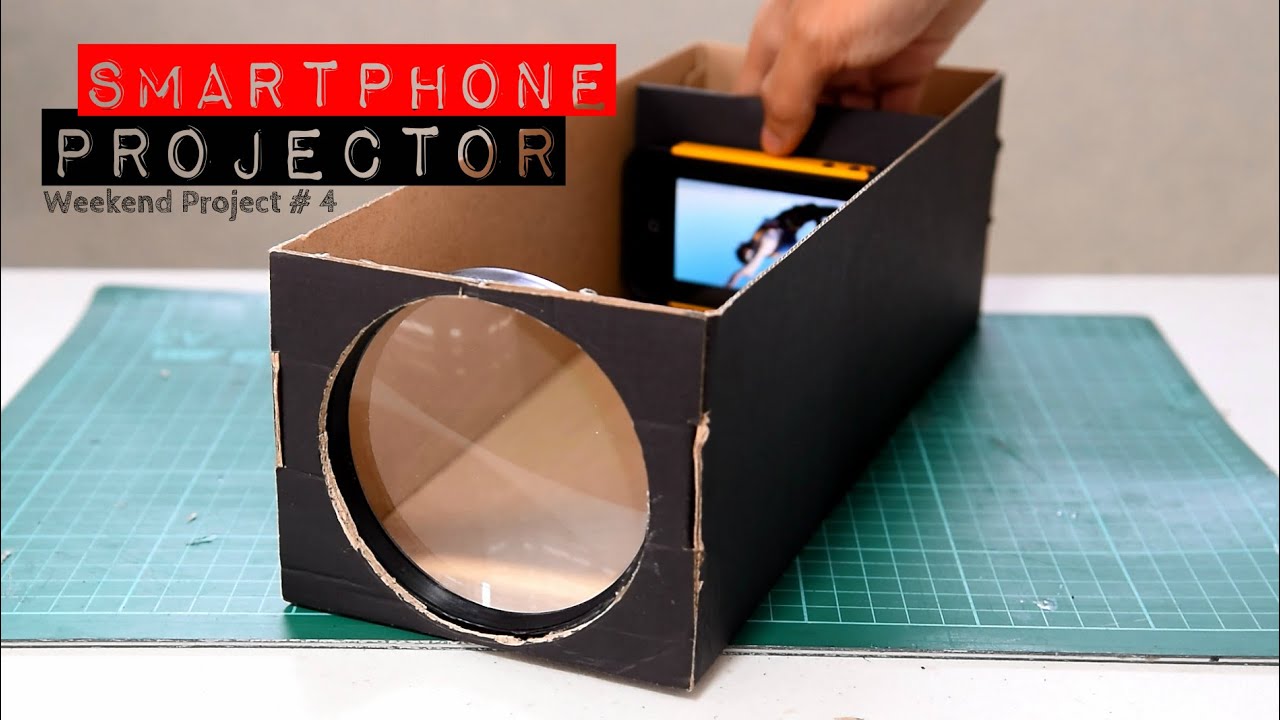
Build A Smartphone Projector! (Using Shoebox)
5.0 / 5 (0 votes)
