Controlling Led brightness using PWM signal | tinkercad | in Hindi
Summary
TLDRThis tutorial provides a step-by-step guide on using the Tinkercad simulator to control the brightness of an LED. It covers setting up the circuit with components like LEDs, resistors, and using pins, followed by writing code to adjust brightness levels using a loop function. The video also emphasizes the convenience of Tinkercad for beginners and troubleshooting circuits before creating real-life versions. It demonstrates how to measure current flow using a multimeter and adjust resistance for optimal performance. The tutorial is designed to be beginner-friendly, showcasing an easy-to-follow method for experimenting with circuit designs and Arduino programming.
Takeaways
- 😀 The script explains how to change the brightness of an LED using a simulator, specifically Tanker Cat's online simulator.
- 😀 The simulator is recommended because it allows for easy testing and circuit creation without needing physical components.
- 😀 After logging into the simulator, the user creates a new circuit, adding an LED and a resistor to the design.
- 😀 The script outlines the use of various pins, including pin 3 for controlling the LED and setting it to ground.
- 😀 Two key functions are mentioned: 'setup' and 'loop', which help initialize variables and control the LED's behavior.
- 😀 Variables should be initialized carefully to avoid errors in the code.
- 😀 The script emphasizes testing the circuit using the simulator before transferring it to real-world applications.
- 😀 Code adjustments include setting delay times and adjusting the brightness levels for the LED.
- 😀 The use of a multimeter is suggested to check the current flowing through the LED, ensuring it operates within safe limits.
- 😀 The simulator allows users to experiment with different voltages and configurations to achieve the desired LED behavior.
- 😀 The script concludes by recommending the simulator as a better alternative to real-time circuits due to ease of use and troubleshooting.
Q & A
What is the main focus of this tutorial?
-The tutorial focuses on demonstrating how to change the brightness of an LED using a simulator, and how to write the necessary code to control the LED’s brightness.
Why does the presenter recommend using the Tinkercad simulator?
-The presenter recommends using Tinkercad because it is an easy-to-use online simulator that allows users to simulate circuits and test their code virtually, making the process more accessible and less error-prone compared to working with real hardware initially.
What are the initial steps before creating a circuit in Tinkercad?
-The initial steps involve logging into the Tinkercad website, navigating to the 'Create New Circuit' option, and selecting the necessary components like the LED and resistor to build the circuit.
What is the role of the resistor in the circuit?
-The resistor is used to limit the current flowing through the LED, preventing it from burning out by ensuring that it doesn't receive excessive current.
What are the two functions mentioned in the code, and what are their roles?
-The two functions are 'setup()' and 'loop()'. The 'setup()' function is used to initialize the variables and pin modes, while the 'loop()' function continuously runs the main code to adjust the LED’s brightness.
What does the 'for' loop in the code do?
-The 'for' loop is used to iterate through values, in this case from 0 to 255, to gradually change the brightness of the LED by sending PWM signals to the pin controlling the LED.
How does the code control the brightness of the LED?
-The brightness of the LED is controlled using PWM (Pulse Width Modulation), where the code sends a signal that adjusts the duty cycle of the voltage, effectively dimming or brightening the LED.
What is the purpose of the delay function in the code?
-The delay function is used to pause the program for a specified amount of time, allowing the changes in brightness to be visible before the next iteration happens.
Why does the presenter suggest using a multimeter in the circuit?
-The multimeter is used to measure the current passing through the circuit, ensuring that the LED receives the correct amount of current and is not damaged.
What are the advantages of using a simulator like Tinkercad for circuit design?
-Using a simulator like Tinkercad allows for easy prototyping, testing, and debugging without the need for physical components. It also helps users avoid costly mistakes and is ideal for beginners to learn and experiment with circuits.
Outlines

このセクションは有料ユーザー限定です。 アクセスするには、アップグレードをお願いします。
今すぐアップグレードMindmap

このセクションは有料ユーザー限定です。 アクセスするには、アップグレードをお願いします。
今すぐアップグレードKeywords

このセクションは有料ユーザー限定です。 アクセスするには、アップグレードをお願いします。
今すぐアップグレードHighlights

このセクションは有料ユーザー限定です。 アクセスするには、アップグレードをお願いします。
今すぐアップグレードTranscripts

このセクションは有料ユーザー限定です。 アクセスするには、アップグレードをお願いします。
今すぐアップグレード関連動画をさらに表示

PEMROGRAMAN DASAR ARDUINO: ARDUINO IDE, BARE MINIMUM, PENULISAN VARIABEL, LED BLINK !!!

Como HACER un SENSOR de OSCURIDAD con LDR + TRANSISTOR
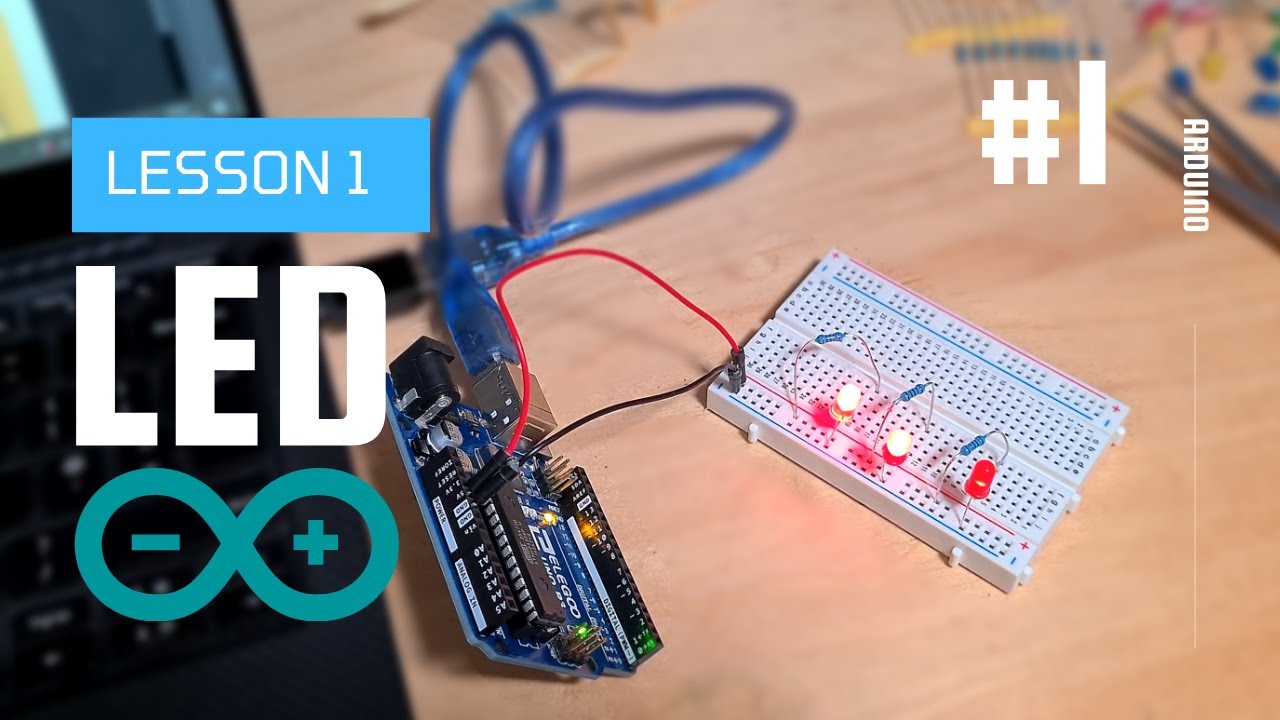
LED Arduino Tutorial #1 - Elegoo Uno R3 Basic Starter Kit

LTspice simulation | Examples in LTspice | RC Circuits | SPICE simulation

Setup Kubernetes Cluster Using Kubeadm [Multi-node]

Govee H6003 WiFi LED Bulb User Manual | Installation Guide and Setup
5.0 / 5 (0 votes)
