Alarm Anti Maling!!! Menggunakan Sensor PIR
Summary
TLDRIn this tutorial, Dwi Julianti Kusumayadi demonstrates how to use a PIR sensor with an Arduino for motion detection. The video covers the hardware setup, including wiring the PIR sensor to an Arduino and configuring the software using Arduino IDE. The sensor detects infrared radiation and triggers an alarm and LED when motion is detected. Viewers are guided through adjusting the sensor's detection range and delay time. This tutorial is ideal for those wanting to learn basic motion detection with Arduino and a PIR sensor.
Takeaways
- 😀 The video is hosted by Dwi Julianti Kusumayadi, focusing on using the PIR sensor for detecting infrared radiation.
- 😀 The PIR sensor used is a passive infrared sensor that does not emit infrared rays but detects them from external sources.
- 😀 Before starting, viewers are encouraged to subscribe to the channel and hit the notification bell to stay updated on future videos.
- 😀 The tutorial requires an Arduino microcontroller, a PIR sensor, a buzzer, an LED, and some jumper wires for connections.
- 😀 The wiring diagram is provided to guide viewers on how to properly connect the components.
- 😀 The PIR sensor has three pins: VCC (for power), OUT (for signal output), and GND (for ground).
- 😀 The connections are made with VCC to the power supply, OUT to the Arduino pin for input, and GND to ground.
- 😀 The software for the project is the Arduino IDE, where viewers can download the code provided in the video description.
- 😀 When the PIR sensor detects motion, it triggers the buzzer and turns on the LED.
- 😀 The sensor has two adjustable potentiometers: one for setting the detection distance and the other for adjusting the delay time for activating the buzzer.
- 😀 Viewers are encouraged to experiment with the settings to achieve the desired behavior, such as adjusting the sensor's detection range and the buzzer's duration.
Q & A
What is the purpose of the PIR sensor in the project?
-The PIR (Passive Infrared) sensor is used to detect infrared radiation from the surrounding environment, which can indicate motion. This allows the system to detect movement and trigger actions such as sounding a buzzer or lighting up an LED.
What is the key difference between the PIR sensor and an active infrared sensor?
-A PIR sensor is passive, meaning it does not emit infrared radiation. Instead, it detects infrared radiation emitted by objects, such as human bodies, in its environment.
What components are required to set up the PIR sensor with Arduino?
-The components needed for this project include an Arduino board, a PIR sensor, a buzzer, an LED, some jumper wires, and a breadboard for wiring.
How is the PIR sensor connected to the Arduino board?
-The PIR sensor has three pins: VCC (power), GND (ground), and OUT (output). VCC connects to the 5V pin of the Arduino, GND to the ground pin, and the OUT pin connects to a designated digital input pin on the Arduino, such as pin 7.
What role does the buzzer play in this setup?
-The buzzer provides an audible sound to alert when motion is detected by the PIR sensor. It is activated when the sensor detects movement.
What does the potentiometer on the PIR sensor do?
-The potentiometer allows for two adjustments: the left side controls the detection range of the PIR sensor, while the right side adjusts the delay time for how long the buzzer and LED stay on after detecting motion.
How can the sensitivity of the PIR sensor be adjusted?
-The sensitivity of the PIR sensor can be adjusted by turning the potentiometer on the left side of the sensor. This adjusts the detection range.
What software is used for programming the Arduino in this project?
-The Arduino Integrated Development Environment (IDE) is used for programming the Arduino. The code can be written and uploaded through this software.
What is the significance of selecting the correct COM port in the Arduino IDE?
-Selecting the correct COM port in the Arduino IDE ensures that the program can be successfully uploaded to the connected Arduino board. This step is crucial for communication between the computer and the microcontroller.
What happens when the PIR sensor detects motion?
-When the PIR sensor detects motion, it triggers the output pin to send a signal to the Arduino, which then activates the buzzer and the LED. The system responds with an audible alert and visual indication.
Outlines

このセクションは有料ユーザー限定です。 アクセスするには、アップグレードをお願いします。
今すぐアップグレードMindmap

このセクションは有料ユーザー限定です。 アクセスするには、アップグレードをお願いします。
今すぐアップグレードKeywords

このセクションは有料ユーザー限定です。 アクセスするには、アップグレードをお願いします。
今すぐアップグレードHighlights

このセクションは有料ユーザー限定です。 アクセスするには、アップグレードをお願いします。
今すぐアップグレードTranscripts

このセクションは有料ユーザー限定です。 アクセスするには、アップグレードをお願いします。
今すぐアップグレード関連動画をさらに表示
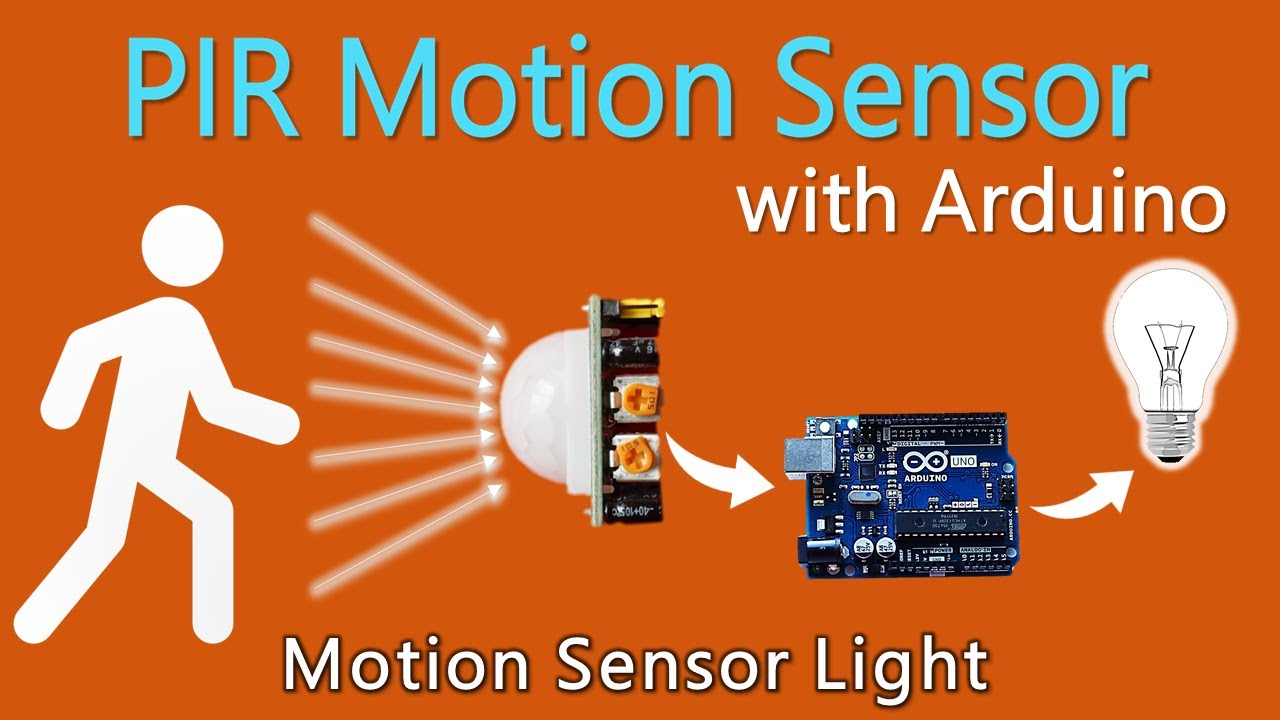
How to use PIR Motion Sensor with Arduino | Motion sensor light

Automatic Lighting System with Arduino and PIR Sensor - Tinkercad Arduino Projects for Beginners

ESP32 Surveillance Camera | Send Images to Telegram - Work !!

Arduino Sensor Gerak PIR Untuk Otomatis Lampu Ruang Menggunakan WOKWI Tutorial DIY @tptumetro

Simulasi pemrograman arduino Uno menggunakan wokwi"Lampu otomatis menggunakan sensor gerak "
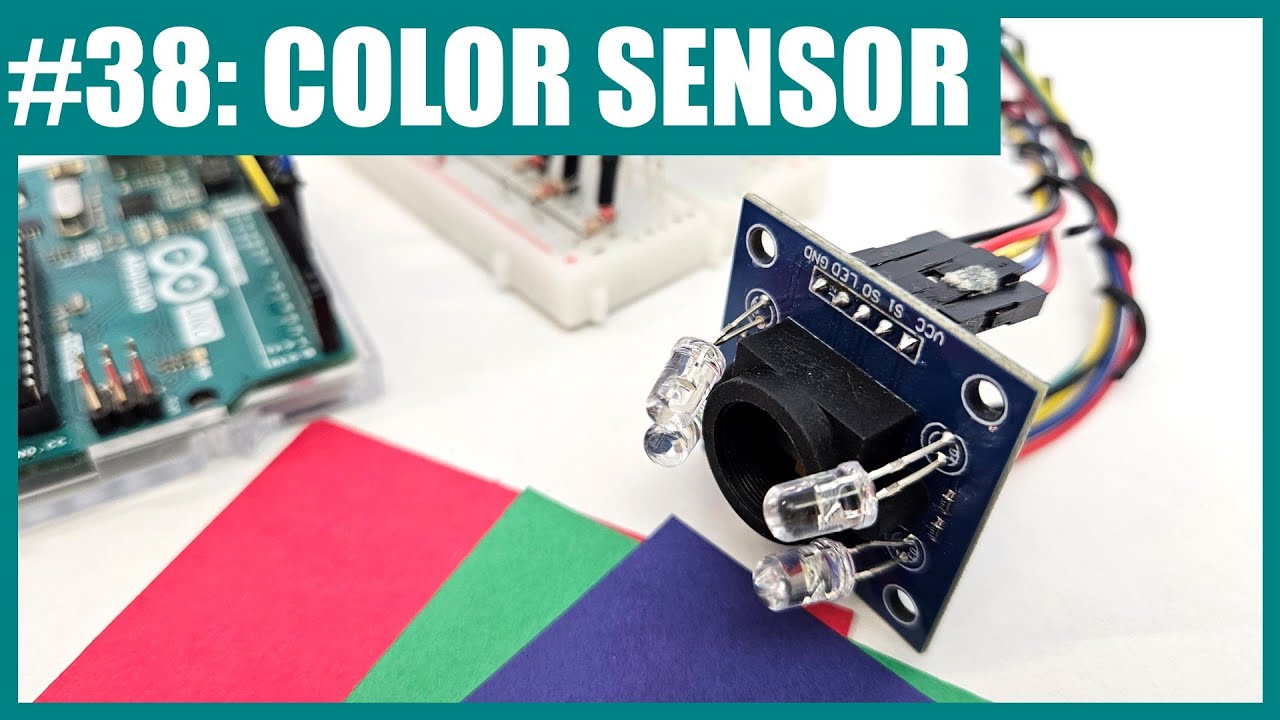
How to Use a TCS3200 Color Sensor with Arduino (Lesson #38)
5.0 / 5 (0 votes)
