COMO FAZER UMA NOSSA SENHORA APARECIDA AMIGURUMI | Projeto Abençoado | Parte 1
Summary
TLDRIn this video, Débora from Lamuca Atelierê walks viewers through the step-by-step process of crafting a handmade representation of Our Lady Aparecida, measuring 23 cm tall. The tutorial covers everything from creating the base, building the body with crochet techniques, adding details like the face and arms, to assembling the figure. She demonstrates how to add structure, use wire or stuffing, and finish with hand-sewn details like the rosary and the dress. The video is a thorough guide for crocheters of all levels, offering both creative insights and technical tips for crafting this devotional figure.
Takeaways
- 😀 Start with a magic ring and six single crochet stitches to form the base of the figure.
- 😀 Increase the number of stitches in each round, following a set pattern of increases (e.g., one stitch followed by an increase, etc.) until reaching 48 stitches by the seventh round.
- 😀 Use the back loops (BL) method in round 9 for a cleaner edge, using the second and third loops of each stitch.
- 😀 After completing the first few rounds, continue with simple single crochet rounds until reaching round 12, where you maintain 48 stitches.
- 😀 Add a rigid base in the bottom of the figure using a piece of cardboard or similar material for stability.
- 😀 Decrease the stitch count gradually over several rounds, following a decreasing pattern (e.g., 14 single crochet stitches followed by a decrease).
- 😀 For shaping, continue decreasing over successive rounds, eventually reducing the stitch count to just a few stitches near the end.
- 😀 After the body is finished, change colors to work on the head, starting with a magic ring and increasing the stitch count over several rounds.
- 😀 Attach a piece of wire or pipe cleaner to the arms for flexibility, so the arms can be shaped into the desired position, such as praying hands.
- 😀 The arms are sewn onto the body, and the figure is adjusted to the desired pose, using glue or sewing to secure the pieces.
- 😀 Lastly, add decorative touches like the necklace and other elements of the figure, securing everything in place with glue and adjusting the posture.
Q & A
What is the height of the Our Lady Aparecida figure created in this tutorial?
-The figure's height is 23 cm, measured from the base to the top of the crown.
What is the starting point of the project in terms of crochet?
-The project begins with a magic ring, and six single crochet stitches are worked into the ring.
How are the increases made in the first few rounds?
-In the second round, all stitches are increases, doubling the number of stitches to 12. In subsequent rounds, the pattern alternates between adding a single stitch and an increase, expanding the circle.
What technique is used in round 9 of the pattern?
-In round 9, a technique called 'back loop only' (BL) is used, where only the second and third loops of each stitch are worked.
What is done at the end of round 12?
-After completing round 12, the next step involves adding a firm base to the bottom of the piece, using glue and a cut piece of cardboard to prevent it from toppling over.
How do you decrease stitches as the project progresses?
-Decreases are made by reducing the number of single crochet stitches between decreases. For example, in round 13, 14 single crochet stitches are worked followed by a decrease, and this pattern is repeated three times.
What is the purpose of using a piece of hot glue stick in the project?
-The hot glue stick is used to add rigidity to the neck area of the figure, helping it stay upright and making it easier to sew the arms in place.
How is the head closed?
-The head is closed by decreasing the number of stitches through several rounds, such as by working five single crochets and one decrease, until the hole is small enough to close, and then stuffing it with filling.
What color change occurs in round 37?
-In round 37, the yarn color is changed to the skin tone chosen for the project, which starts the creation of the face using a different yarn color.
How are the arms created and attached?
-The arms are made with wire (or pipe cleaners) for flexibility, and after the arms are crocheted, they are sewn onto the body. The arms are positioned so that the hands are raised in a praying position.
Outlines

このセクションは有料ユーザー限定です。 アクセスするには、アップグレードをお願いします。
今すぐアップグレードMindmap

このセクションは有料ユーザー限定です。 アクセスするには、アップグレードをお願いします。
今すぐアップグレードKeywords

このセクションは有料ユーザー限定です。 アクセスするには、アップグレードをお願いします。
今すぐアップグレードHighlights

このセクションは有料ユーザー限定です。 アクセスするには、アップグレードをお願いします。
今すぐアップグレードTranscripts

このセクションは有料ユーザー限定です。 アクセスするには、アップグレードをお願いします。
今すぐアップグレード関連動画をさらに表示
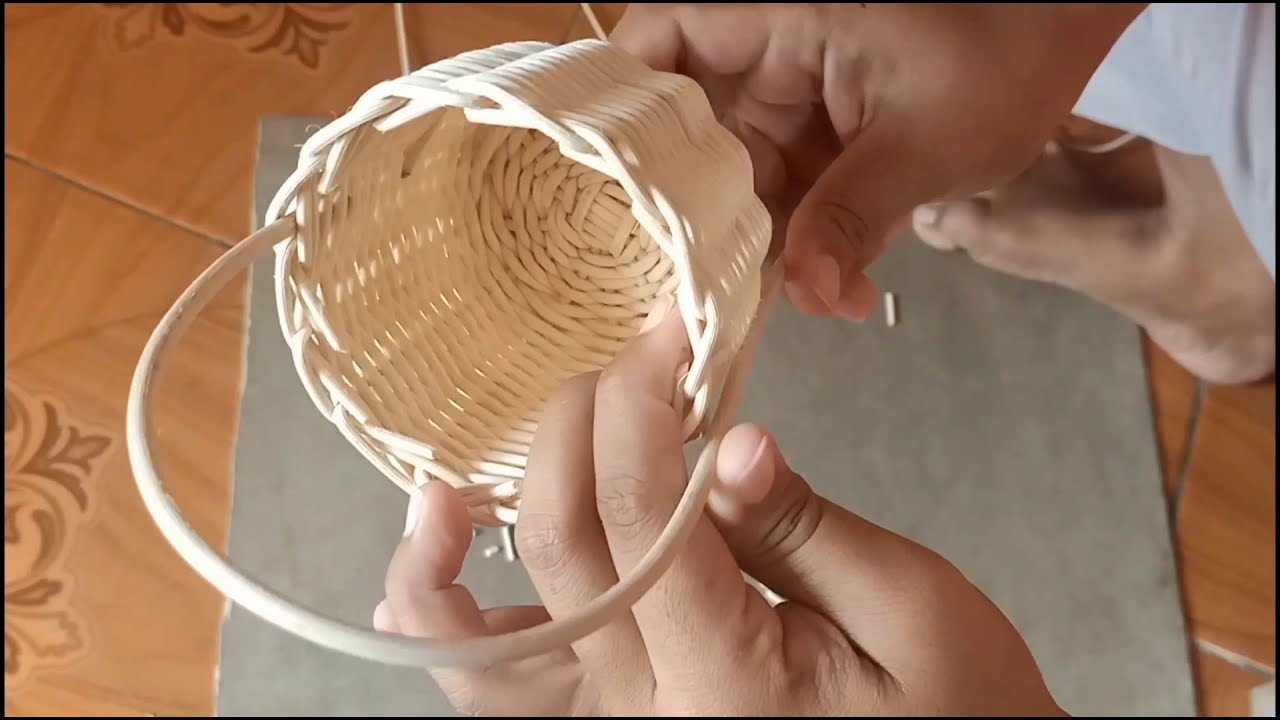
Cara Membuat Anyaman Rotan
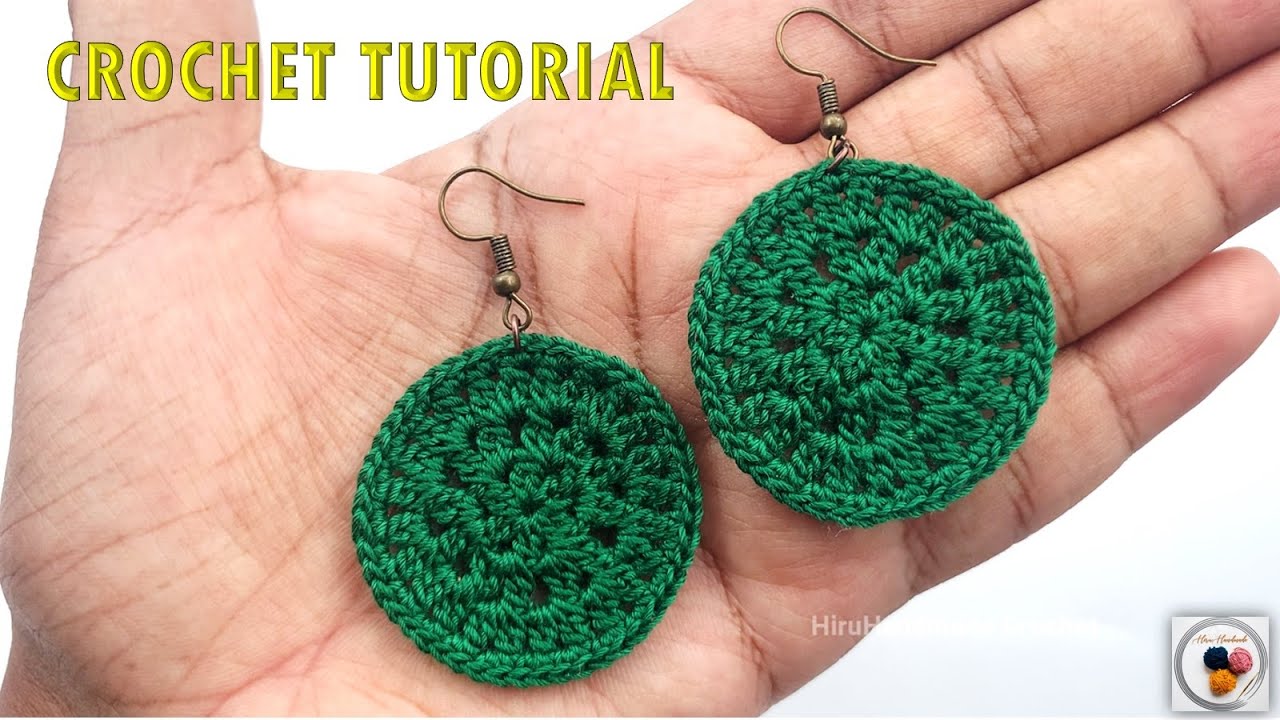
Crochet Earrings Tutorial: Easy and Stylish DIY Project for Beginners
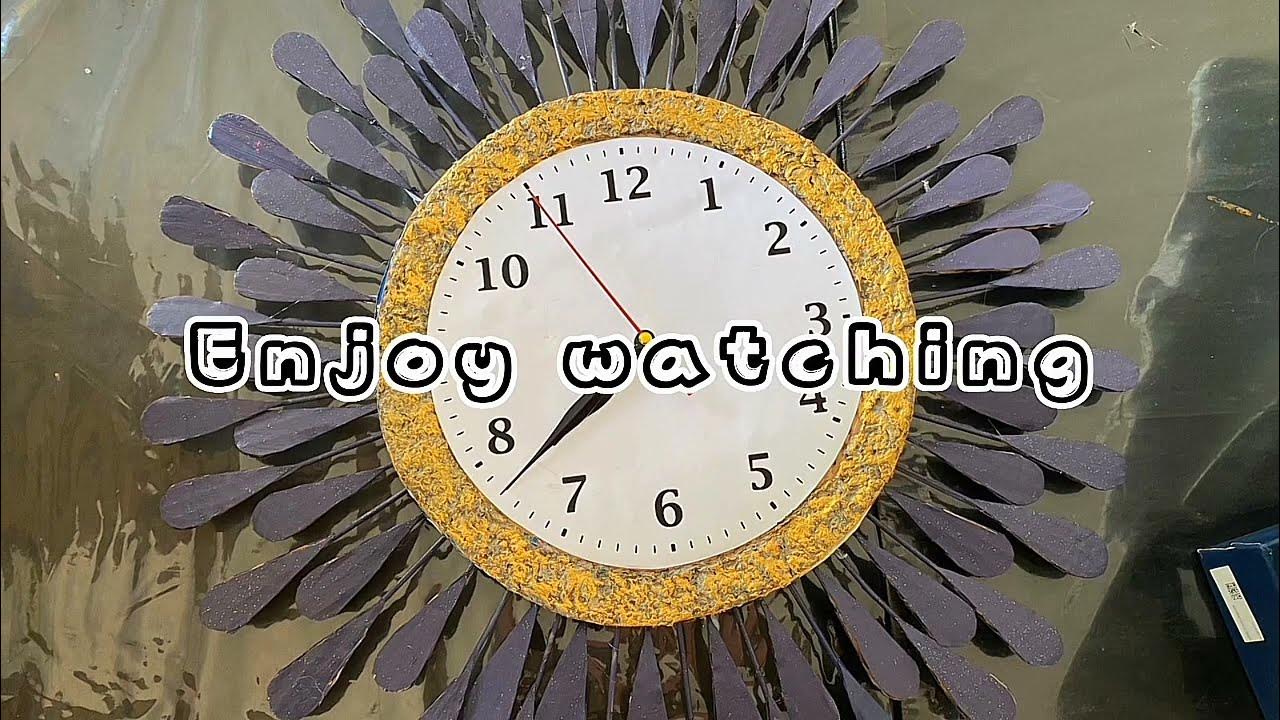
Vidio tutorial pembuatan jam dinding merak dari limbah sampah oleh (kelompok 2 ,Kelas X1)

Matematika kelas 8 | cara menghitung panjang sisi segitiga siku-siku yang memiliki sudut 30° dan 60°
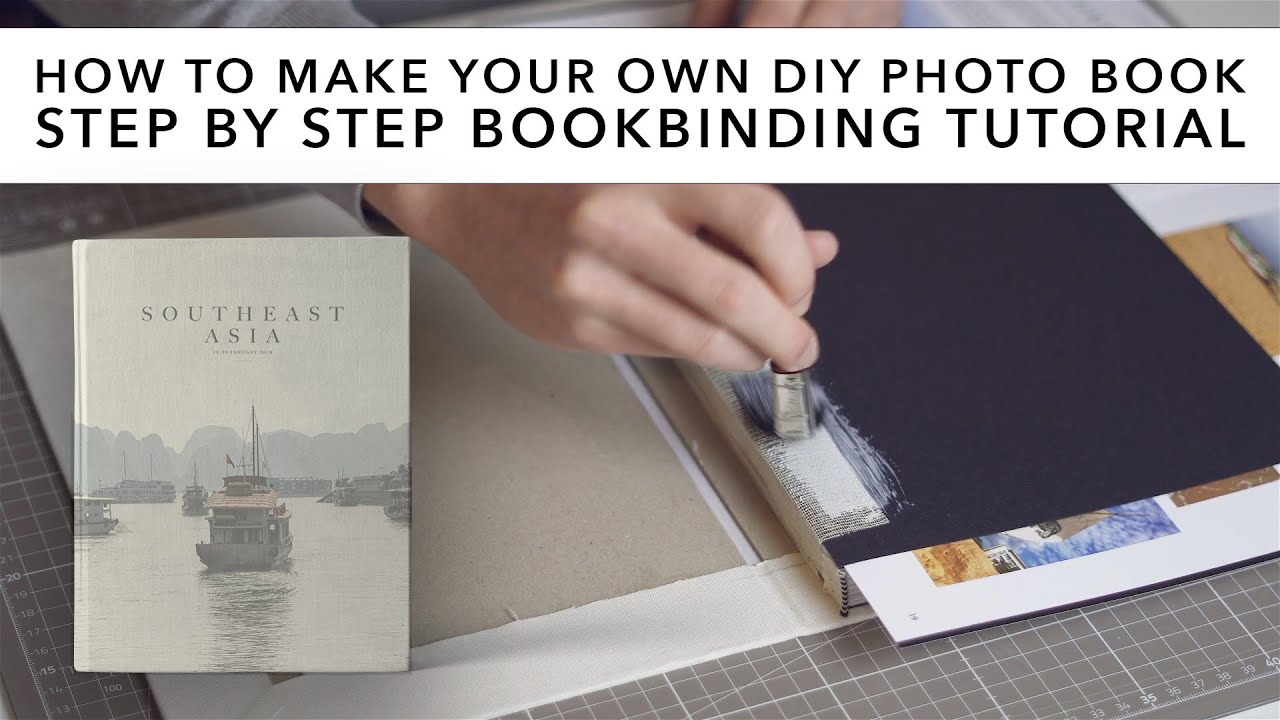
How to make your own DIY photo book | Step by Step Bookbinding Tutorial

How to Recombinate and CRAFT Armour Stacker Body Armour! - Path of Exile 3.26
5.0 / 5 (0 votes)
