How to make multiple contacts OWC by using petrel / Eng.Elaf Yahya
Summary
TLDRIn this tutorial, learn how to set up oil-water contacts for different wells (MP21, MC1, MC2) with varying depths across northern and southern domains. The process includes deleting previous work, inserting new well sections, selecting appropriate properties, and assigning specific oil-water contact depths. The video also covers how to compare these depths to surface data and visualize them in 3D. This step-by-step guide is designed to help you efficiently manage and visualize oil-water contact data for multiple wells in a geological model.
Takeaways
- 😀 Start by deleting any existing work to ensure a fresh start for your project.
- 😀 Insert new wells into the model and select the appropriate properties for each well.
- 😀 For each well, select the correct oil-water contact depth based on whether it is located in the northern or southern dome.
- 😀 MP21 well in the northern dome has an oil-water contact depth of 3875 meters, while in the southern dome it is 3800 meters.
- 😀 Repeat the same process for other wells like MC1 and MC2, adjusting the oil-water contact depths accordingly for different domes.
- 😀 Use the 'Oil-Water Contact' icon to select and edit the contact depth for each well.
- 😀 After setting the oil-water contact depths for all wells, proceed to create corresponding oil-water contact surfaces.
- 😀 To create surfaces, go to the 'Process' tab, select 'Name Edit Surface,' and import the correct input data for each well.
- 😀 Once surfaces are created, compare the oil-water contact surfaces to the ground surface in the model.
- 😀 Open a 3D window to visualize the oil-water contact surfaces and compare them against the ground surface for verification.
- 😀 Conclude the process once all wells' oil-water contact surfaces are set and compared, ensuring the accuracy of the model.
Q & A
What is the main purpose of the tutorial?
-The main purpose of the tutorial is to guide users through the process of setting up oil-water contacts for wells at different depths using specialized software, ensuring accurate data configuration for multiple wells in both northern and southern regions.
What steps are involved in starting the oil-water contact setup?
-To start the setup, you first delete any previous configurations, ensuring a fresh start. Then, you proceed to insert wells and select their properties before setting up the oil-water contacts.
Why is it important to select the correct depth for oil-water contacts?
-Selecting the correct depth for oil-water contacts is crucial for accurate geological modeling and well analysis. Different depths are necessary depending on the location of the well (north or south dome) to ensure the data reflects the true geological conditions.
How are the wells and their properties managed in the software?
-The software allows you to insert wells by selecting their properties. Users can choose from a range of available properties, but the key is to select the correct type for each well to set the appropriate oil-water contact depth.
What are the differences between oil-water contact depths in the northern and southern regions?
-The oil-water contact depths vary between the northern and southern regions. For example, for MD21, the north dome has an oil-water contact at 3875 meters, while the south dome has it at 3800 meters.
How does the tutorial suggest dealing with multiple wells like MD21, MC1, and MC2?
-The tutorial suggests that each well (MD21, MC1, MC2) should be handled separately by selecting the appropriate oil-water contact depth for the respective region. The steps for setting oil-water contacts are the same for each well, with slight adjustments depending on their location.
What is the role of the 'process' tool in this tutorial?
-The 'process' tool is used to compare surface data with the oil-water contact depth data. It helps to set up surface boundaries for each well and allows the user to define input and output data to verify the accuracy of the oil-water contact depth.
What does the 'import input' function do in the process step?
-The 'import input' function allows users to load specific data associated with each well (e.g., MD21, MC1, MC2) for further processing. This data includes the depths of oil-water contacts and surface details.
Why is it necessary to create surfaces for each well's oil-water contact?
-Creating surfaces for each well's oil-water contact is necessary to visualize and compare the depths and properties of the contact. It ensures that the software accurately represents the oil-water interface for each well in the model.
What should be done after the oil-water contacts have been set up for all wells?
-After the oil-water contacts have been set up, the next step is to compare the surfaces to the input data, ensuring that all configurations are correct. The final step is to apply these settings and finalize the process, ensuring the wells are properly configured in the system.
Outlines

このセクションは有料ユーザー限定です。 アクセスするには、アップグレードをお願いします。
今すぐアップグレードMindmap

このセクションは有料ユーザー限定です。 アクセスするには、アップグレードをお願いします。
今すぐアップグレードKeywords

このセクションは有料ユーザー限定です。 アクセスするには、アップグレードをお願いします。
今すぐアップグレードHighlights

このセクションは有料ユーザー限定です。 アクセスするには、アップグレードをお願いします。
今すぐアップグレードTranscripts

このセクションは有料ユーザー限定です。 アクセスするには、アップグレードをお願いします。
今すぐアップグレード関連動画をさらに表示

Dyed Water Moving Through a Sand Tank
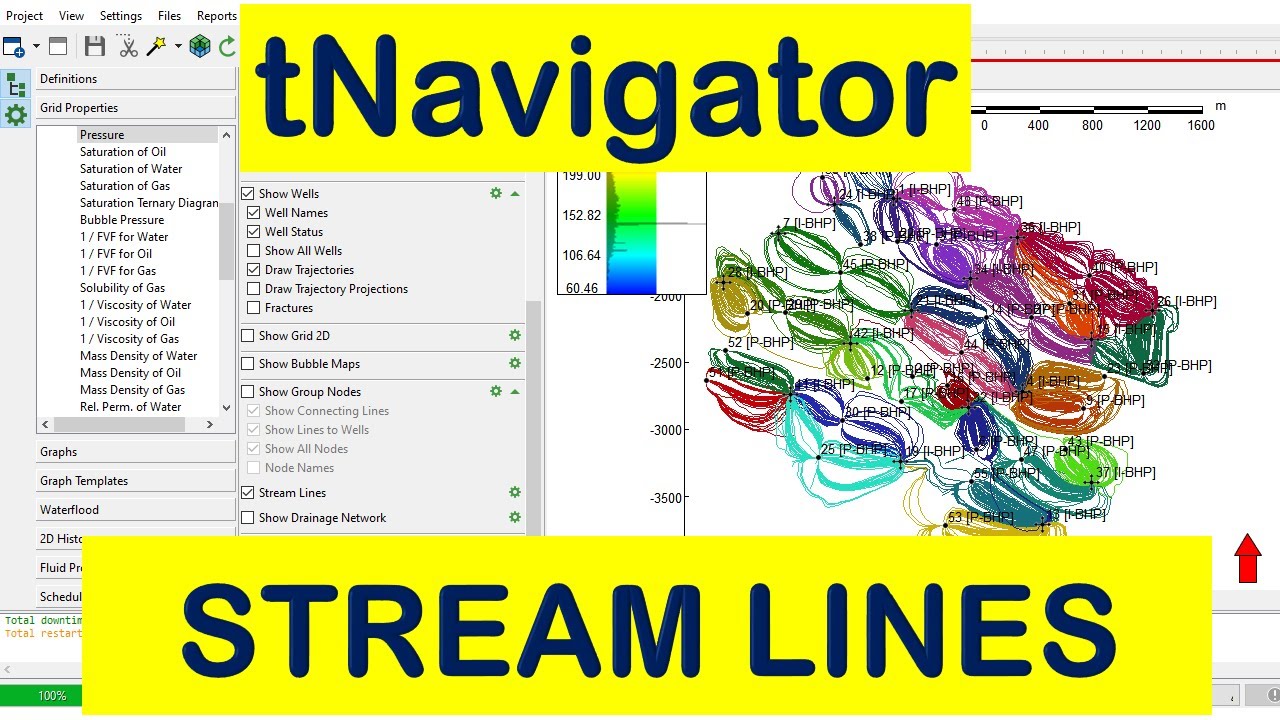
tNavigator 2: Stream Lines

How Offshore Oilrigs Work, Float, and Extract Oil

Coriolis Effect: How Hurricanes Form & Why they Spin in different ways in North and South Hemisphere
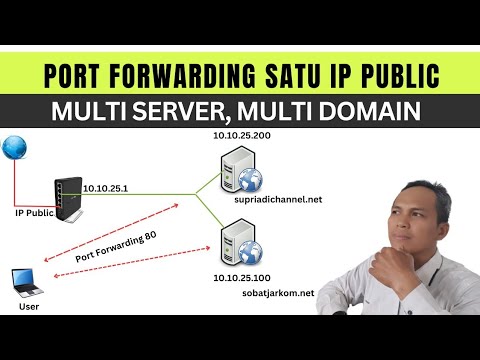
Port Forwarding satu IP Public Multiple Server, Multiple Domain di Mikrotik

Scratch - Projek Sederhana #2
5.0 / 5 (0 votes)
