You should paint everything blue
Summary
TLDRIn this painting tutorial, the artist demonstrates how to create a realistic apple by layering various colors beyond just red. Starting with underpainting in blue for shadows, the artist adds yellow and orange streaks to highlight the apple's natural tones. The red is layered later, allowing other colors to shine through, giving depth and texture. This process helps create realistic lighting and vibrant contrasts, with particular attention to making the apple's shine crisp. By the end, the apple is rich with color, shadows, and highlights. Viewers are encouraged to engage and suggest future content.
Takeaways
- 🍎 Apples can be painted in various colors, not just red, to create a realistic appearance.
- 🎨 Underpainting with blue can help establish shadows and add depth to the apple's appearance.
- 🌟 Adding yellow streaks or dots first allows for highlights to shine through the red layers later.
- 🖌️ Painting with darker orange layers helps in creating the illusion of depth and texture on the apple.
- 💧 Underpainting provides an opportunity to create texture that will show through the final layers.
- 🟥 When painting red over blue, the mix creates a natural purple hue, enhancing the shadow areas.
- 🔴 Leaving areas of yellow and orange exposed in lighter areas helps to create a more natural look.
- 📏 Sharp lines between shadows and highlights are crucial for a realistic, shiny apple effect.
- 💧 Ensuring the paper is dry before painting highlights prevents bleed, maintaining a crisp shine.
- 🖍️ Adding saturated red to the apple increases color vibrancy and contrast between highlights and shadows.
- 🌈 Using a dry brush helps in controlling paint application, especially in highlighted areas to avoid blending.
Q & A
What is the primary color associated with apples in common perception?
-Red.
What technique does the artist use to start painting the apple?
-Underpainting.
Why does the artist choose to use blue for the underpainting of the apple's shadows?
-Using blue for underpainting allows the artist to create a cohesive piece when painting over it with red, and it also helps in creating shadows that appear more realistic.
What color does the artist use to represent the streaks of yellow and orange that shine through the apple's red color?
-Yellow.
How does underpainting help in creating texture on the apple?
-Underpainting allows the artist to create texture by making strokes, light lines, and dots that will shine through even after painting over them with red.
What color combination does the artist use to create a more realistic shadow effect?
-The artist uses a combination of blue and red to create a purple shadow effect, which adds to the realism of the painting.
Why does the artist leave areas of yellow and orange exposed when painting the red layer?
-Leaving areas of yellow and orange exposed helps to create a more natural and realistic image by allowing these colors to shine through the red layer.
How does the artist approach painting the highlighted areas of the apple?
-The artist ensures the paper is dry to maintain a crisp line for the highlight, which is important for creating a realistic shine on the apple.
What does the artist do to add saturation to the apple's red color in the painting?
-The artist goes over the apple with a more saturated red to increase the color intensity and create a more vibrant and contrasting effect with the highlights.
What is the artist's advice for painting into highlighted areas without blending too much?
-The artist suggests using a drier brush to control the paint better and to leave finer details in the highlighted areas.
What does the artist encourage viewers to do if they find the tutorial helpful or have suggestions for future content?
-The artist encourages viewers to leave a like, drop a comment, and share what they want the artist to paint next.
Outlines

このセクションは有料ユーザー限定です。 アクセスするには、アップグレードをお願いします。
今すぐアップグレードMindmap

このセクションは有料ユーザー限定です。 アクセスするには、アップグレードをお願いします。
今すぐアップグレードKeywords

このセクションは有料ユーザー限定です。 アクセスするには、アップグレードをお願いします。
今すぐアップグレードHighlights

このセクションは有料ユーザー限定です。 アクセスするには、アップグレードをお願いします。
今すぐアップグレードTranscripts

このセクションは有料ユーザー限定です。 アクセスするには、アップグレードをお願いします。
今すぐアップグレード関連動画をさらに表示
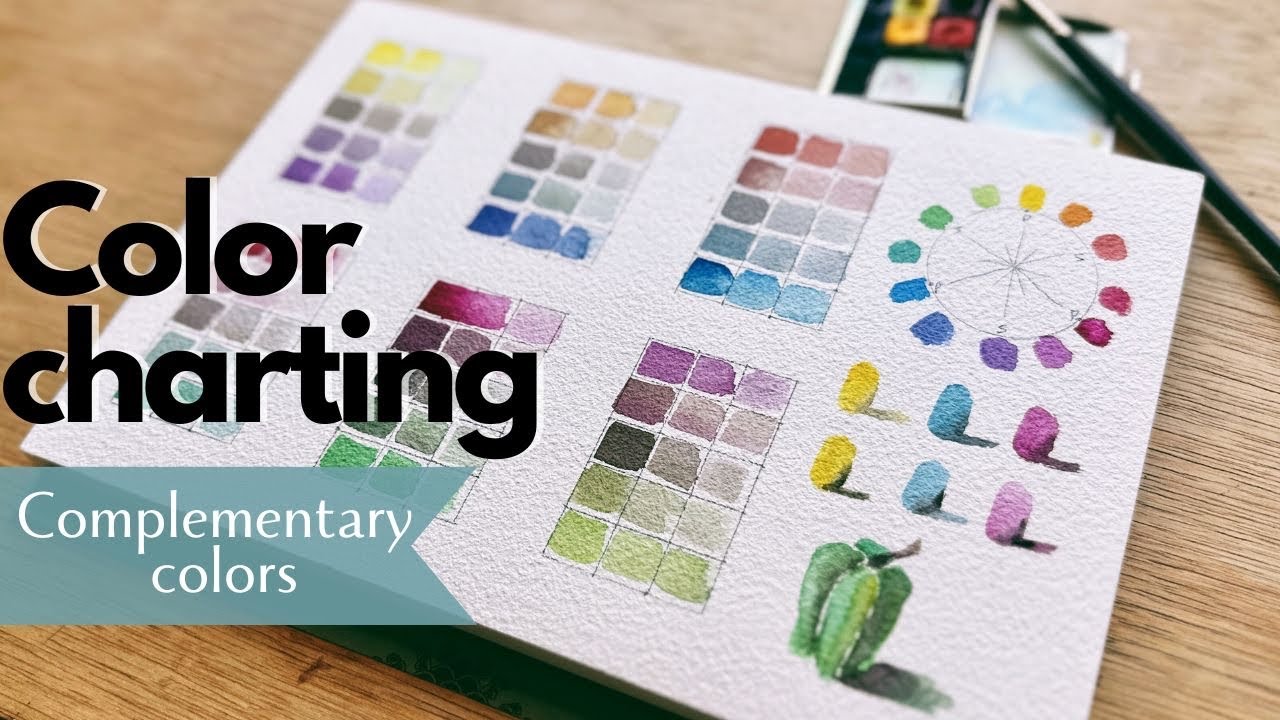
Mixing complementary colors with watercolor for perfect shadows
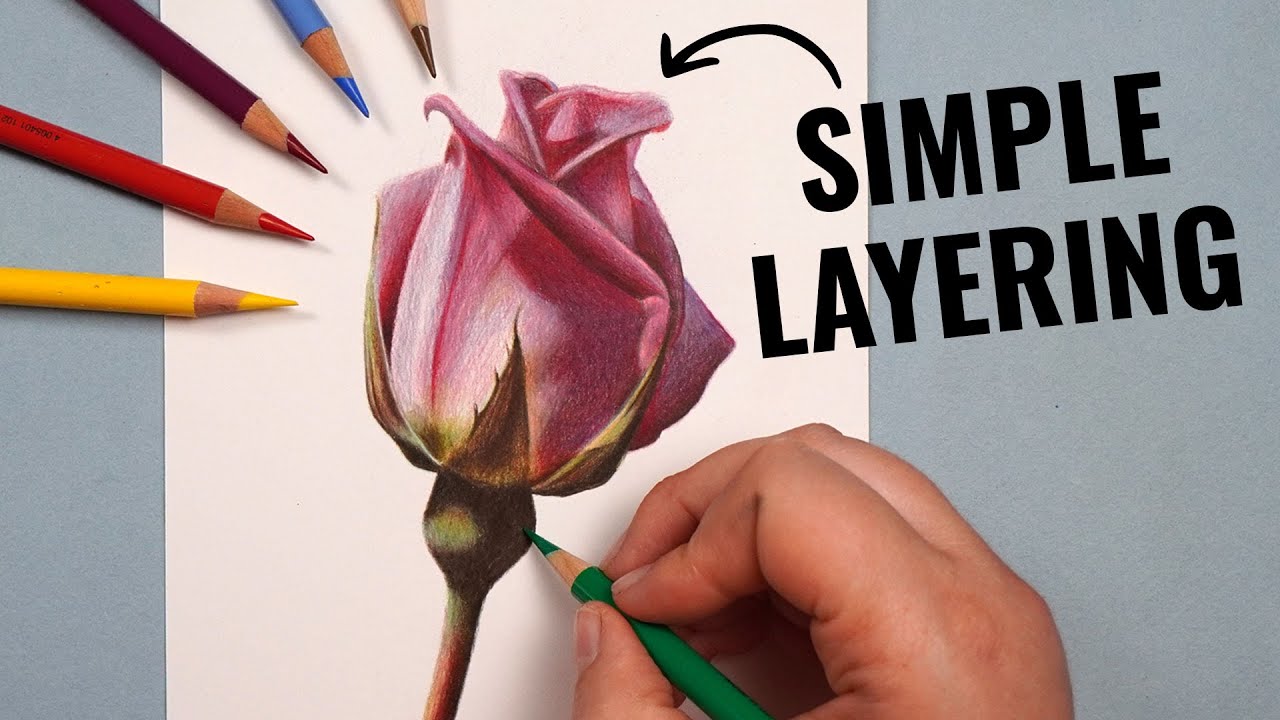
Layering With ONLY 12 Colored Pencils | Polychromos Tutorial

DRAWING SKIN TONES WITH COLORED PENCILS | Color Guide
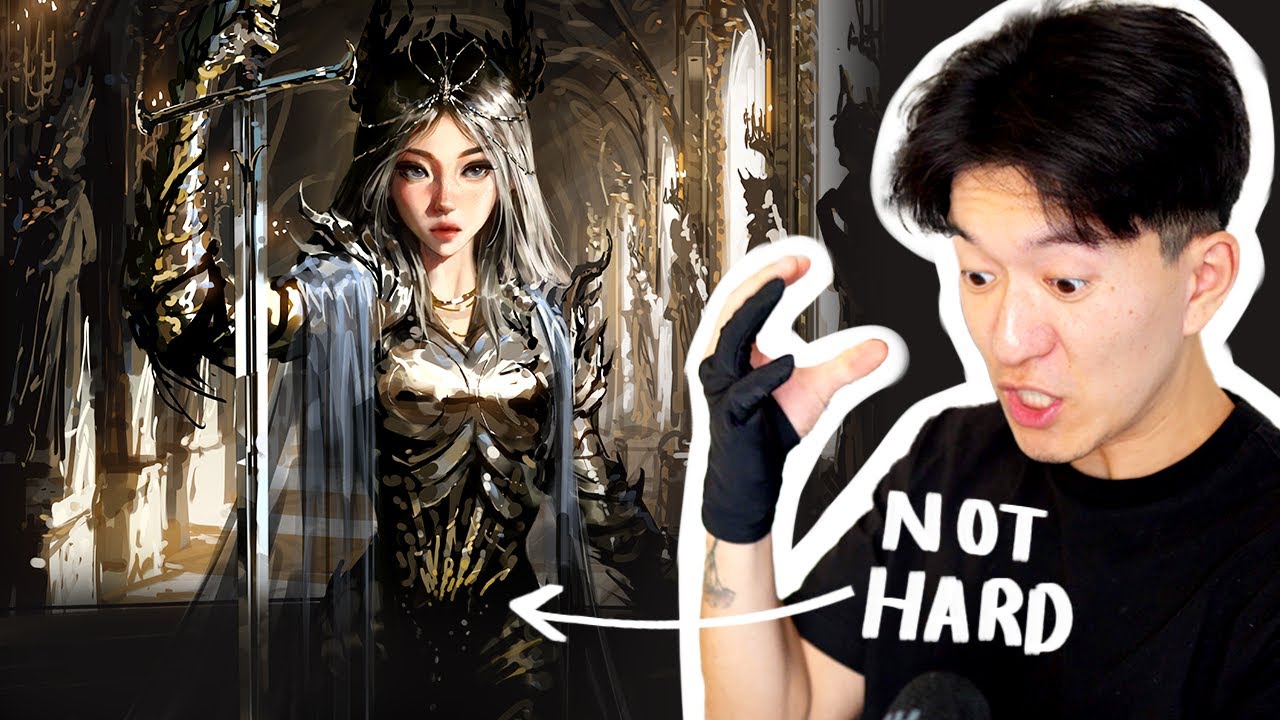
HOW TO DRAW ARMOR LIKE AN ART GOD. 🗿

I Think I Just Painted My Favorite One Yet! / Abstract Floral Acrylic Painting
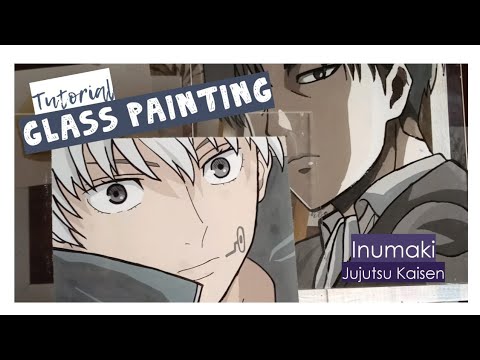
ANIME GLASS ART TUTORIAL | melukis di kaca
5.0 / 5 (0 votes)
