♡ Crochet No-Sew Jellyfish and Octopus Tutorial | ocean (bag) charms ♡
Summary
TLDRThis crochet tutorial guides you through creating a jellyfish or octopus amigurumi. It starts with making a magic ring and progresses to various rounds of single crochets, increases, and decreases. For the jellyfish, the tutorial includes making tentacles using chains and single crochets in front loops, and adding a ruffle with popcorn stitches. For the octopus, it involves creating legs with double crochets and slip stitches. The video also covers filling the amigurumi with fiber filling, embroidering eyes, and adding a blush effect for a cute finish.
Takeaways
- 🧶 Start by creating a magic ring with appropriate yarn and crochet hook.
- 🔄 For round one, make six single crochets into the magic ring to close it.
- 🔑 Use a stitch marker to keep track of the beginning of each round.
- 📈 Increase stitches are made by crocheting two single crochets into one stitch.
- 🔄 In round two, make increased stitches in every stitch to achieve a total of 12 single crochets.
- 🔄 Continue increasing in subsequent rounds, following a pattern of increases and single crochets.
- 🧵 Switch to back loop only stitches from round 13 to create texture.
- 🔍 Decrease stitches are introduced in round 13, combining single crochets and decrease stitches.
- 🎨 Fill the project with fiber fillings or stuffing to maintain shape and form.
- 🐙 For the octopus variation, follow the same pattern until round 17, then make slip stitches across rounds and create tentacles with double crochets.
Q & A
What is the first step in the crochet project described in the script?
-The first step is to create a magic ring and then insert the hook, yarn over, and pull through the loop to create a loop on the hook.
How many single crochets are made in round one of the project?
-In round one, you need to make a total of six single crochets into the magic ring.
What is the purpose of using a stitch marker in round two?
-A stitch marker is used in round two to mark the first single crochet made, helping to keep track of the round and ensuring the pattern is followed correctly.
How do you make an increase stitch in this crochet pattern?
-An increase stitch is made by doing two single crochets together in one stitch.
What is the total number of single crochets in round three?
-In round three, you will have a total of 18 single crochets after following the pattern of one single crochet and an increase stitch in the next stitch.
How many single crochets are made in each round from round seven to twelve?
-From round seven to twelve, you make one single crochet in each and every stitch, resulting in thirty-six single crochets for one row.
What is the purpose of filling the project with fiber fillings or scorpions?
-Filling the project with fiber fillings or scorpions is done to give it shape and ensure it does not look wonky or misshapen.
How many tentacles are typically made for the jellyfish project?
-Typically, eight or ten tentacles are made for the jellyfish project by repeating the pattern of slip stitches, chains, and single crochets in the front loops.
What is the difference between the jellyfish and octopus patterns after round 17?
-For the jellyfish, you continue by making slip stitches and then work on creating the ruffle and tentacles. For the octopus, you make slip stitches across the rounds until you reach the last front loop round and then start making the body and legs with double crochet stitches.
How do you add the eyes to the jellyfish or octopus project?
-You can either embroider the eyes or use amigurumi eyes and attach them above the ruffle on the third or fourth round for the jellyfish, and for the octopus, you embroider or attach eyes after completing the body and legs.
What is the final step in finishing the jellyfish or octopus project?
-The final step is to weave in the ends of the yarn to ensure the project is neat and tidy, and then you can add a keychain ring or kicking strap if desired.
Outlines

Cette section est réservée aux utilisateurs payants. Améliorez votre compte pour accéder à cette section.
Améliorer maintenantMindmap

Cette section est réservée aux utilisateurs payants. Améliorez votre compte pour accéder à cette section.
Améliorer maintenantKeywords

Cette section est réservée aux utilisateurs payants. Améliorez votre compte pour accéder à cette section.
Améliorer maintenantHighlights

Cette section est réservée aux utilisateurs payants. Améliorez votre compte pour accéder à cette section.
Améliorer maintenantTranscripts

Cette section est réservée aux utilisateurs payants. Améliorez votre compte pour accéder à cette section.
Améliorer maintenantVoir Plus de Vidéos Connexes
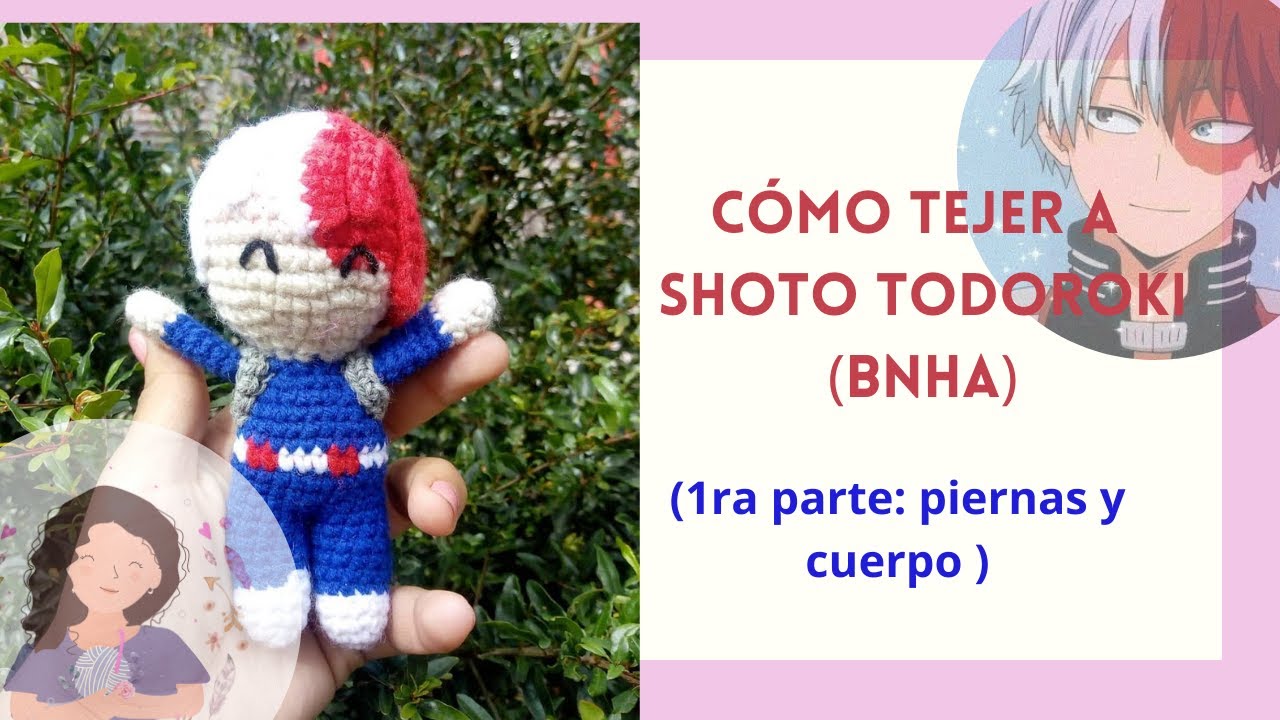
Cómo tejer a Shoto Todoroki ❄️🔥. (Anime: Bnha). Sueños a crochet
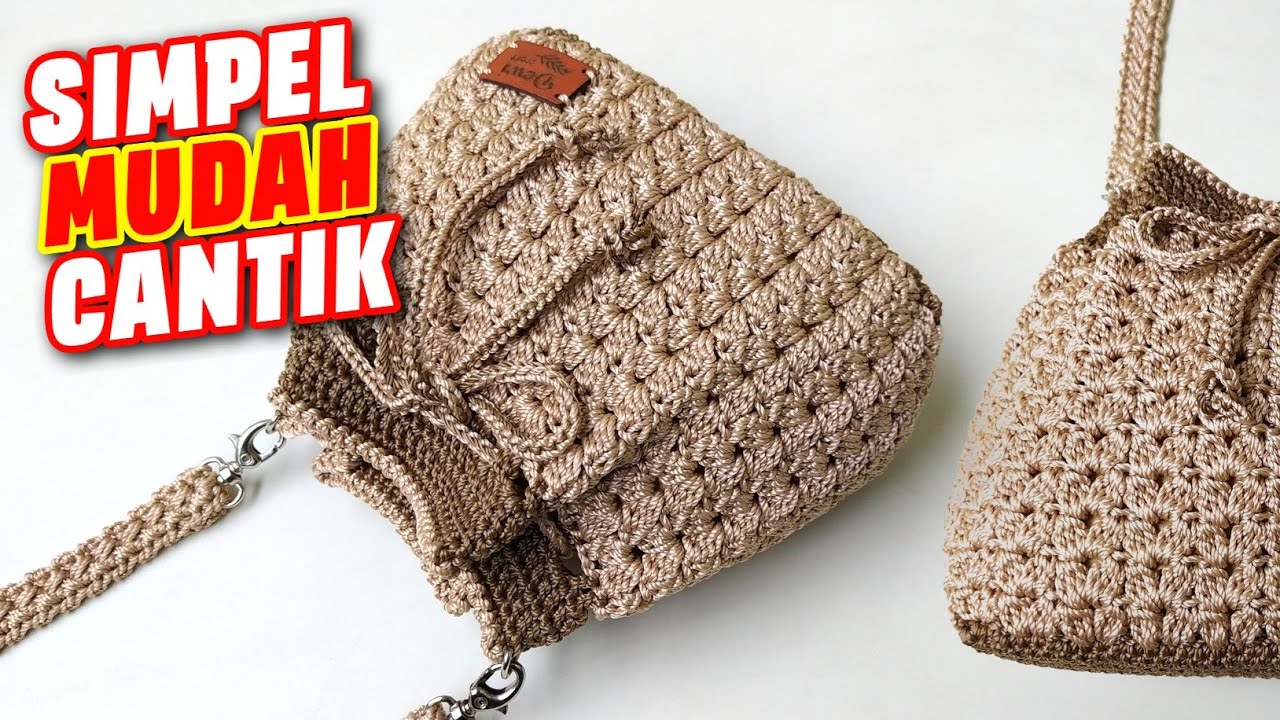
VERY SIMPLE AND EASY CROCHET BAGS

Bunga Tulip Rajut || Amigurumi Flower || Pipiet Rajut

Perrito SALCHICHA AMIGURUMI/ Tutorial parte 3 paso a paso - Celina innovaciones crochet

How to Triple Crochet / Treble Crochet | BEGINNERS Series - Lesson 8

How to Crochet a Heart for Valentines Day | EASY Step by Step Tutorial | US TERMS
5.0 / 5 (0 votes)
