Top 10 Text Animations Tutorial | Capcut Text animations | capcut tutorial
Summary
TLDRThis video tutorial provides a step-by-step guide on creating top 10 text animations to enhance video appeal and engagement. The tutorial covers various animation styles, such as rainbow text, color change, transparent text, logo text, and 3D text, among others. Each animation technique is explained in detail, including the use of different effects, keyframes, and overlays to make videos more attractive. By following these instructions, viewers can easily create eye-catching animations to boost the visual appeal of their content.
Takeaways
- 🎥 Text animation plays a vital role in making videos attractive and engaging.
- 📜 Without text animation, it's nearly impossible to make videos appealing to viewers.
- 🛠️ The tutorial covers the top 10 text animations that can enhance attraction and engagement in videos.
- 🖌️ First animation: Rainbow text – involves adding text and applying effects such as burn after overlaying on a black screen.
- 🌈 Second animation: Color change text – uses keyframes to switch colors rapidly and adds shine loop animation for a glowing effect.
- 🔲 Third animation: Transparent text – used as a watermark by removing the green screen and overlaying on the video.
- 💡 Fourth animation: Like text – includes wipe-down animation combined with line animations for character spacing adjustments.
- 💻 Fifth animation: 3D text – uses green screen and 3D templates to create layered animations with effects like 'darken'.
- ✍️ Sixth animation: Logo text – changes the first letter's color and adds slash effects to the animated text.
- ✨ Seventh animation: Mask text – applies zoom and slide effects using keyframes and masks for a dynamic appearance.
Q & A
What role does text animation play in video editing?
-Text animation plays a critical role in making videos more attractive and engaging. Without text animations, it is difficult to make a video visually appealing.
What is the first text animation tutorial described in the script?
-The first tutorial is about 'Rebo Text Animation,' where a new project is started, a black screen is added, and then text and fonts are customized. An animation is applied, followed by overlay and burn effects to finalize the animation.
How can you create a color-change text animation?
-To create a color-change text animation, you add text and select a font. Then, use keyframes to gradually change colors, and finally apply a shine loop animation to complete the effect.
What is the use of the 'transparent text animation' described in the script?
-The transparent text animation can be used as a watermark on videos. This is achieved by using a green background, applying text, and then removing the green screen with a chroma key effect.
How do you apply the 'like text animation'?
-For the 'like text animation,' add a black screen and a preferred font. Use an 'in' animation and 'wipe down' for the out animation. Adjust lines, apply keyframes, and tweak spacing to complete the effect.
What steps are involved in creating a 3D text animation?
-To create a 3D text animation, start with a green screen, add text using a 3D template, and then remove the green screen using the chroma key effect. Finalize the animation with an overlay and darken effect.
What is the 'logo text animation' about?
-The logo text animation involves selecting the first letter of the text, changing its color, and applying animations to the text using keyframes. Masking and size adjustments are then applied to create a smooth animation.
How do you create a mask text animation?
-To create a mask text animation, add a black screen, insert text, and apply a zoom effect. Then, add a slide effect and keyframes to animate the text, making it appear smoothly across the screen.
What is involved in the 'split screen text animation' process?
-In the split screen text animation, you start with a white screen, add text, and export it. Then, you overlay the text on a video, apply a splice mask, and use keyframes to animate the text's movement.
How do you create a floating race text animation?
-To create a floating race text animation, start with a black screen, add text, and apply a floodlight loop animation. This gives the text a continuous floating or racing effect.
Outlines

Esta sección está disponible solo para usuarios con suscripción. Por favor, mejora tu plan para acceder a esta parte.
Mejorar ahoraMindmap

Esta sección está disponible solo para usuarios con suscripción. Por favor, mejora tu plan para acceder a esta parte.
Mejorar ahoraKeywords

Esta sección está disponible solo para usuarios con suscripción. Por favor, mejora tu plan para acceder a esta parte.
Mejorar ahoraHighlights

Esta sección está disponible solo para usuarios con suscripción. Por favor, mejora tu plan para acceder a esta parte.
Mejorar ahoraTranscripts

Esta sección está disponible solo para usuarios con suscripción. Por favor, mejora tu plan para acceder a esta parte.
Mejorar ahoraVer Más Videos Relacionados
Mengenal Microsoft Word (4): Bekerja dengan Grafik
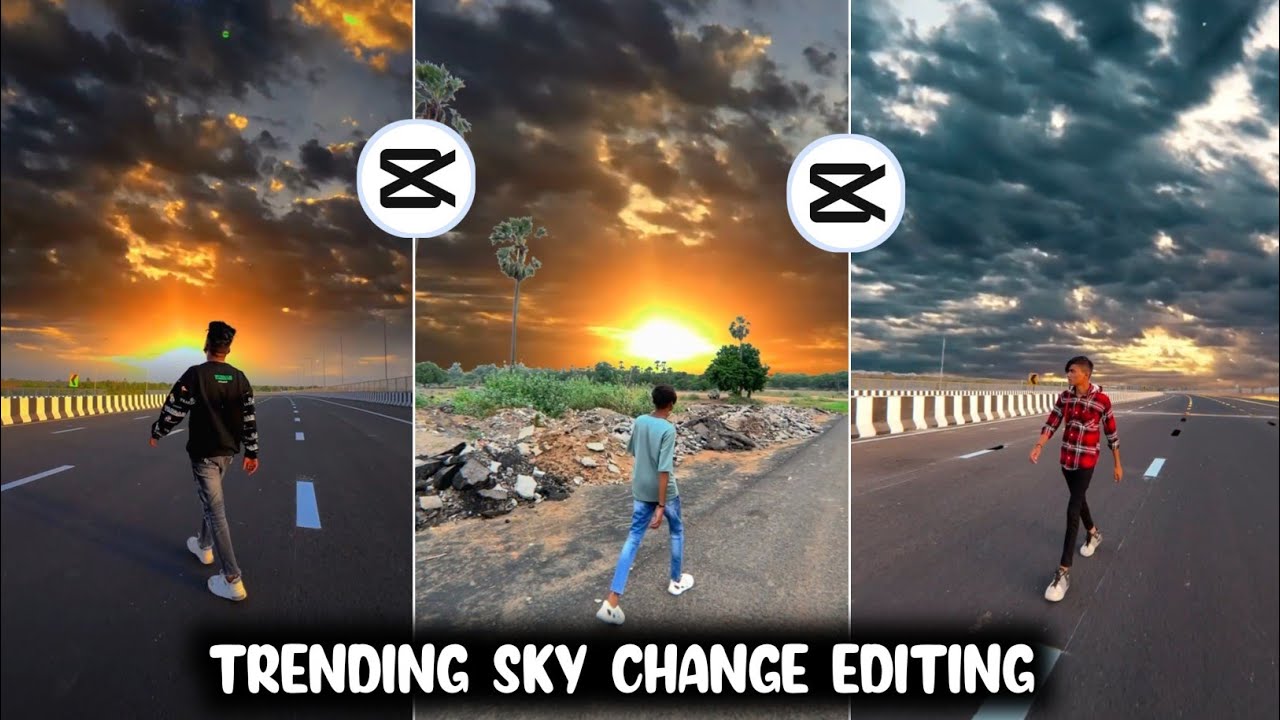
New Trending Sky Moving Reels Video Editing In Capcut | Sky Change Reels Video Editing In Capcut
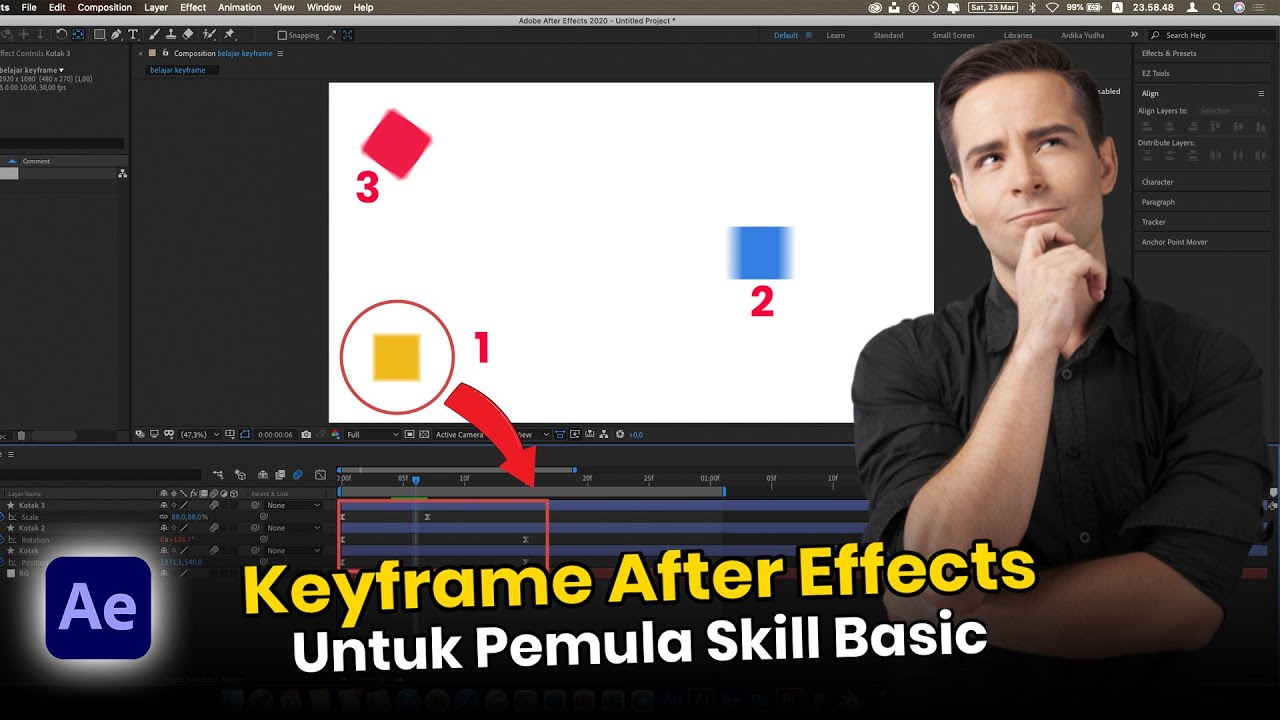
How to KEYFRAME in Adobe After Effects (Tutorial)
How I created these VIRAL POWERPOINTS 🥵🥵🥵
How To Make YouTube Shorts With Canva (Step By Step For Beginners)

Belajar HTML Dasar: Menandai Teks Penting dengan Tag mark
5.0 / 5 (0 votes)
