Lecture 60: Sampling and Analysis of PM10 & PM2.5 using Spectrometer
Summary
TLDRThis video script details the use of spectrometer-based instruments for sampling and analyzing particulate matter, specifically PM10 and PM2.5. It covers the importance of particulate matter in air quality and health, the principles of light scattering for particle measurement, and the operation of the GRIMM spectrometer. The script also explains the process of data collection, software analysis, and the comparison between high-volume samplers and spectrometers, concluding with a lab demonstration and acknowledgments.
Takeaways
- 🔬 The script discusses the use of a spectrometer for sampling and analyzing particulate matter (PM10, PM2.5, and even PM1), offering an alternative to the gravimetric methodology using high-volume samplers.
- 📚 The lecture provides an overview of the importance of particulate matter in terms of environmental and health impacts, highlighting the significance of fine and ultra-fine particles.
- 🌟 National Ambient Air Quality Standards for PM10 and PM2.5 are mentioned, with specific concentration values not to be exceeded for annual and 24-hour periods.
- 🛠 The GRIMM instrument is introduced as the spectrometer-based tool used for monitoring particulate matter, with a detailed description of its components and setup.
- 💡 The principle of light scattering by single particles is explained as the basic working mechanism of the spectrometer, which allows for the measurement of particle count and mass concentration.
- 📉 The process of preparing the spectrometer for data collection, including the careful handling of filter paper and ensuring its accurate weighing, is outlined.
- 🖥️ Data analysis is facilitated by software provided with the spectrometer, which allows for the selection of time intervals, data transfer to a PC, and the creation of spreadsheets for easy analysis.
- ⏱️ The importance of synchronizing the spectrometer's time with the PC time to avoid errors in time recording is emphasized, with a recommendation for regular synchronization.
- 🔍 The script includes a demonstration of how to use the spectrometer's control software for real-time monitoring and data collection, including setting up user settings and starting/stopping the device.
- 📚 A lab-based video is mentioned, which illustrates the sampling and analysis process of PM10 and PM2.5 using a spectrometer, providing a visual aid to the lecture's content.
- 📈 The versatility of the spectrometer is highlighted, as it can measure not only mass concentration but also particle count, which is crucial for source identification and compliance with air quality standards.
Q & A
What is the primary topic of the lecture?
-The primary topic of the lecture is the sampling and analysis of particulate matter, specifically PM10 and PM2.5, using spectrometer-based instruments.
What are the two main methods discussed for sampling PM10 and PM2.5?
-The two main methods discussed for sampling PM10 and PM2.5 are the gravimetric methodology using a high-volume sampler and the spectrometer-based method.
Why are particulate matters important to monitor?
-Particulate matters are important to monitor due to their significant impact on both the environment and human health, as they can cause various respiratory issues.
What are the National Ambient Air Quality Standards for PM10 and PM2.5?
-The National Ambient Air Quality Standards for PM10 and PM2.5 are an annual concentration of 60 and a 24-hour concentration of 100 for both, which should not be exceeded.
What is the role of the spectrometer in measuring particulate matter?
-The spectrometer measures particulate matter by using light scattering principles. It can provide not only mass concentration but also the count of particles.
What is the basic principle behind the spectrometer's operation?
-The basic principle behind the spectrometer's operation is the light scattering by single particles, which is then detected by a detector, allowing for the monitoring of particle count and mass concentration.
What is the significance of the filter paper in the spectrometer?
-The filter paper is crucial in the spectrometer as it is used to collect particles for analysis. It must be carefully handled, weighed, and replaced to ensure accurate measurements.
How is data transferred from the spectrometer to a desktop or laptop?
-Data is transferred from the spectrometer to a desktop or laptop using a software provided by the spectrometer manufacturer, which allows for the selection of ports, setting time intervals, and initiating the monitoring process.
What is the importance of synchronizing the device time with the PC time?
-Synchronizing the device time with the PC time is important to avoid errors in time recording, ensuring that the data collected is accurately timestamped.
How can the data collected by the spectrometer be analyzed?
-The data collected by the spectrometer can be analyzed using the provided software, which offers various options for data visualization, including graphs, tables, and statistical analysis.
What is the purpose of the video presented in the lecture?
-The purpose of the video is to illustrate the sampling and analysis process of particulate matter, specifically PM10 and PM2.5, using a spectrometer in a laboratory setting.
Outlines

Dieser Bereich ist nur für Premium-Benutzer verfügbar. Bitte führen Sie ein Upgrade durch, um auf diesen Abschnitt zuzugreifen.
Upgrade durchführenMindmap

Dieser Bereich ist nur für Premium-Benutzer verfügbar. Bitte führen Sie ein Upgrade durch, um auf diesen Abschnitt zuzugreifen.
Upgrade durchführenKeywords

Dieser Bereich ist nur für Premium-Benutzer verfügbar. Bitte führen Sie ein Upgrade durch, um auf diesen Abschnitt zuzugreifen.
Upgrade durchführenHighlights

Dieser Bereich ist nur für Premium-Benutzer verfügbar. Bitte führen Sie ein Upgrade durch, um auf diesen Abschnitt zuzugreifen.
Upgrade durchführenTranscripts

Dieser Bereich ist nur für Premium-Benutzer verfügbar. Bitte führen Sie ein Upgrade durch, um auf diesen Abschnitt zuzugreifen.
Upgrade durchführenWeitere ähnliche Videos ansehen

Cara Penggunaan Alat HVAS (high volume air sampler)

Lecture 58: Stack Emission Monitoring using Isokinetic Sampling
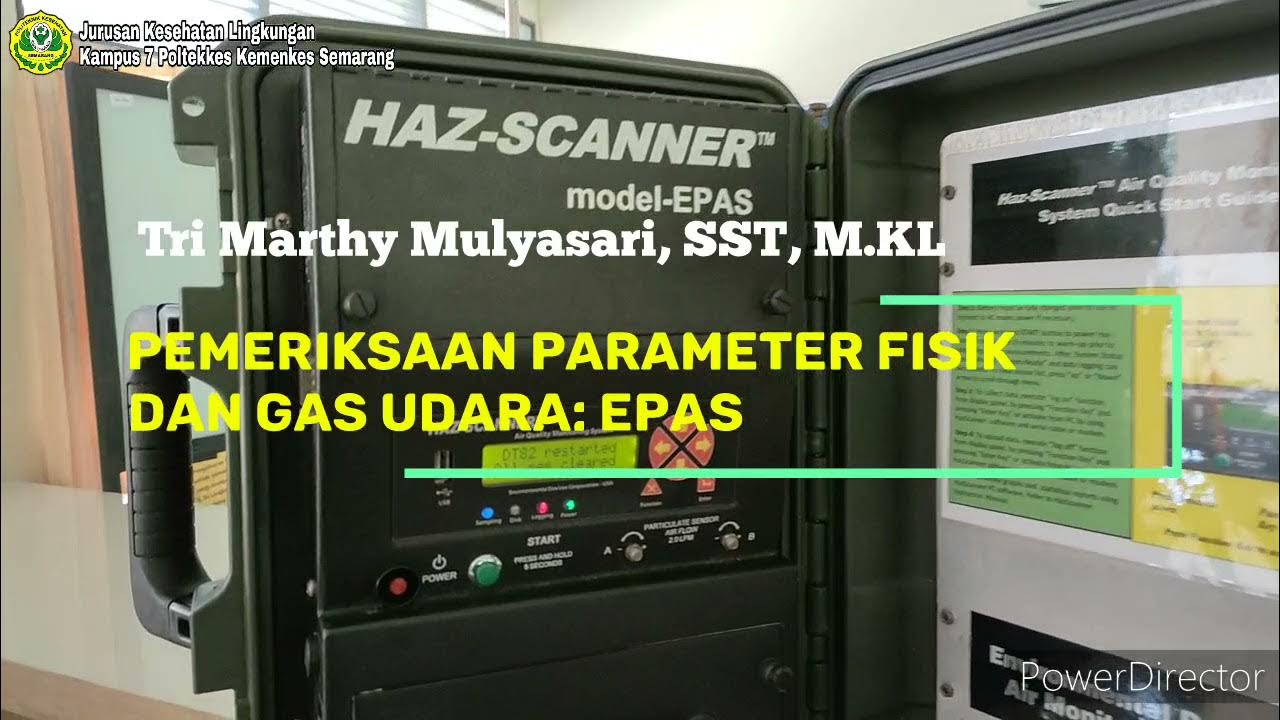
Pemeriksaan Parameter Gas dan Fisik Pada Udara menggunakan Alat EPAS

Video pengenalan alat osfis 2023
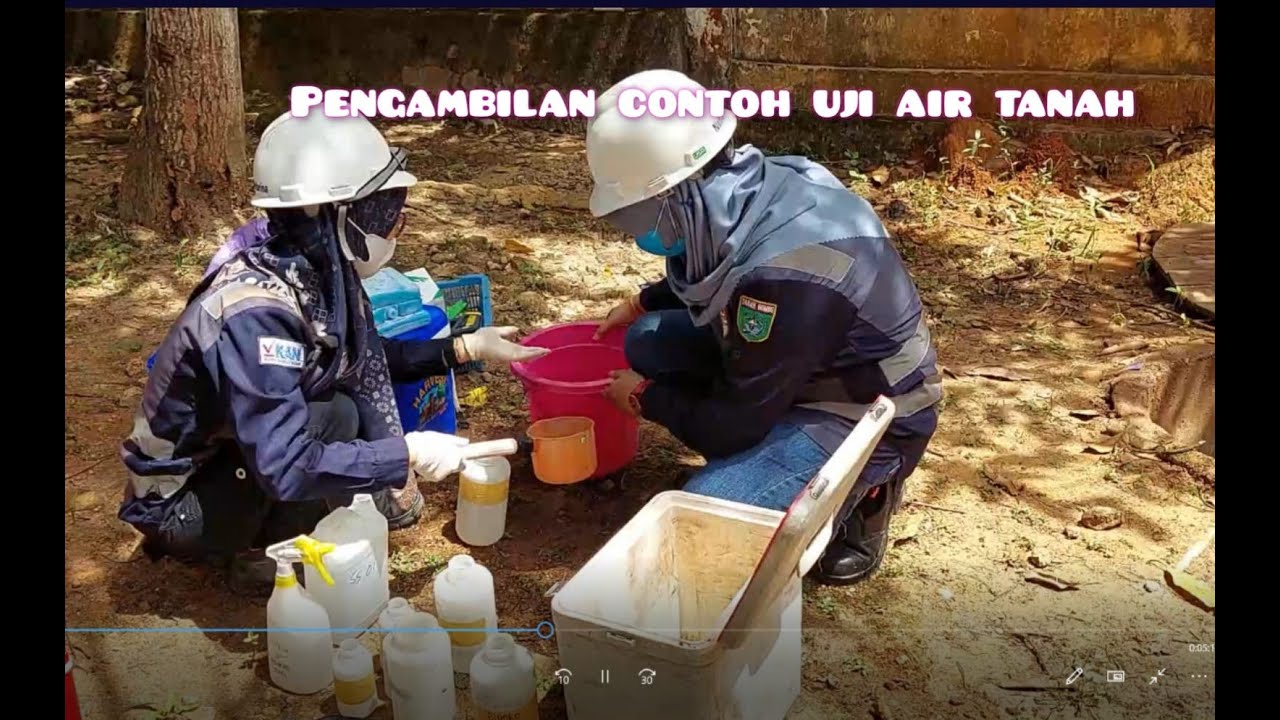
Sampling Contoh Uji Air Tanah #laboratorium #sampling #lingkungan #akreditasi
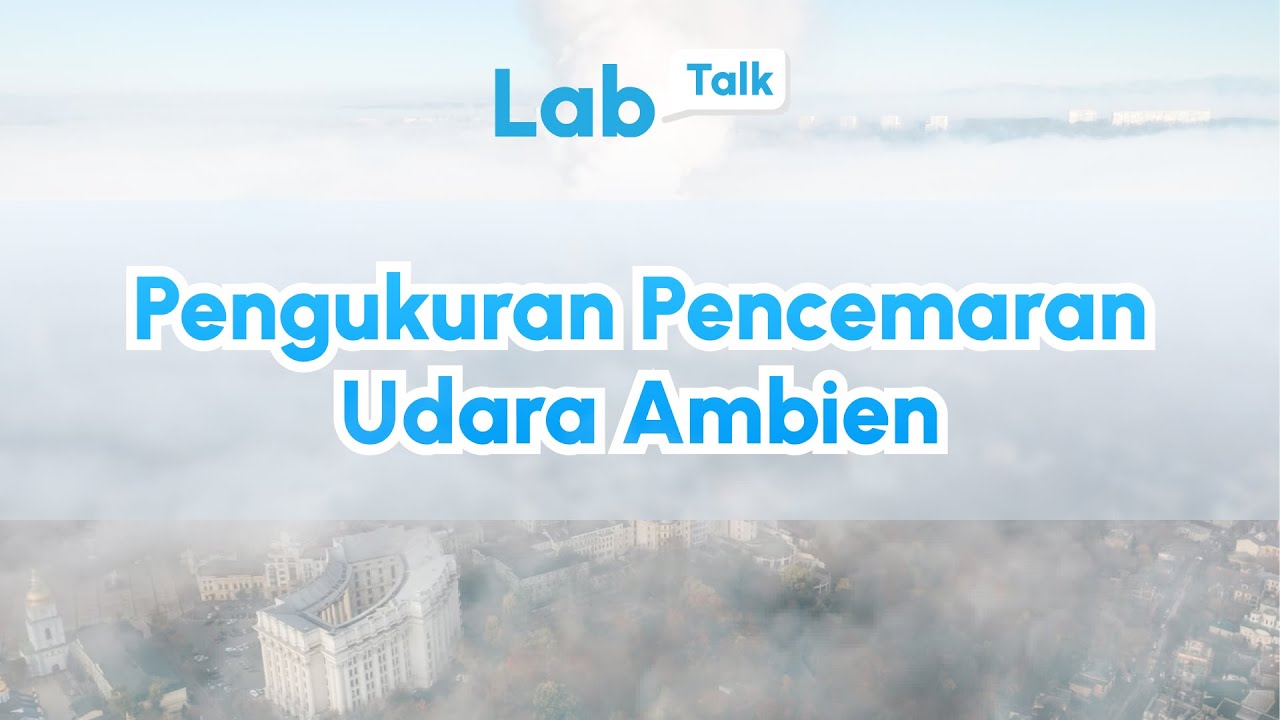
PENGUKURAN PENCEMARAN UDARA AMBIEN | Labtalk #25
5.0 / 5 (0 votes)
