How to calibrate a temperature switch automatically
Summary
TLDRIn this video, Sebastian from Beamex demonstrates how to automatically calibrate a temperature switch and sensor using the Beamex MC6-T multifunction calibrator. The process includes using a high-accuracy reference sensor, applying a controlled heat source, and automating the calibration steps for efficiency. Key features of the MC6-T, including RTD channels and its ability to automate time-consuming calibration tasks, are highlighted. The process includes setting reference points, capturing set/reset points, and analyzing calibration results visually and numerically. The video concludes with options for saving, reporting, and sharing calibration results via Beamex software.
Takeaways
- 😀 The Beamex MC6-T is a multifunction temperature calibrator and field communicator, used for calibrating temperature switches and sensors automatically.
- 😀 A high accuracy reference sensor is used alongside the Beamex MC6-T to ensure accurate measurements during calibration.
- 😀 The MC6-T has three RTD channels, and two of them are used in this calibration process for optimal results.
- 😀 Calibration of temperature switches can be challenging due to the differences in reaction time between the internal dry block reference sensor and the sensor under test.
- 😀 Using an external reference sensor ensures more accurate measurements by capturing temperature in the same environment as the sensor under test.
- 😀 The dry block should be able to ramp up temperature slowly to allow the sensor under test enough time to react to changes.
- 😀 Temperature switch calibration is time-consuming and requires precise attention to capture the exact moment the switch reaches its reset/set points.
- 😀 The MC6-T automates the calibration process, improving efficiency and accuracy.
- 😀 Calibration includes a sequence where the switch set point and reset point are captured after reaching specific temperatures (e.g., 35°C for set point and 33°C for reset point).
- 😀 The calibration includes a repeatability test, where three repeats of the same test are performed to ensure consistent results.
- 😀 Once the calibration is complete, results can be reviewed in both graphical and numerical views, and calibration certificates can be generated or approved digitally.
Q & A
What is the purpose of using the Beamex MC6-T in this calibration procedure?
-The Beamex MC6-T is used to automate the temperature switch calibration process. It generates heat, controls the temperature ramp, and records the switch's set/reset points to improve the efficiency and accuracy of the calibration.
What is the key challenge when calibrating a temperature switch manually?
-The key challenge is that the internal reference sensor of a dry block often has a faster reaction time than the sensor under test, leading to errors in measurement and results. This is why an external reference sensor is recommended.
Why is it important to use an external reference sensor during calibration?
-An external reference sensor ensures that both the sensor under test and the reference sensor are in the same environment, minimizing measurement errors and improving calibration accuracy.
How does the MC6-T assist in improving the efficiency of the calibration process?
-The MC6-T automates the entire calibration process, reducing the time and concentration needed to manually capture precise set/reset points. It also allows for faster calibration by limiting the scanning range to only the necessary temperature points.
What does the MC6-T display during the calibration process?
-The MC6-T displays the reference sensor temperature value, the switch's set/reset points, and provides visual feedback on the calibration progress, including error limits and stability curves.
How does the Beamex MC6-T track the calibration process visually?
-The MC6-T provides a graphical view of the temperature ramp and stability curve, allowing users to see how stable the temperature is and whether the sensor is within the acceptable error limits during calibration.
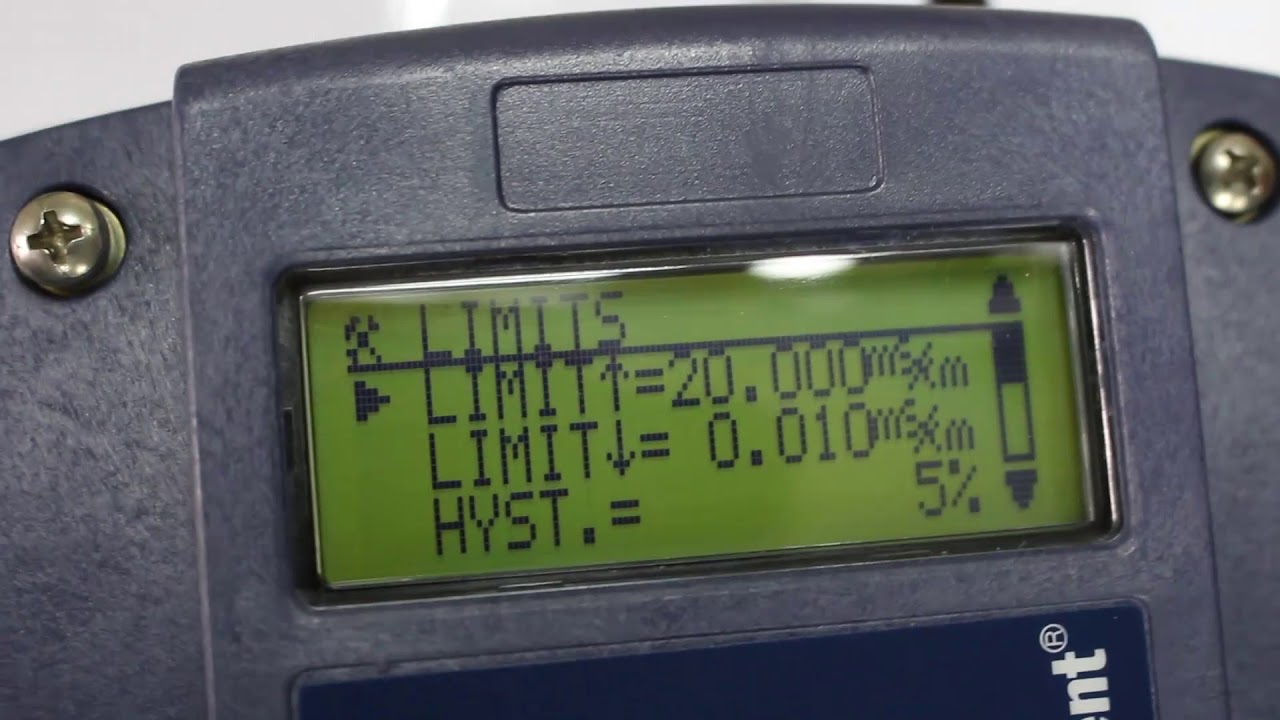
What are the importance of the blue lines on the MC6-T display?
-The blue lines represent the error limits for the set and reset points. If the temperature values fall within these blue lines, the calibration is successful. If they fall outside, the calibration fails.
How many calibration repeats are performed during this process, and why?
-Three repeats are performed to verify the repeatability of the calibration results. This helps ensure consistency and reliability in the calibration data.
What happens once the calibration is finished?
-Once the calibration is complete, the MC6-T records the results, including set/reset points, error values, and stability data. The results can be saved, reviewed, and printed using calibration management software like CMX or LOGiCAL.
How does the Beamex MC6-T support paperless calibration?
-The MC6-T can be connected to a computer running Beamex CMX or LOGiCAL software, allowing results to be reviewed and approved electronically, thus supporting paperless calibration processes.
Outlines

Dieser Bereich ist nur für Premium-Benutzer verfügbar. Bitte führen Sie ein Upgrade durch, um auf diesen Abschnitt zuzugreifen.
Upgrade durchführenMindmap

Dieser Bereich ist nur für Premium-Benutzer verfügbar. Bitte führen Sie ein Upgrade durch, um auf diesen Abschnitt zuzugreifen.
Upgrade durchführenKeywords

Dieser Bereich ist nur für Premium-Benutzer verfügbar. Bitte führen Sie ein Upgrade durch, um auf diesen Abschnitt zuzugreifen.
Upgrade durchführenHighlights

Dieser Bereich ist nur für Premium-Benutzer verfügbar. Bitte führen Sie ein Upgrade durch, um auf diesen Abschnitt zuzugreifen.
Upgrade durchführenTranscripts

Dieser Bereich ist nur für Premium-Benutzer verfügbar. Bitte führen Sie ein Upgrade durch, um auf diesen Abschnitt zuzugreifen.
Upgrade durchführenWeitere ähnliche Videos ansehen

cara membuat pompa galon otomatis tanpa arduino / pompa galon elektrik

IMPLEMENTATION OF IOT WITH RASPBERRY PI-I

chocolate temp 2

Temperature Based Fan Speed Controller Using Arduino UNO || ARDUINO PROJECTS

Membuat Kipas Angin Otomatis IoT Dengan ESP32 dan KME Smart TANPA CODING
Compact Controller Conductivity
5.0 / 5 (0 votes)
