Create Your Own Microsoft Recall AI Feature with RAG?
Summary
TLDRこのビデオでは、Microsoftの議論の多いリコール機能にインスパイアされた独自のバージョンを作成するプロジェクトが紹介されています。開発者はローカルで実行する予定だったものの、性能が不安定だったため、クラウドベースのGPT 40を使用してプロトタイプを作成しました。プロジェクトは3つのフェーズに分けられており、記録、分析、使用がそれぞれ行われます。スクリーンショットを撮り、変化を監視し、分析フェーズでGPT 40を用いて情報を抽出します。最後に、RAGシステムを使ってユーザーが過去のスクリーンショットを検索できるようにします。コードの詳細と実際の動作を紹介し、Brilliant.orgという学習プラットフォームも紹介しています。
Takeaways
- 🤖 プロジェクトのアイデアは、Microsoftの反論機能にインスパイアされたもので、独自バージョンの作成を目指しています。
- 🚫 ローカルでの実行を計画していたものの、性能が不安定だったので、GPD 40を使わなければならなくなりました。
- 🔄 プロジェクトは3つのフェーズに分けられています:記録、分析、使用(RAG)フェーズです。
- 📸 レコードフェーズでは、スクリーンショットを撮って変化を監視し、5%のピクセルチェンジがあると新しいスクリーンショットを保存します。
- 🧐 アナリゼフェーズでは、GPT 40を使ってスクリーンショットから情報を抽出し、アーカイブに保存します。
- 🔍 RAGフェーズでは、保存されたアーカイブとスクリーンショットを使用して、特定のアクションやウェブサイトを検索することができます。
- 💻 コードの解説では、GP 4モデルの強さと、ローカルでの実行が難しい理由について言及されています。
- 🔗 RAGモデルを使用した検索デモンストレーションでは、過去のスクリーンショットと関連情報を特定の質問に応じて検索することができました。
- 👨🏫 brilliant.orgがデータ分析や言語モデルの理解を深めるためのリソースとして紹介されています。
- 🔗 GitHubのコミュニティへのリンクと、コードのアップロードが予定されていますが、プライバシーに関する注意も提示されています。
- 🎉 プロジェクトは成功裏に動作し、将来的にはローカルで実行できるようになればと期待しています。
Q & A
ビデオで紹介されたプロジェクトの主な目的は何ですか?
-ビデオでは、Microsoftのリコール機能にインスパイアされた独自のバージョンを作成するプロジェクトが紹介されています。これは、コンピュータ画面のスクリーンショットを撮り、それらを分析し、RAG(Retrieval-Augmented Generation)モデルを使って検索可能なアーカイブを作成することを目的としています。
プロジェクトをローカルで100%実現する予定だった理由は何ですか?
-プロジェクトをローカルで実行することで、パフォーマンスの安定性とプライバシーの保護を図る予定でした。しかし、利用可能なモデルの性能が不十分で安定性がないため、クラウドベースのGPT-4.0を使うプロトタイプを作成することに変わりました。
プロジェクトの3つのフェーズとは何ですか?
-プロジェクトは3つのフェーズに分けられています。1つ目は「記録フェーズ」でスクリーンショットを撮ることです。2つ目は「分析フェーズ」でスクリーンショットを分析し、ユーザーのアクションやURLを抽出します。3つ目は「RAGフェーズ」で、アーカイブされた情報を使用して検索機能を提供します。
スクリーンショットを撮る際にどのような条件を設けていますか?
-スクリーンショットは、前回のスクリーンショットと5%以上のピクセルが変化したときにのみ撮影されます。これにより、同じ画面を何度も撮影するのを避け、効率的にスクリーンショットを管理しています。
GPT-4.0を使用する理由は何ですか?
-GPT-4.0は、開発者が試した中で最も優れたモデルであり、スクリーンショットからユーザーのアクションやURLを抽出するタスクに非常に適しています。しかし、オープンソースの同等のモデルがあればローカルでの実行が実現可能になるため、将来的にはそのようなモデルを期待しています。
RAGモデルを使用する目的は何ですか?
-RAGモデルは、検索可能なアーカイブを作成し、ユーザーが過去のアクションや特定のスクリーンショットを検索できるようにするためです。これにより、ユーザーは特定の日付やウェブサイトでのアクションを問い合わせることができ、それに関連するスクリーンショットを見つけることができます。
ビデオスポンサーであるbrilliant.orgはどのようなサービスを提供していますか?
-brilliant.orgは、データ分析や大きな言語モデルのしくみなど、複雑な科目を魅力的で手を出すことができる体験に変えるオンライン学習プラットフォームです。レッスンはリアルの問題を解決することで効果的で楽しい学習体験を提供し、批判的思考スキルと学習習慣を育てることができます。
開発者が使用したチャンキングとは何ですか?
-チャンキングは、テキストを最大1000文字のチャンクに分割するプロセスです。これにより、RAGモデルで検索できるようにテキストが整理され、効率的に扱われます。
スクリーンショットの名前付けに使用されるGPT-4.0の機能とは何ですか?
-GPT-4.0は、与えられた説明に基づいて短くて具体的で関連性の高いファイル名を生成する機能を使用しています。これにより、アーカイブされたスクリーンショットが効果的に検索でき、ユーザーが必要な情報を迅速に見つけることができます。
開発者が行ったプロトタイプのデモンストレーションでは何を示しましたか?
-開発者は、スクリーンショットがどのように自動的に撮影され、分析され、RAGモデルによって検索可能なアーカイブに保存されるかをデモンストレーションしました。また、実際にRAGを使用して過去のアクションやスクリーンショットを検索するデモンストレーションも行いました。
今後のプロジェクトで何を計画していますか?
-開発者は、今後も興味深いプロジェクトを計画しており、ローカルでの実行が可能になるより良いビジョンモデルを見つけるかもしれないと話していました。また、コミュニティGitHubにコードをアップロードし、チャンネルのメンバーシップを通じてアクセスを提供する予定です。
Outlines

Dieser Bereich ist nur für Premium-Benutzer verfügbar. Bitte führen Sie ein Upgrade durch, um auf diesen Abschnitt zuzugreifen.
Upgrade durchführenMindmap

Dieser Bereich ist nur für Premium-Benutzer verfügbar. Bitte führen Sie ein Upgrade durch, um auf diesen Abschnitt zuzugreifen.
Upgrade durchführenKeywords

Dieser Bereich ist nur für Premium-Benutzer verfügbar. Bitte führen Sie ein Upgrade durch, um auf diesen Abschnitt zuzugreifen.
Upgrade durchführenHighlights

Dieser Bereich ist nur für Premium-Benutzer verfügbar. Bitte führen Sie ein Upgrade durch, um auf diesen Abschnitt zuzugreifen.
Upgrade durchführenTranscripts

Dieser Bereich ist nur für Premium-Benutzer verfügbar. Bitte führen Sie ein Upgrade durch, um auf diesen Abschnitt zuzugreifen.
Upgrade durchführenWeitere ähnliche Videos ansehen

【過去一の感動】最新Claude版GPTs機能で"全自動"でClaude3.5Sonnetに最強にSEOに強い記事を作らせてみたらヤバすぎたw

ClaudeにMyGPTsとほぼ同じ神機能が追加!便利なテクニック紹介【GPTsとProjects違い】

Open Source Friday with LIDA - Generate Infographics with LLMS
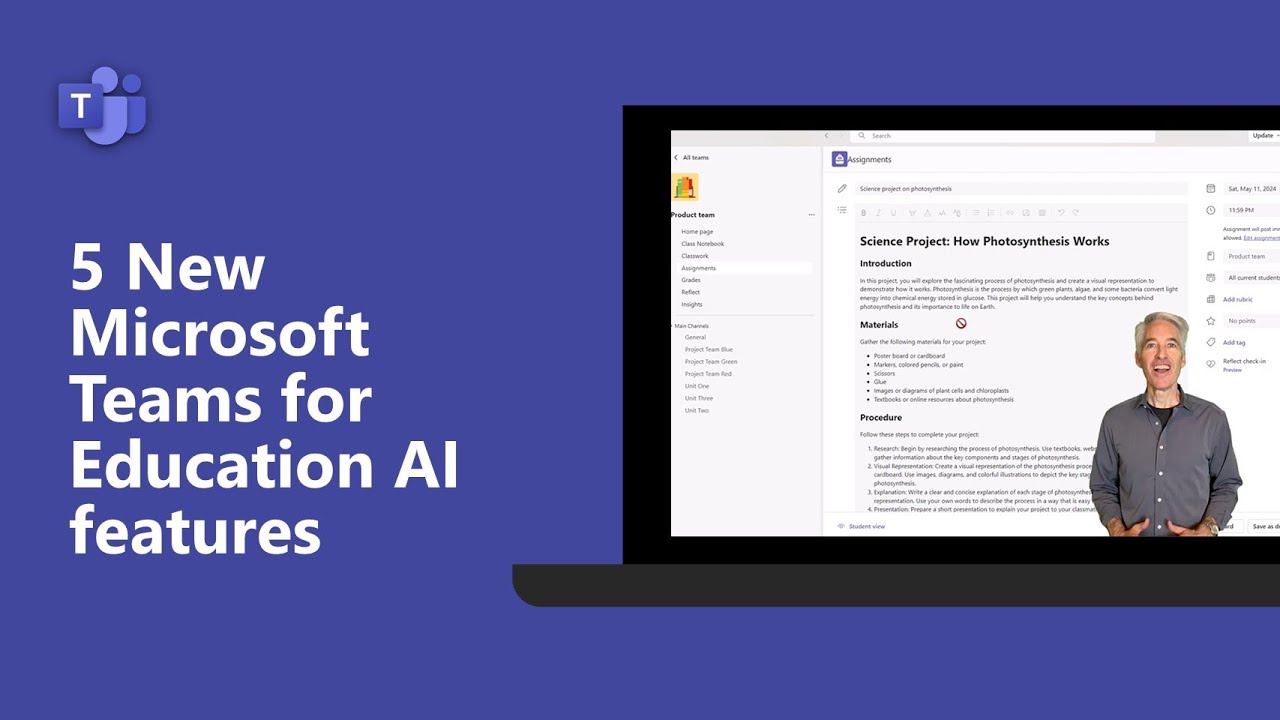
5 New Microsoft Teams for Education AI features
【悲報】Microsoft、Windows 11の「Recall機能をアンインストールさせない」方針を明言

Why every Indie Dev SHOULD make a HORROR game! (This just happened!)
5.0 / 5 (0 votes)
