cara menyambung kabel dinamo,baterai,saklar dan lampu led di tipe x trondol #tipextrondol
Summary
TLDRIn this tutorial, the presenter demonstrates how to connect wires for a deep electrode setup using an on/off switch, LED lights, a dynamo, and batteries. The video explains how to identify positive and negative terminals on LED lights, how to wire the components for proper function, and how to troubleshoot issues like LEDs not blinking. The presenter also covers adjustments to the dynamo's speed and how to prevent the LEDs from overheating by adding more lights to balance the power. The video is a simple yet detailed guide for DIY enthusiasts working with basic electrical components.
Takeaways
- 😀 You can create a simple battery holder using recycled cardboard if you don't have a proper one.
- 😀 LED lights have a positive and a negative terminal, which can be identified by the length of the wires or markings inside the lamp.
- 😀 A 3V LED lamp needs two 1.5V batteries to light up. If connected incorrectly, the lamp will not light.
- 😀 Always connect the LED lamp properly to avoid damaging the components, especially when adding a dynamo.
- 😀 The negative wire is often marked with black to avoid confusion during the wiring process.
- 😀 For the dynamo, ensure it is installed with the correct rotational direction, as incorrect wiring can damage the LED light.
- 😀 When installing a switch, connect one of the dynamo wires to the switch, and the other directly to the battery.
- 😀 If you want to add a flashing LED light, you can connect it between the dynamo and the switch, either at the switch or the dynamo.
- 😀 You can add multiple flashing LEDs to decrease the current from the battery and prevent overheating of the components.
- 😀 If the LED light does not flash properly, check if the dynamo and voltage are balanced. You may need to adjust the setup, such as using more LEDs or a smaller dynamo.
- 😀 If an LED light becomes too hot or cannot flash properly, consider using more LEDs or adding a resistor to manage the power flow.
Q & A
What is the purpose of the tutorial in the video?
-The tutorial explains how to connect wires to set up a deep electrode system, including the use of an on/off switch, dynamo, LED blinking lights, and batteries.
How do you identify the positive and negative terminals on an LED light?
-The longer wire on the LED is the positive terminal, while the shorter wire is the negative one. Alternatively, you can check the metal plates inside the LED, where the wider one is negative and the smaller one is positive.
Why do you need two batteries for the LED light?
-The LED light operates on 3 volts, but each battery provides 1.5 volts. Therefore, two 1.5-volt batteries are needed to achieve the required 3 volts to power the LED.
What happens if you reverse the connections of the LED light?
-If the LED is connected incorrectly, it will not light up. Reversing the connections may also damage the components, especially if the LED's blinking function is involved.
How do you install the dynamo and ensure it works properly?
-The dynamo should be installed so that it rotates in the direction opposite to the clock's hands. This ensures that the LED light and its blinking function are not damaged.
What is the purpose of using black wire for the negative connection?
-Using black wire for the negative connection helps to clearly differentiate it from the positive connection, avoiding confusion during the setup.
How do you connect the on/off switch to the circuit?
-To install the on/off switch, connect one of the dynamo's wires (the negative one) to the switch, then link the switch to the battery. The other dynamo wire should go directly to the battery.
How can you add a blinking effect to the LED lights?
-You can add the blinking effect by connecting the LED lights to the dynamo through a switch. The setup can be adjusted by combining the wires from the dynamo and the LED lights.
Why might an LED light blink too quickly, and how can this be fixed?
-If the LED blinks too quickly, it may be due to the excessive power supplied by the dynamo. This can be fixed by adding more LED lights in series to reduce the overall load and prevent overheating.
What issue arises when using a 1.5-volt dynamo with a 3-volt LED light, and how is it addressed?
-A 1.5-volt dynamo provides insufficient power for a 3-volt LED, causing the light to fail to blink. The issue can be solved by either switching to a higher voltage dynamo or adding more LED lights to balance the power output.
Outlines

Dieser Bereich ist nur für Premium-Benutzer verfügbar. Bitte führen Sie ein Upgrade durch, um auf diesen Abschnitt zuzugreifen.
Upgrade durchführenMindmap

Dieser Bereich ist nur für Premium-Benutzer verfügbar. Bitte führen Sie ein Upgrade durch, um auf diesen Abschnitt zuzugreifen.
Upgrade durchführenKeywords

Dieser Bereich ist nur für Premium-Benutzer verfügbar. Bitte führen Sie ein Upgrade durch, um auf diesen Abschnitt zuzugreifen.
Upgrade durchführenHighlights

Dieser Bereich ist nur für Premium-Benutzer verfügbar. Bitte führen Sie ein Upgrade durch, um auf diesen Abschnitt zuzugreifen.
Upgrade durchführenTranscripts

Dieser Bereich ist nur für Premium-Benutzer verfügbar. Bitte führen Sie ein Upgrade durch, um auf diesen Abschnitt zuzugreifen.
Upgrade durchführenWeitere ähnliche Videos ansehen
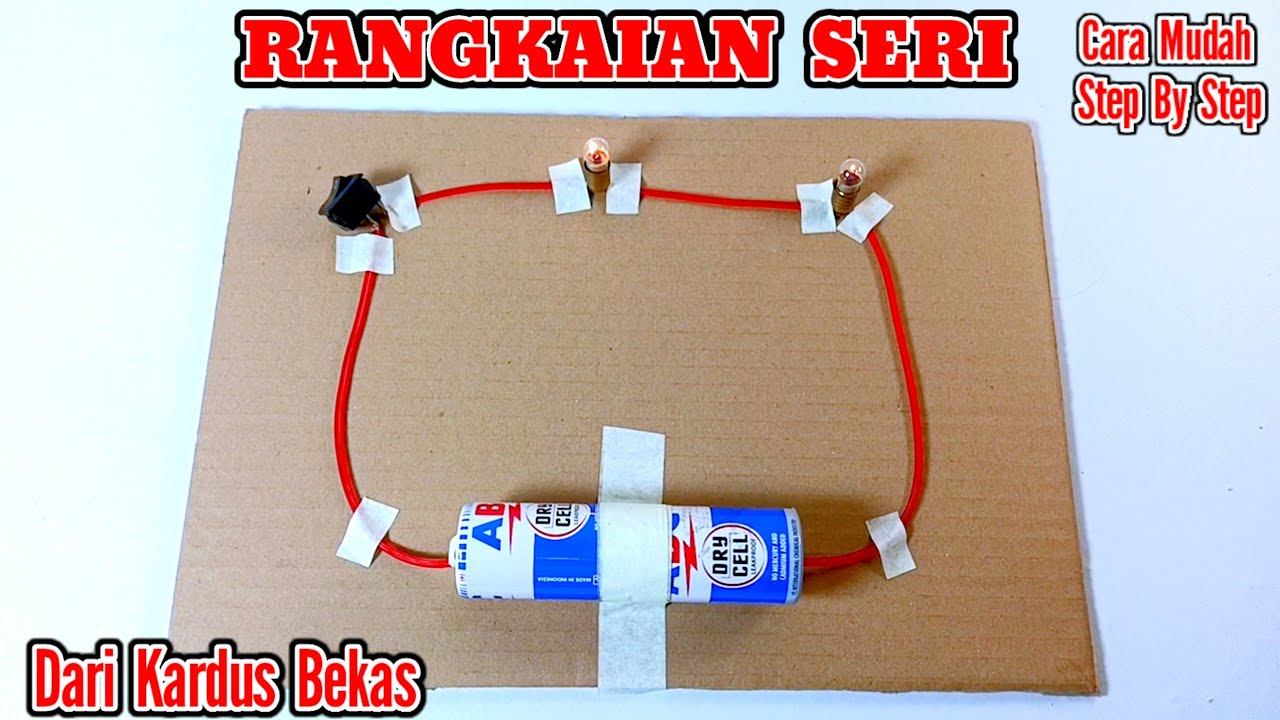
Cara Membuat Rangkaian Seri / Rangkaian Listrik Yang Dipasang Secara Berurutan Mudah Dan Sederhana
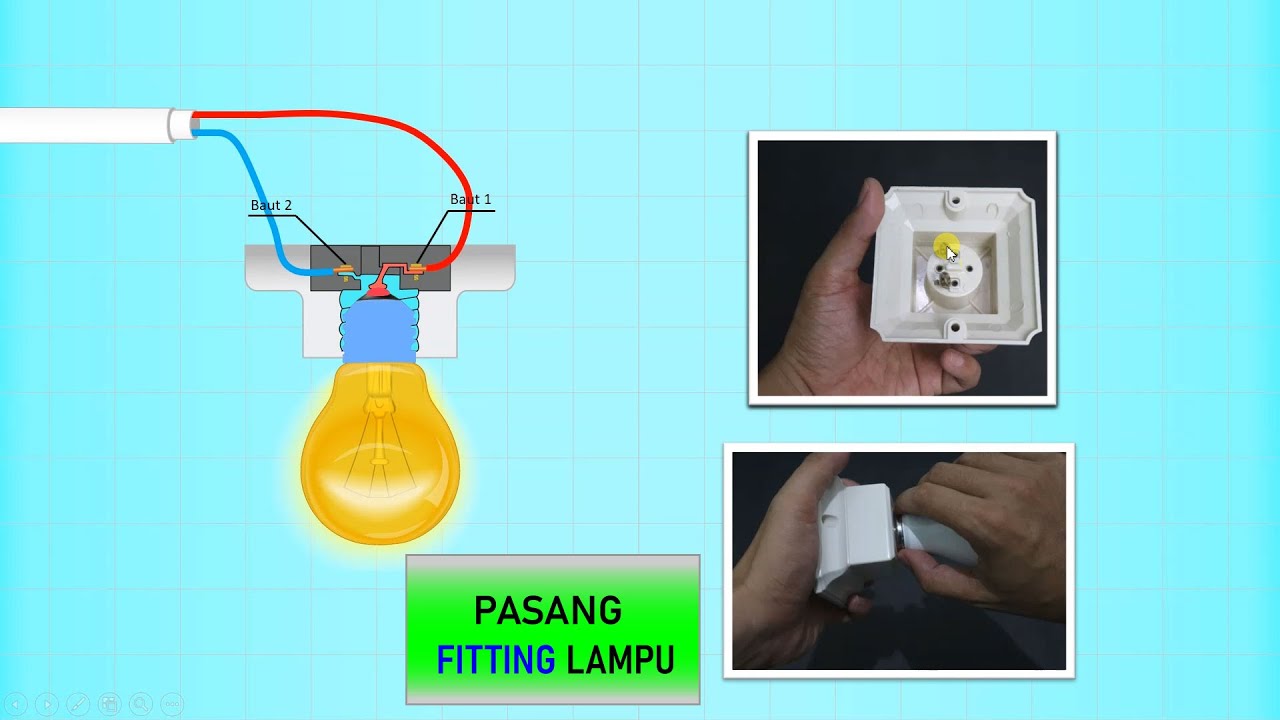
Begini Cara Pasang Fitting Lampu Sesuai PUIL

Cuma modal Tespen !! Semua orang bisa memperbaiki Lampu rumah Rusak
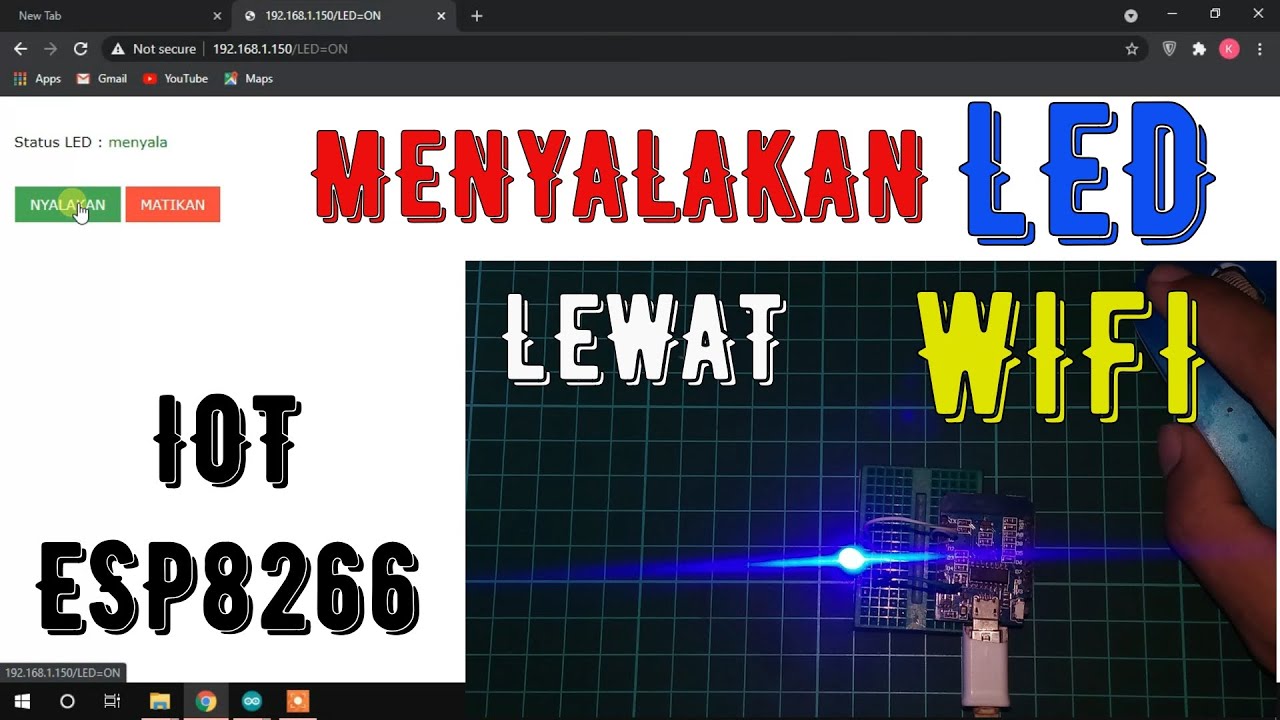
MENYALAKAN LED LEWAT WIFI | ESP8266 | IOT | MENYALAKAN LAMPU LEWAT INTERNET

Creating a Waterwheel Power Plant Project

Rangkaian listrik seri Lampu 2,5 volt
5.0 / 5 (0 votes)
