DIY hand sanitizer automatic dispenser infrared & servo
Summary
TLDRIn this video, David Setiadi demonstrates how to build an automatic hand sanitizer dispenser using an Arduino Uno, an infrared sensor, and micro servos. The system is designed to activate when hands are detected, triggering a servo to dispense sanitizer. Key components include wiring the infrared sensor to the Arduino and setting up two micro servos for additional strength. David also discusses programming the system via the Arduino IDE and testing the dispenser with adjustments to wiring and relay strength. This project showcases how to combine simple electronics for a practical solution to hygiene in the age of COVID-19.
Takeaways
- 😀 Introduction to the project of creating an automatic hand sanitizer dispenser using Arduino.
- 😀 Discussion of the trending topic of hand sanitizer dispensers in the wake of the COVID-19 pandemic.
- 😀 The project involves an Arduino Uno, infrared sensor, and a micro servo motor for automation.
- 😀 When a hand is detected by the infrared sensor, it triggers the servo to press the dispenser and release sanitizer.
- 😀 The materials used for the project include an Arduino, infrared sensor, micro servo, and wiring.
- 😀 The infrared sensor detects the presence of a hand and sends a signal to the Arduino.
- 😀 The micro servo motor pulls the wire connected to the dispenser, triggering the release of sanitizer.
- 😀 Configuration of wiring involves connecting power (5V), ground, and the trigger signal from the Arduino to the sensor and servo.
- 😀 A challenge faced during testing was that one servo motor wasn’t strong enough, so two servos were used for better strength.
- 😀 The wiring setup includes connecting the relay, sensor, and servos to the correct pins on the Arduino, ensuring proper operation of the dispenser.
- 😀 Final testing demonstrated successful operation of the dispenser, with the servo motors pulling and triggering the sanitizer release.
Q & A
What is the main goal of the project described in the video?
-The main goal of the project is to create an automatic hand sanitizer dispenser using Arduino, an infrared sensor, and servo motors. The dispenser activates when a hand is detected by the infrared sensor.
What is the role of the infrared sensor in this project?
-The infrared sensor detects the presence of a hand. When a hand is detected within its range, the sensor sends a signal to the Arduino, which then triggers the servo motor to dispense sanitizer.
Why are two servo motors used instead of just one?
-Two servo motors are used because one servo motor was not strong enough to effectively operate the mechanism. Using two motors allows for greater strength to pull the components of the sanitizer dispenser.
What Arduino board is being used in this project?
-The project uses an Arduino Uno as the main microcontroller to process the signals from the infrared sensor and control the servo motors.
What is the function of the micro servo motor in this setup?
-The micro servo motor is used to pull the mechanism that dispenses the hand sanitizer. It is activated by the signal received from the Arduino after detecting the hand.
What is the wiring configuration for the infrared sensor?
-The infrared sensor is connected to the Arduino with the VCC pin connected to 5V, the ground pin to ground, and the output pin connected to pin 8 on the Arduino.
How is the servo motor powered in this project?
-The servo motor is powered by the 5V and ground pins from the Arduino, which provide the necessary power for the servo's operation.
Why was a relay used in the setup?
-A relay is used to control the power to the servo motors, ensuring that the right amount of current is supplied for the motors to function properly.
What troubleshooting step was taken regarding the servo motors?
-It was found that one servo motor was not strong enough to operate the mechanism, so two servo motors were used in parallel to increase strength and effectiveness.
What is the purpose of the wires connected to the relay in the configuration?
-The wires connected to the relay manage the power distribution, with the brown wire being the negative, the red wire being the positive 5V, and the yellow wire acting as the trigger to activate the relay when the signal from the Arduino is received.
Outlines

Dieser Bereich ist nur für Premium-Benutzer verfügbar. Bitte führen Sie ein Upgrade durch, um auf diesen Abschnitt zuzugreifen.
Upgrade durchführenMindmap

Dieser Bereich ist nur für Premium-Benutzer verfügbar. Bitte führen Sie ein Upgrade durch, um auf diesen Abschnitt zuzugreifen.
Upgrade durchführenKeywords

Dieser Bereich ist nur für Premium-Benutzer verfügbar. Bitte führen Sie ein Upgrade durch, um auf diesen Abschnitt zuzugreifen.
Upgrade durchführenHighlights

Dieser Bereich ist nur für Premium-Benutzer verfügbar. Bitte führen Sie ein Upgrade durch, um auf diesen Abschnitt zuzugreifen.
Upgrade durchführenTranscripts

Dieser Bereich ist nur für Premium-Benutzer verfügbar. Bitte führen Sie ein Upgrade durch, um auf diesen Abschnitt zuzugreifen.
Upgrade durchführenWeitere ähnliche Videos ansehen
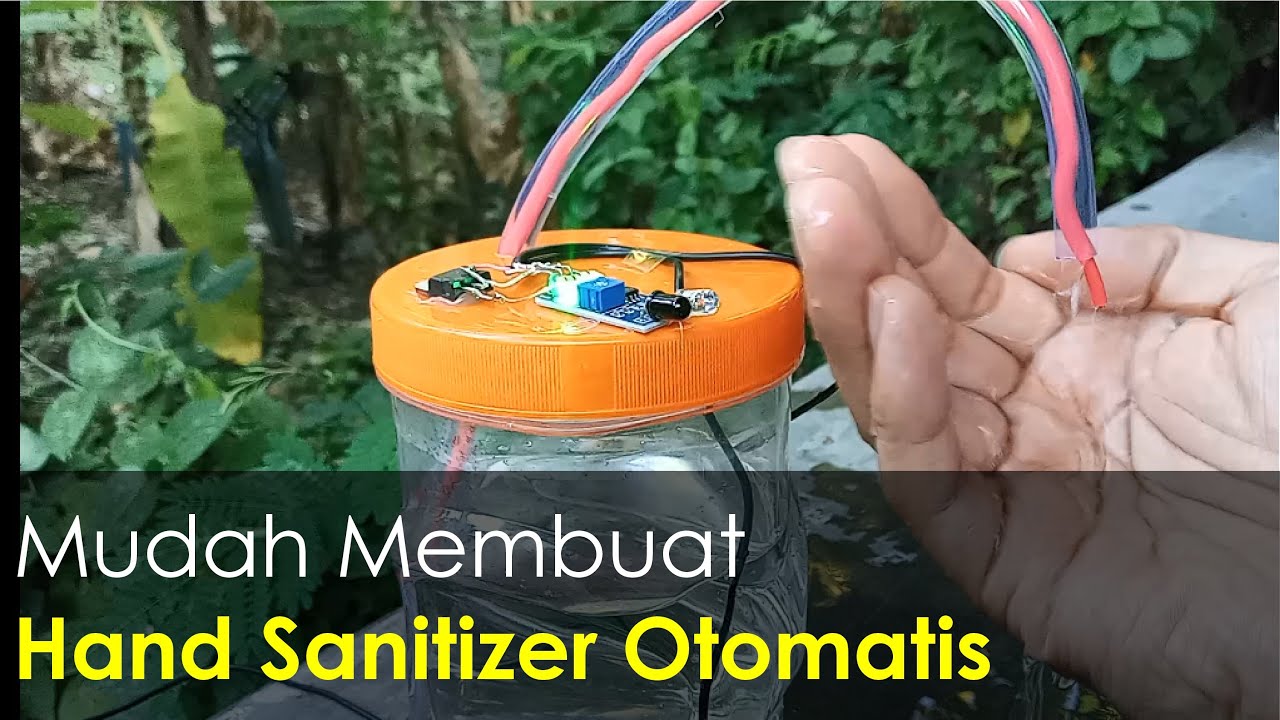
Mudah Membuat Hand Sanitizer Otomatis Tanpa Arduino dan Tanpa Servo

Automatic Hand Sanitizer Machine | Automatic Hand Wash | IR Sensor Project
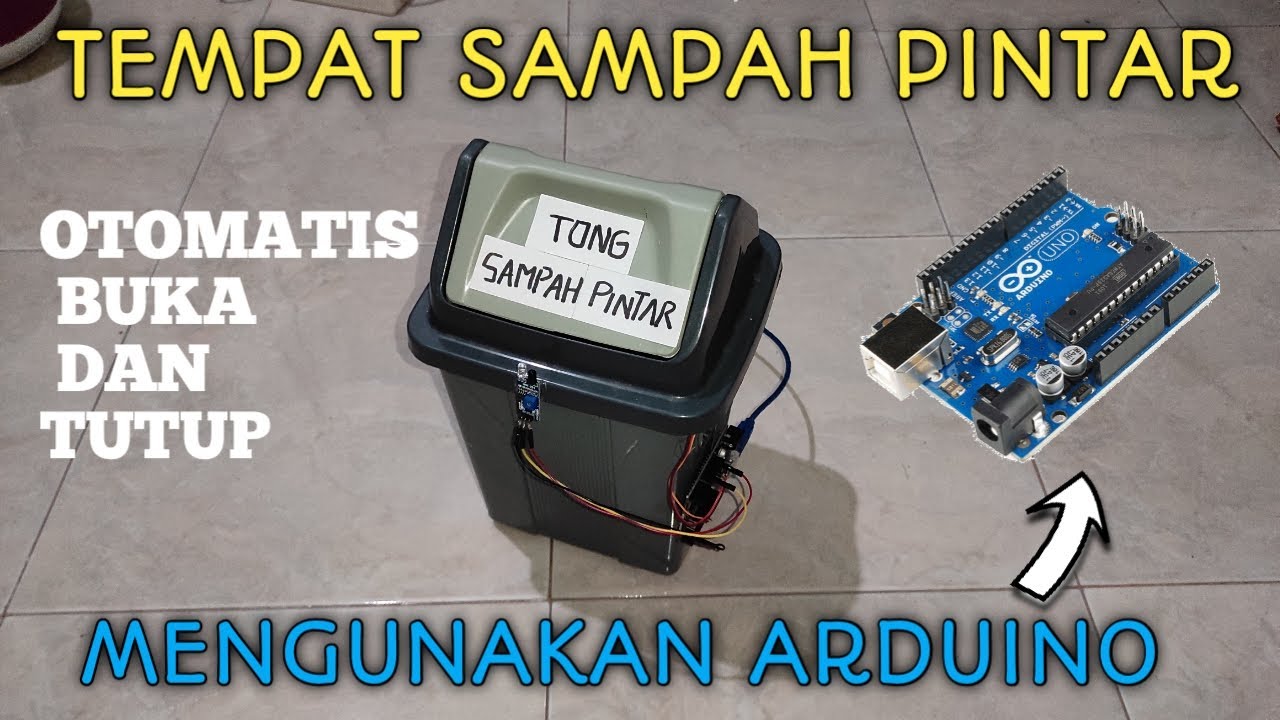
Cara Membuat Tempat Sampah Pintar Otomatis Menggunakan Arduino Uno

How to make Automatic Hand Sanitizer Dispenser | DIY
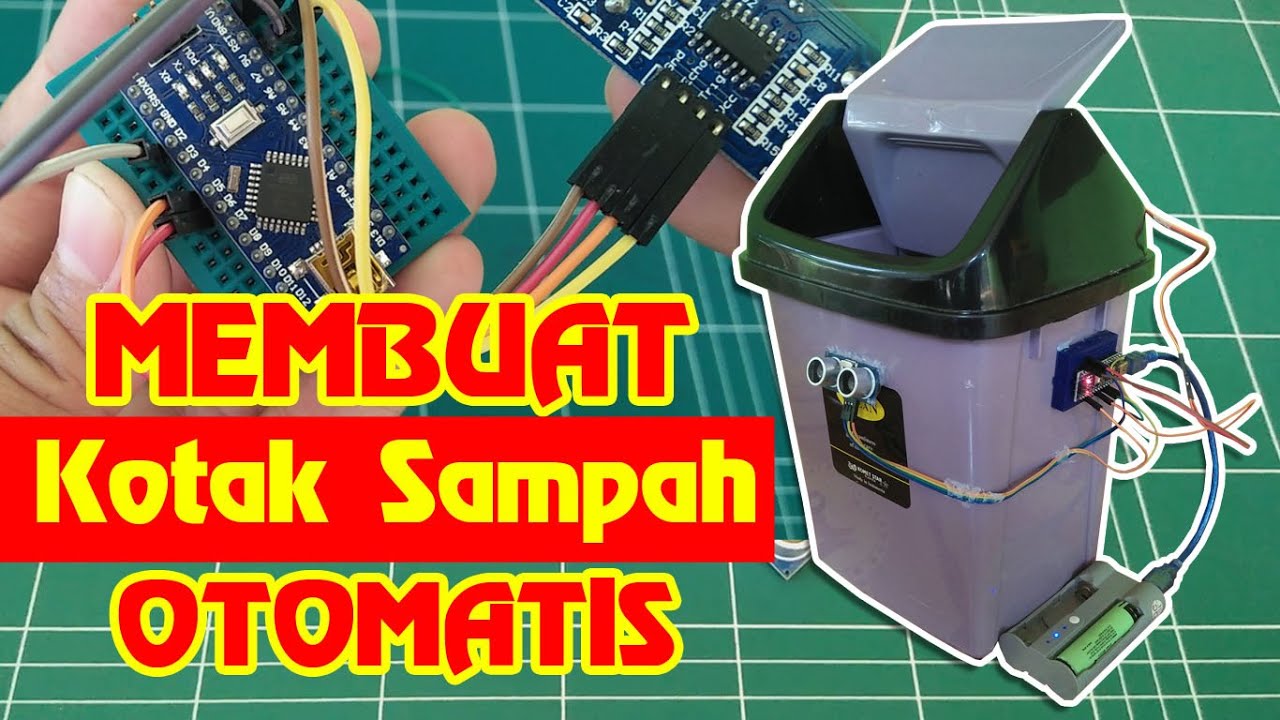
Dijamin Bisa | Membuat Kotak Sampah Otomatis

How To Build Automatic Water Dispenser Using Arduino
5.0 / 5 (0 votes)
