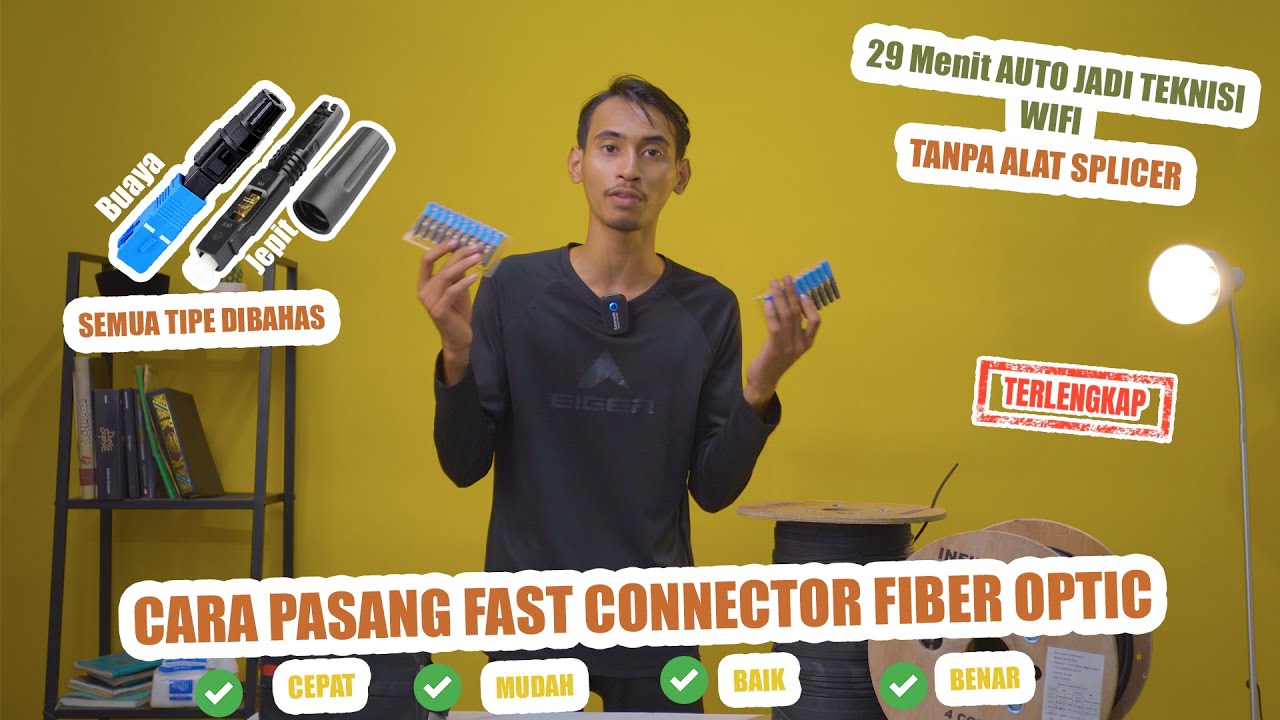
Cara Pasang Fast Connector Fiber Optic Sendiri secara Manual (Tanpa Alat Splicer)
Summary
TLDRThis video tutorial provides a detailed, step-by-step guide on how to install a fast connector to a fiber optic cable. It covers the process of stripping the cable, preparing the fiber, and securely attaching the connector using tools like a fiber cleaver and stripper. The tutorial also includes tips for measuring and cutting the fiber, as well as testing the connection using an Optical Power Meter (OPM) to ensure optimal signal strength. This is a helpful guide for beginners or anyone looking to learn proper fiber optic connection installation techniques.
Takeaways
- 😀 Use two fast connectors to install fiber optic cable connectors.
- 😀 Start by stripping the outer jacket of the fiber optic cable to expose the fiber strands.
- 😀 Separate the wire strands (drop core and fiber) carefully to ensure proper alignment.
- 😀 Use a fiber optic stripper tool to remove the protective blue outer layer from the fiber.
- 😀 Clean the exposed fiber using tissue and alcohol to ensure a clean connection.
- 😀 Measure the length of the exposed fiber to match the required length for the fast connector.
- 😀 Use a fiber cleaver to make a clean cut of the fiber at the measured length.
- 😀 Insert the prepared fiber into the fast connector, making sure it locks properly.
- 😀 Lock the connector in place using the clip mechanism to secure the fiber inside.
- 😀 Test the connection by measuring the attenuation (signal loss) with an optical power meter (OPM).
- 😀 If attenuation is high, repeat the process to ensure proper alignment and cleaning of the fiber.
Q & A
What is the purpose of using a fast connector in fiber optic installations?
-A fast connector is used to quickly and securely connect the ends of a fiber optic cable, providing a reliable connection without requiring extensive tools or skills. It is especially useful when you need to install connectors on a fiber optic cable that does not already have them.
What tools are required to install a fast connector on fiber optic cable?
-The necessary tools include fast connectors, a fiber optic stripper tool, a fiber cleaver, pliers, scissors, a utility knife, and optionally alcohol or a tissue for cleaning the fiber.
How do you strip the outer jacket of a fiber optic cable?
-To strip the outer jacket, you use a fiber optic stripper. You carefully remove the outer layer of the cable without damaging the inner fiber strands, exposing the fiber core.
What should you do after stripping the outer jacket of the fiber optic cable?
-Once the outer jacket is stripped, you need to separate the fiber core from the surrounding materials, ensuring that the fiber core is clean and free from any contamination.
How do you ensure the correct length of the fiber core before installing the fast connector?
-You measure the required length of the fiber core before cutting. This ensures that the fiber fits perfectly with the fast connector's locking mechanism and avoids any excess fiber that could affect the connection.
What is the role of the fiber cleaver in the installation process?
-The fiber cleaver is used to make a clean and precise cut of the fiber core. This ensures that the fiber ends are perfectly aligned and fit properly within the fast connector.
What is the importance of cleaning the fiber and the connector before installation?
-Cleaning the fiber and the connector is crucial to remove any dirt, dust, or debris that could interfere with the fiber's performance. This ensures a clean connection, reducing signal loss or attenuation.
How should the fiber optic strand be inserted into the fast connector?
-The fiber optic strand should be inserted gently into the fast connector, ensuring it fits snugly without applying excessive force. Once inserted, you need to lock the connector in place to secure the fiber.
What should you do if the attenuation readings after installation are not within acceptable range?
-If the attenuation readings are too high, you should carefully remove and reinstall the connector. If the issue persists, you might need to replace the fast connector or check for any fiber damage.
How do you test the fiber optic connection after installing the fast connector?
-To test the fiber optic connection, use an optical power meter (OPM) to measure the signal strength. If the attenuation is within an acceptable range, the connection is successful. If not, further adjustments or reinstallation may be needed.
Outlines

Dieser Bereich ist nur für Premium-Benutzer verfügbar. Bitte führen Sie ein Upgrade durch, um auf diesen Abschnitt zuzugreifen.
Upgrade durchführenMindmap

Dieser Bereich ist nur für Premium-Benutzer verfügbar. Bitte führen Sie ein Upgrade durch, um auf diesen Abschnitt zuzugreifen.
Upgrade durchführenKeywords

Dieser Bereich ist nur für Premium-Benutzer verfügbar. Bitte führen Sie ein Upgrade durch, um auf diesen Abschnitt zuzugreifen.
Upgrade durchführenHighlights

Dieser Bereich ist nur für Premium-Benutzer verfügbar. Bitte führen Sie ein Upgrade durch, um auf diesen Abschnitt zuzugreifen.
Upgrade durchführenTranscripts

Dieser Bereich ist nur für Premium-Benutzer verfügbar. Bitte führen Sie ein Upgrade durch, um auf diesen Abschnitt zuzugreifen.
Upgrade durchführenWeitere ähnliche Videos ansehen

Cara Pasang Fast Konektor Fiber Optic Redaman PASTI Kecil

Penyambungan Kabel Fiber Optik | Teknik Penyambungan Kabel Fiber Optik

PEMULA WAJIB LIHAT BEGINI CARA SPLICING KABEL FIBER OPTIK DENGAN SPLICER TUMTEC FST-16S

Cara Pasang Fast Connector Fiber Optic. Semua Jenis, ( Pemula Auto Bisa )

Cara Menyambung Kabel Fiber Optik Menggunakan Splicer (Dropcore, Patchcord, Pigtail)

CARA MEMBUAT SERVER INTERNET DENGAN PROXMOX, MIKROTIK, OLT , SWITCH MANAGED
5.0 / 5 (0 votes)
