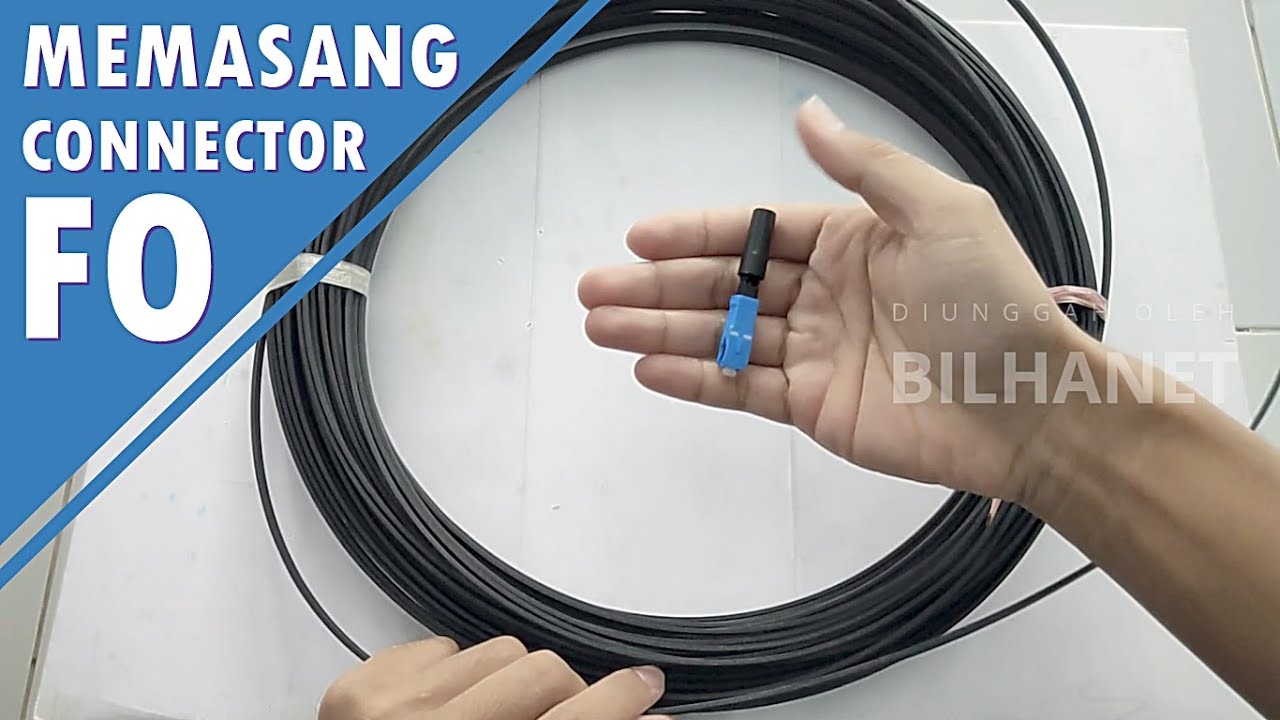
Cara Pasang Fast Konektor Fiber Optic Redaman PASTI Kecil
Summary
TLDRThis video provides a detailed tutorial on how to correctly install a fiber optic connector. The speaker explains the tools required, including an optical multimeter, fiber clipper, and fiber optic stripper. The step-by-step process covers stripping the fiber, adjusting the connector to ensure precision, and measuring signal loss to maintain low attenuation. The speaker also shares tips to avoid common mistakes, such as bending the fiber, which could lead to breakage. This guide is aimed at ensuring a stable and well-functioning fiber optic connection, with practical advice based on personal experience.
Takeaways
- 🔧 The video explains how to correctly install a fiber optic connector (flash connector) to ensure good performance with minimal signal loss.
- 📏 Tools needed include an optical multimeter, fiber clipper, and fiber optic stripper to accurately measure and cut the fiber optic cables.
- ✂️ The first step is to carefully strip the outer layer of the fiber optic cable using the stripping tool.
- 🔌 It’s important to insert the connector's locking mechanism before cutting the cable to avoid damaging the fiber.
- 📐 The fiber optic cable should be cut to the precise length for the connector to ensure optimal performance.
- 🔒 When inserting the cable into the connector, make sure it reaches the very end without bending or breaking, which could lead to poor connection quality.
- 📉 Testing the setup with an optical multimeter is crucial to measure the signal attenuation (dBm), aiming for a lower dBm value for better performance.
- 📊 The presenter achieved a 12 dBm attenuation, noting that it's possible to achieve a better result, around 9 dBm, with more precise installation.
- 💡 The presenter shares that with the described method, they've experienced no major issues with their fiber optic installations over time.
- 👍 The video concludes with an encouragement to follow these steps for successful fiber optic installation and invites viewers to subscribe for more content.
Q & A
What is the primary purpose of the video?
-The video aims to show viewers how to correctly install a fiber optic flash connector to ensure optimal performance with minimal signal loss.
What tools are required for installing a fiber optic flash connector?
-The tools include an optical multimeter, fiber clipper, fiber cable stripper, and a fiber optic connector. The speaker also mentions using a media converter.
Why is it important to use the correct method for installing the fiber optic connector?
-Proper installation is essential to ensure that there is minimal signal loss (attenuation) and to prevent damage to the cable, ensuring a longer-lasting and more stable connection.
What is the role of the optical multimeter in the process?
-The optical multimeter is used to measure the signal loss (attenuation) in decibels (dBm) after installing the flash connector to ensure the connection quality.
How does the fiber clipper help in the process?
-The fiber clipper is used to cut the fiber optic cable to the proper length, ensuring a clean cut that allows for better connection within the flash connector.
Why is it important to avoid bends or curves in the fiber optic cable during installation?
-Bends or curves in the fiber optic cable can lead to signal degradation or even cable breakage over time, affecting the overall performance of the connection.
What is a key step to remember when securing the flash connector to the fiber optic cable?
-One key step is to ensure the connector is secured precisely and that there is no gap between the cable and the connector, as any distance could lead to signal loss.
What level of signal loss did the speaker achieve in the video demonstration?
-The speaker achieved a signal loss of 12 dBm but mentioned that with better precision, it's possible to achieve around 9 dBm, which is a more desirable outcome.
What potential problem might occur if the cable is not cut properly?
-If the cable is not cut properly, it can damage the connector, create improper contact, or lead to high attenuation, reducing the efficiency of the connection.
What is the benefit of following the speaker’s method for installing fiber optic connectors?
-Following the speaker’s method helps ensure a reliable and stable connection with minimal signal loss, and it reduces the chances of encountering issues in the future.
Outlines

Dieser Bereich ist nur für Premium-Benutzer verfügbar. Bitte führen Sie ein Upgrade durch, um auf diesen Abschnitt zuzugreifen.
Upgrade durchführenMindmap

Dieser Bereich ist nur für Premium-Benutzer verfügbar. Bitte führen Sie ein Upgrade durch, um auf diesen Abschnitt zuzugreifen.
Upgrade durchführenKeywords

Dieser Bereich ist nur für Premium-Benutzer verfügbar. Bitte führen Sie ein Upgrade durch, um auf diesen Abschnitt zuzugreifen.
Upgrade durchführenHighlights

Dieser Bereich ist nur für Premium-Benutzer verfügbar. Bitte führen Sie ein Upgrade durch, um auf diesen Abschnitt zuzugreifen.
Upgrade durchführenTranscripts

Dieser Bereich ist nur für Premium-Benutzer verfügbar. Bitte führen Sie ein Upgrade durch, um auf diesen Abschnitt zuzugreifen.
Upgrade durchführenWeitere ähnliche Videos ansehen
Cara Pasang Fast Connector Fiber Optic Sendiri secara Manual (Tanpa Alat Splicer)
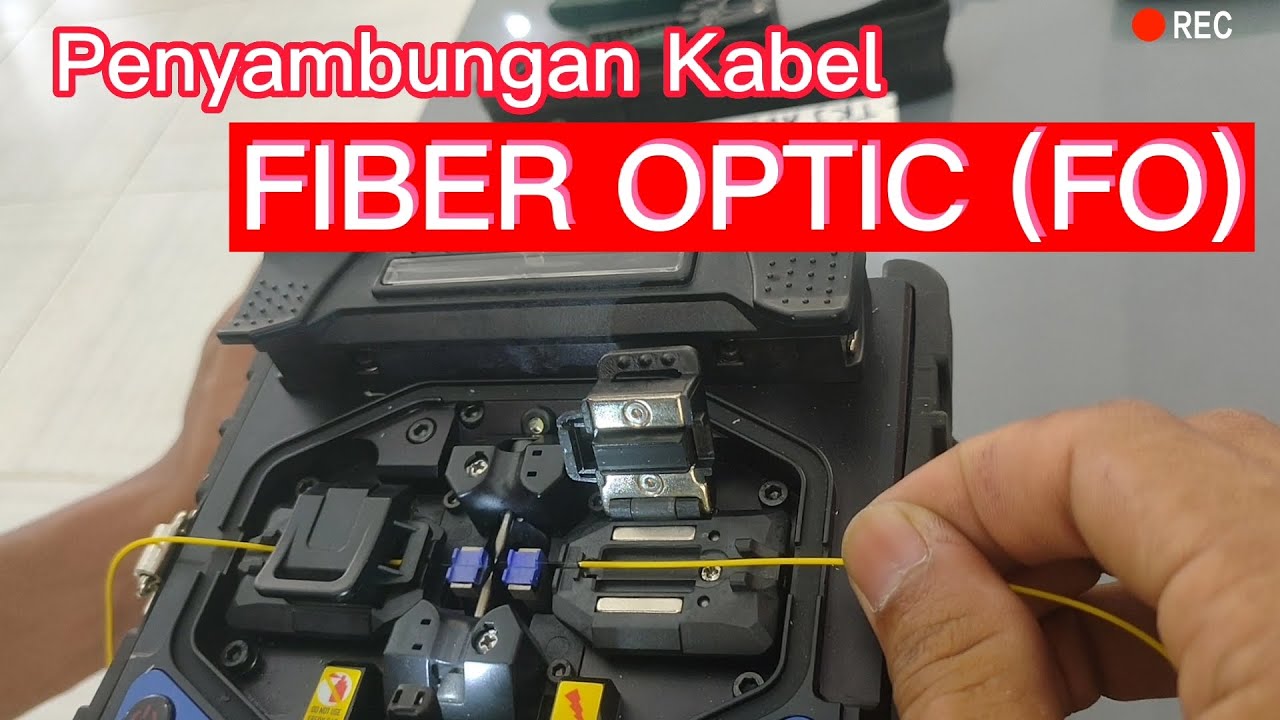
Penyambungan Kabel Fiber Optik | Teknik Penyambungan Kabel Fiber Optik

Ukur Redaman Fiber Optik dengan OPM

Sertifikasi Jointer
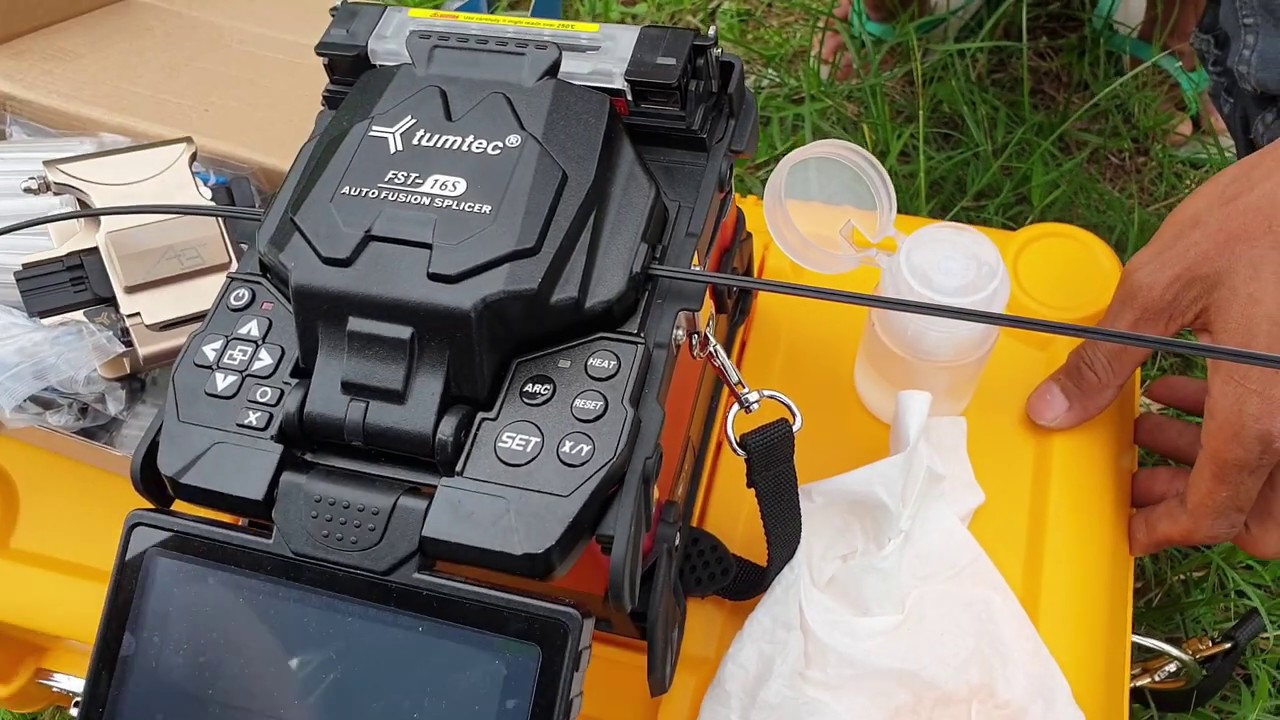
PEMULA WAJIB LIHAT BEGINI CARA SPLICING KABEL FIBER OPTIK DENGAN SPLICER TUMTEC FST-16S

CARA MENCARI KABEL FIBER YANG PUTUS DENGAN OTDR NOVKER NK4000D
5.0 / 5 (0 votes)
