Tivi LG43UK6540 bị sáng trắng màn hình, xử lý bằng hai cách
Summary
TLDRThis video tutorial showcases the repair process of an LG 43UK6540 TV with a screen display issue. The host begins by examining the TV's internal components, focusing on the power board and the mainboard. After identifying the problem, they demonstrate two methods to fix the screen's white display issue: using tape to cover specific areas on the board and desoldering certain components. The video concludes with a successful repair, restoring the TV's normal display, and encouraging viewers to subscribe and like for support.
Takeaways
- 📺 The video is about repairing an LG TV model 43UK6540 with a screen issue.
- 🔍 The TV's problem is a white screen with white edges instead of the usual black screen when turned on.
- 👨🔧 The repair process involves opening the TV to check if it can still be processed.
- 🔌 The internal structure of the TV is introduced, including the power board and the mainboard.
- 🎚️ The TV is a 4K model, and the issue might be related to the screen's high processing capabilities.
- 🔩 The repairer checks the connections and cables, focusing on the white and red cables.
- 🖥️ After disconnecting certain cables, the screen shows different colors, indicating a possible fault in the connections.
- 🛠️ The repair involves using tape to cover a specific area on the mainboard, near 'V GL2'.
- 🔄 A second method of repair is introduced, which involves disconnecting a row of resistors.
- 📈 The video concludes with a demonstration of the TV working properly after the repairs, with clear images and no screen distortion.
Q & A
What is the model of the LG TV mentioned in the video?
-The model of the LG TV is 43UK6540.
What is the issue the LG TV is facing?
-The LG TV is experiencing a white screen issue upon startup.
How does the technician identify that the TV screen has a problem?
-The technician observes that the screen turns completely white instead of black, which is unusual for faulty TVs.
What kind of display technology is the TV using?
-The TV uses a 4K display panel.
What steps does the technician take to diagnose the TV’s issue?
-The technician opens the TV, checks the cables, and starts by disconnecting and reconnecting different cables to see if the issue resolves.
What happens when the technician disconnects one of the cables?
-When the technician disconnects one of the cables, half of the screen turns black, indicating a possible issue with the cable or its connection.
What solution does the technician propose after diagnosing the problem?
-The technician uses adhesive tape to cover specific sections of the cable connections, which prevents the white screen from appearing.
Why is it important for the technician to ensure the cable does not touch the chassis?
-If the cable touches the chassis, it could damage the screen or the TV's mainboard, which is dangerous.
What alternative solution does the technician offer if the issue persists?
-The technician suggests cutting a row of resistors on the board as another method to fix the problem.
What is the final result after the technician applies the fixes?
-After applying the fixes, the TV displays clear and stable images without flickering, lines, or white screens.
Outlines

Dieser Bereich ist nur für Premium-Benutzer verfügbar. Bitte führen Sie ein Upgrade durch, um auf diesen Abschnitt zuzugreifen.
Upgrade durchführenMindmap

Dieser Bereich ist nur für Premium-Benutzer verfügbar. Bitte führen Sie ein Upgrade durch, um auf diesen Abschnitt zuzugreifen.
Upgrade durchführenKeywords

Dieser Bereich ist nur für Premium-Benutzer verfügbar. Bitte führen Sie ein Upgrade durch, um auf diesen Abschnitt zuzugreifen.
Upgrade durchführenHighlights

Dieser Bereich ist nur für Premium-Benutzer verfügbar. Bitte führen Sie ein Upgrade durch, um auf diesen Abschnitt zuzugreifen.
Upgrade durchführenTranscripts

Dieser Bereich ist nur für Premium-Benutzer verfügbar. Bitte führen Sie ein Upgrade durch, um auf diesen Abschnitt zuzugreifen.
Upgrade durchführenWeitere ähnliche Videos ansehen
2 Ways to Screen Mirroring in Mi TV | Mi Android TV | Screencast
Playing Destiny on a GAMING TV? (LG OLED Flex 42") | Tech Showcase
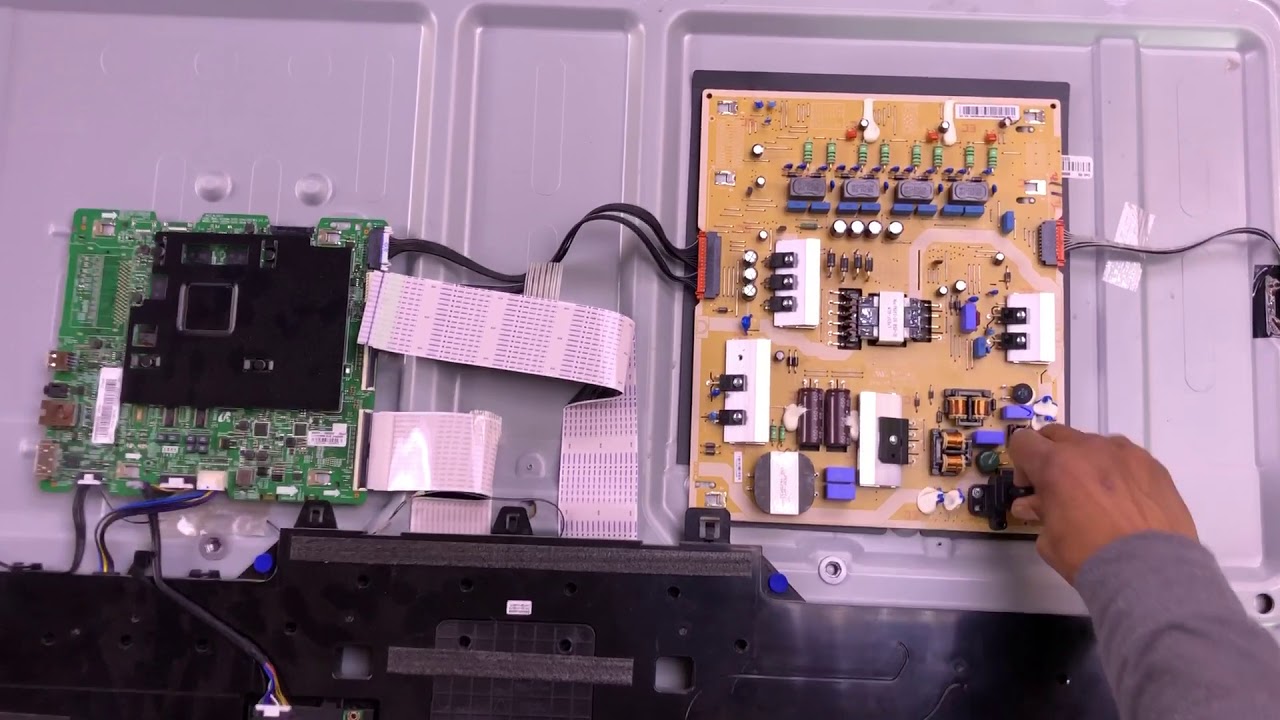
Samsung UN55kS8000F back light on of screen problem

LG OLED Secrets You Wont Find Anywhere Else!

PAANO AYOSIN ANG SONY BRAVIA NAG PAPATAY SINDI AYAW MAG TULOY NANG BUKAS
COMO CONECTAR TU CELULAR A CUALQUIER TELEVISOR SIN CABLES!
5.0 / 5 (0 votes)
