CSS Course | CSS Position Property | Complete Web Development Course Beginner to Advance Tutorial 21
Summary
TLDRThe video script discusses the importance of understanding CSS positioning properties for effective web design. It covers various position values like static, relative, absolute, fixed, and sticky, demonstrating how they affect the layout of web elements. The script provides practical examples, including creating a fixed navigation bar and manipulating element positions to enhance user experience. It also touches on the z-index property for stacking elements and encourages viewers to apply these concepts in their own web projects.
Takeaways
- 😀 Positioning properties are crucial for correctly placing different elements within a website.
- 📚 The 'position' property in CSS is essential for controlling the layout of elements on a webpage.
- 🔍 Elements can have different behaviors like scrolling independently or being fixed in place, which is controlled by the 'position' property.
- 🎨 There are several values for the 'position' property, including 'static', 'relative', 'absolute', 'fixed', and 'sticky'.
- 📐 The 'static' position is the default, and elements with this setting do not move even when scrolled.
- 🔄 'Relative' positioning places an element in relation to its normal position, allowing it to move within the parent container.
- 🔒 'Absolute' positioning takes an element out of the normal document flow and positions it in relation to the nearest positioned ancestor.
- 📍 'Fixed' positioning places an element relative to the browser window, making it stay in the same place even when the page is scrolled.
- 🍃 'Sticky' positioning is a hybrid of 'relative' and 'fixed', where the element sticks to a certain position on the page as you scroll.
- 🛠️ Understanding and using the 'position' property effectively can greatly enhance the layout and user experience of a website.
- 🔑 The 'z-index' property also plays a role in stacking elements on top of one another, especially when combined with positioning.
Q & A
What is the main topic discussed in the script?
-The main topic discussed in the script is the concept of positioning properties in web design, specifically how to properly position different elements within a website.
What are some common issues with website elements that the script aims to address?
-The script aims to address issues such as elements that scroll while others do not, and how to fix the positioning of various website elements to achieve the desired layout.
What is the default value of the position property in CSS, and what does it mean?
-The default value of the position property in CSS is 'static', which means that an element is positioned according to the normal flow of the document (it is not shifted from its original position).
What are the different values of the position property mentioned in the script?
-The script mentions 'static', 'relative', 'absolute', 'fixed', and 'sticky' as different values of the position property.
How does the 'relative' value for the position property affect an element's position?
-The 'relative' value positions an element relative to its normal position, allowing it to be shifted from the document flow without affecting the position of other elements.
What is the purpose of the 'absolute' position value?
-The 'absolute' position value positions an element relative to its nearest positioned ancestor, if any; otherwise, it positions the element relative to the initial containing block.
How does the 'fixed' position value differ from 'absolute'?
-The 'fixed' position value positions an element relative to the browser window (or the nearest scrolled ancestor), meaning it will not move even if the page is scrolled.
What is the 'sticky' position value used for?
-The 'sticky' position value positions an element based on the user's scroll position. It is positioned relative to the viewport and will stick to a certain position when the user scrolls a certain amount.
What is the role of the 'z-index' property in relation to positioning?
-The 'z-index' property determines the stack order of an element, which is important when elements overlap. It does not affect the actual position of the element on the x and y axes.
How can one ensure that a positioned element does not overlap with others?
-One can ensure that a positioned element does not overlap with others by adjusting its 'z-index' property and by carefully planning the layout to avoid overlap.
What is the script's suggestion for creating a new bar in a website layout?
-The script suggests defining the height and position properties of the new bar to be 'fixed' and 'top zero', respectively, to ensure it remains at the top of the page regardless of scrolling.
Outlines

هذا القسم متوفر فقط للمشتركين. يرجى الترقية للوصول إلى هذه الميزة.
قم بالترقية الآنMindmap

هذا القسم متوفر فقط للمشتركين. يرجى الترقية للوصول إلى هذه الميزة.
قم بالترقية الآنKeywords

هذا القسم متوفر فقط للمشتركين. يرجى الترقية للوصول إلى هذه الميزة.
قم بالترقية الآنHighlights

هذا القسم متوفر فقط للمشتركين. يرجى الترقية للوصول إلى هذه الميزة.
قم بالترقية الآنTranscripts

هذا القسم متوفر فقط للمشتركين. يرجى الترقية للوصول إلى هذه الميزة.
قم بالترقية الآنتصفح المزيد من مقاطع الفيديو ذات الصلة
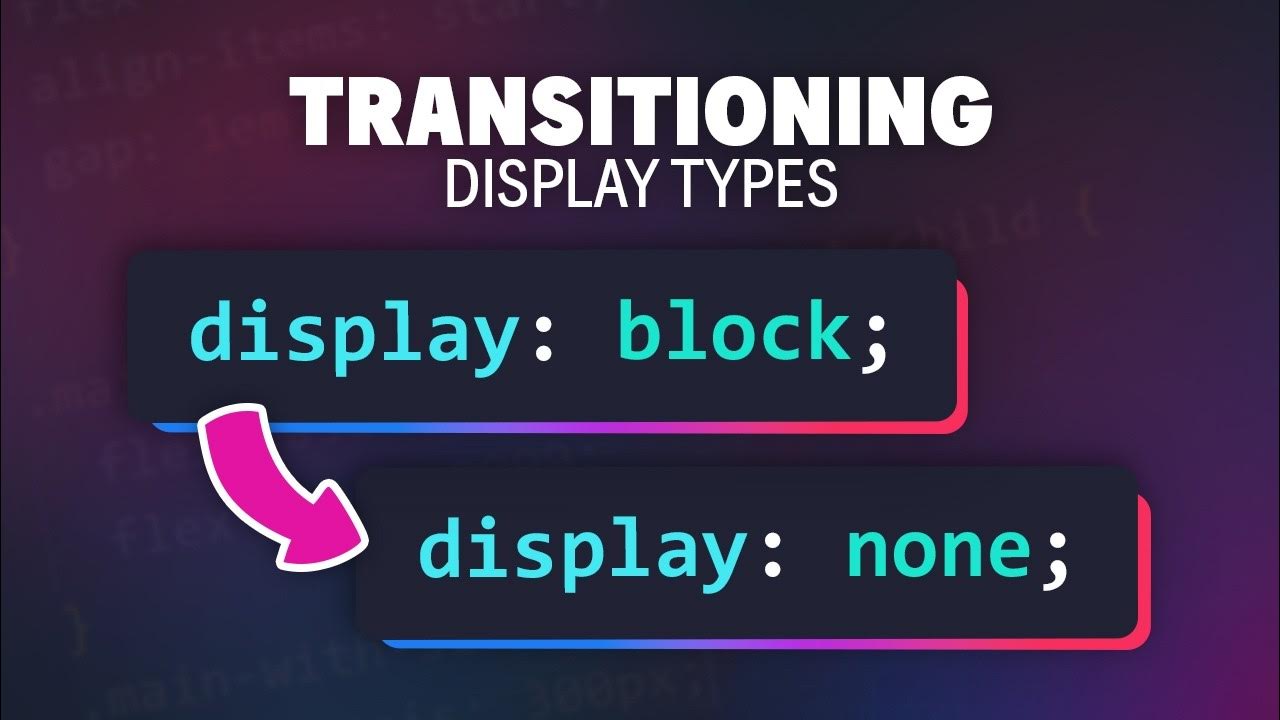
We can now transition to and from display: none

Learn CSS Positioning Quickly With A Real World Example

CSS Course | CSS Float & Clear | CSS Overflow | Complete Web Development Course Tutorial 22

Value of colors and CSS format
Layout Part 1A - Motivation, Divs & Spans Review
10 CSS Pro Tips - Code this, NOT that!
5.0 / 5 (0 votes)
