Unlock the power of Keyframes in After Effects \\ AE Tutorial
Summary
TLDRThis video tutorial delves into the intricacies of keyframe types in Adobe After Effects, guiding viewers through the use of linear, Bezier, eased, and hold keyframes. The host demonstrates how each keyframe affects animation, utilizing speed graphs to illustrate the differences. Sponsored by Rise, an intelligent time tracker, the video also covers 'Rove across time' behavior for custom motion paths. Viewers are encouraged to download project files for hands-on learning and to share their unique keyframe applications.
Takeaways
- 📚 The video provides an educational overview of different keyframe types in Adobe After Effects.
- 👕 The presenter mentions a sponsored link to a store for fashionable motion designer apparel.
- 🔑 Four main keyframe types are discussed: linear, bezier, eased, and hold, each with unique properties and uses.
- 🔍 The video explains how to use the speed graph to visualize and adjust the rate of change between keyframes.
- 🎨 The presenter demonstrates how to convert between keyframe types and adjust their interpolation for customized animations.
- ⏱ Rise, the video's sponsor, is an intelligent time tracker that helps improve focus and build better work habits.
- 🛠️ The 'Rove Across Time' behavior is highlighted as a useful tool for adjusting the timing of keyframes without affecting the motion path.
- 🎭 The script includes a practical example of animating a ball with a motion path and adjusting keyframe timing for a dynamic effect.
- 🖌️ The use of the pen tool to modify the motion path and create custom animation trajectories is covered.
- 🎨 The importance of understanding keyframe types for creating professional animations in After Effects is emphasized.
- 🔄 The video also discusses the use of smear frames to add a sense of velocity and motion blur to animations.
Q & A
What is the main topic of the video?
-The main topic of the video is to explain the different types of keyframes in Adobe After Effects and demonstrate their uses through an animation example.
What are the four main types of keyframes discussed in the video?
-The four main types of keyframes discussed are linear, Bezier, eased, and hold keyframes.
What is the default keyframe type in After Effects?
-The default keyframe type in After Effects is linear.
How does a linear keyframe distribute the value change across time?
-A linear keyframe distributes the value change evenly across the time between keyframes, resulting in a constant rate of change.
What is the difference between Bezier keyframes and linear keyframes in terms of velocity?
-Bezier keyframes connect the incoming and outgoing velocities between keyframes, allowing for slight easing effects, whereas linear keyframes have separate velocities for each segment with no connection between them.
What is the purpose of the 'Rove across time' behavior in After Effects?
-The 'Rove across time' behavior allows for the adjustment of keyframe timing so that the software can automatically distribute the timing of intermediate keyframes between selected keyframes, making it easier to focus on specific keyframes and their easing.
How can you convert a keyframe to a Bezier keyframe in After Effects?
-You can convert a keyframe to a Bezier keyframe by selecting the keyframe and Control or Command clicking on it until it turns into a circle shape.
What is the purpose of the hold keyframe in After Effects?
-The hold keyframe is used to remove all interpolation between keyframes, maintaining a constant value until the next keyframe is reached, which can be useful for creating segmented animations or preventing unwanted drifting.
What is the sponsor of the video and how does it relate to the content?
-The sponsor of the video is Rise, an intelligent time tracker. It is related to the content as the video creator uses it to manage work-life balance and productivity, which is a theme that can resonate with motion designers and other professionals.
What is the 'smear frames' technique mentioned in the video and where can it be downloaded from?
-The 'smear frames' technique is a method to add motion blur to animations, enhancing the perception of speed. It can be downloaded for free from BattleAx's website.
How can viewers support more tutorials like the one in the video?
-Viewers can support more tutorials like the one in the video by becoming a patron on Patreon, contributing to the creator's efforts in producing educational content.
Outlines

هذا القسم متوفر فقط للمشتركين. يرجى الترقية للوصول إلى هذه الميزة.
قم بالترقية الآنMindmap

هذا القسم متوفر فقط للمشتركين. يرجى الترقية للوصول إلى هذه الميزة.
قم بالترقية الآنKeywords

هذا القسم متوفر فقط للمشتركين. يرجى الترقية للوصول إلى هذه الميزة.
قم بالترقية الآنHighlights

هذا القسم متوفر فقط للمشتركين. يرجى الترقية للوصول إلى هذه الميزة.
قم بالترقية الآنTranscripts

هذا القسم متوفر فقط للمشتركين. يرجى الترقية للوصول إلى هذه الميزة.
قم بالترقية الآنتصفح المزيد من مقاطع الفيديو ذات الصلة
How to KEYFRAME in Adobe After Effects (Tutorial)
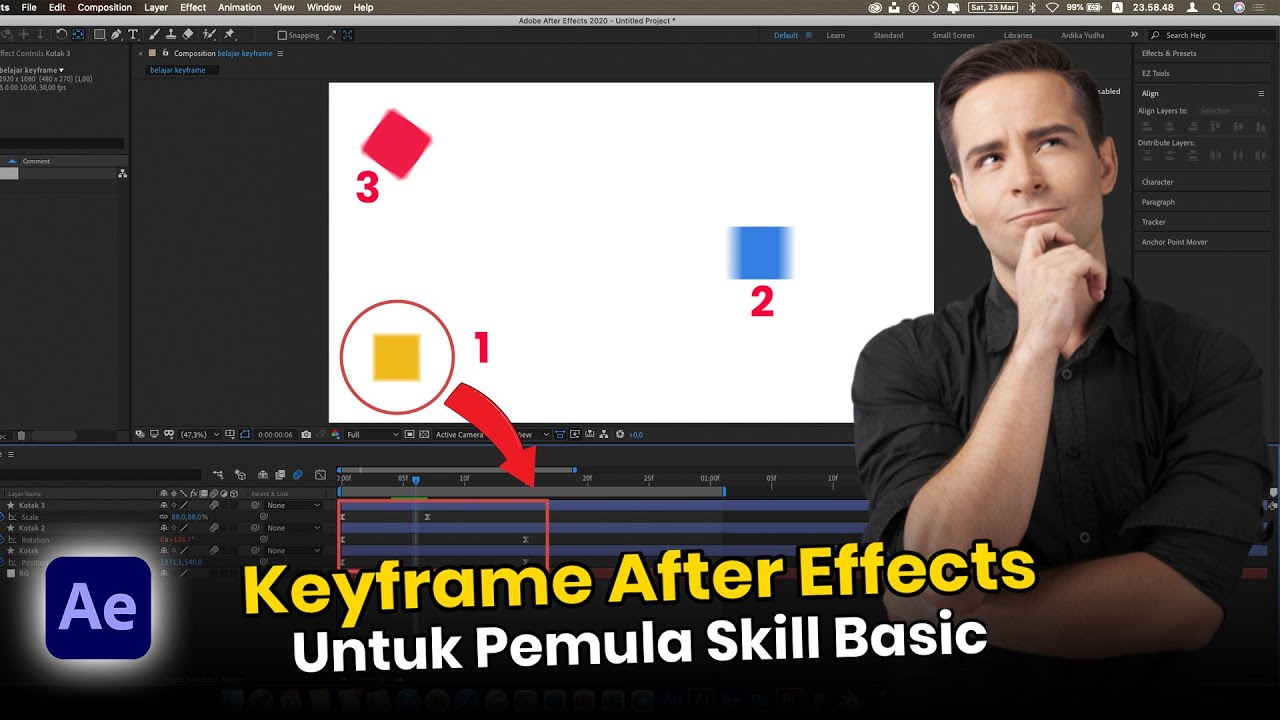
Tutorial Lengkap Belajar Dasar Adobe After Effects untuk Pemula - Skill Basic
cara pake graph editor.

Mudahnya Membuat Animasi Logo Brand DJI - Tutorial After Effect

How to make Trending UI Animations in After Effects

How to make Easy Pro Lyrics Video in After Effects
5.0 / 5 (0 votes)
