Beginner FPV Kit Under $250 - BETAFPV AQUILA 16
Summary
TLDR本视频介绍了Beta FPV Aquilla 16,一款适合初学者的FPV无人机套装。套装包括便携式手提箱、带有elrs传输协议的遥控器、内置DVR的模拟FPV眼镜等。Aquilla 16具有防撞设计,配备无刷电机和可调节摄像头,支持三种飞行模式,适合从初学者到熟练飞行者。视频还讨论了其耐用性、电池续航和一些使用中可能遇到的问题,推荐给那些想以经济实惠的方式尝试FPV飞行的观众。
Takeaways
- 🌟 Aquilla 16是Beta FPV推出的一款适合初学者的FPV(第一人称视角)飞行套装。
- 🛍️ 套装包含一个便携式手提箱、Beta FPV Light Radio 2 SE遥控器以及带内置DVR的模拟FPV眼镜。
- 🔋 无人机采用一节锂电池供电,具有新型的插入式电池设计,无需开关即可启动。
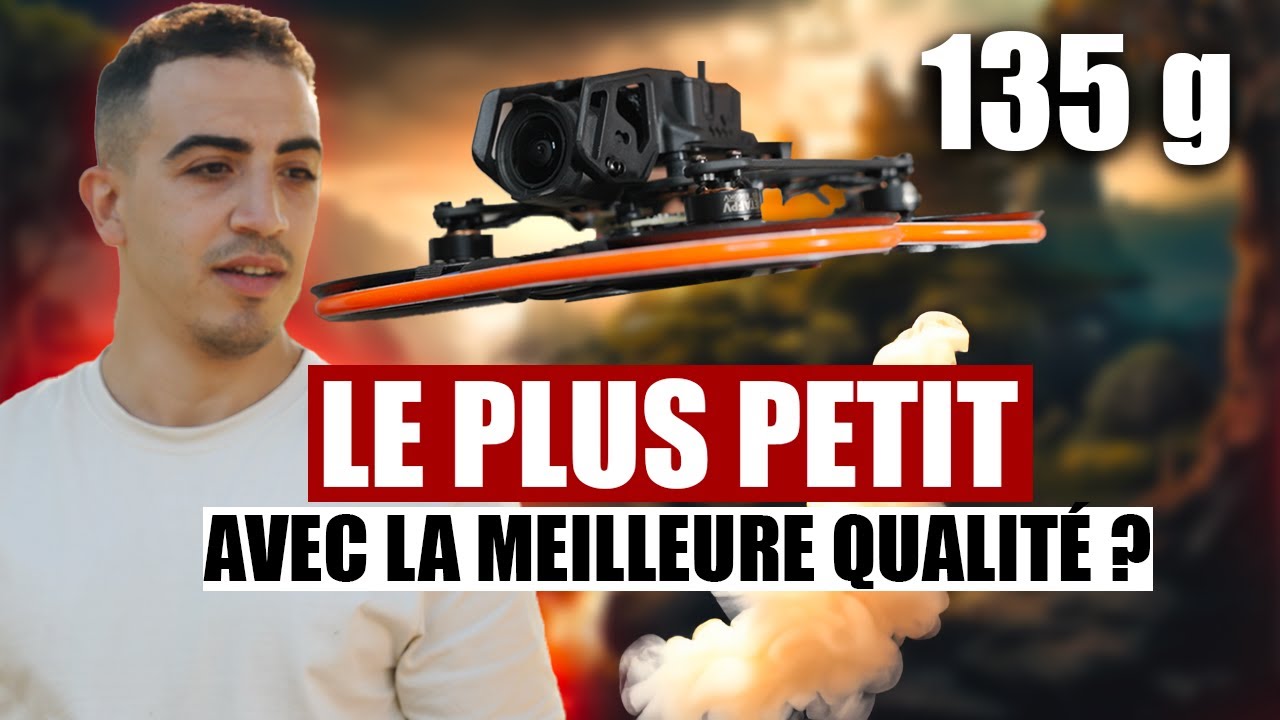
- 🚀 无人机配备了无刷电机,提供高动力,并且具有可调节的摄像头和VTX(视频发射器)。
- 🔧 套装中的电池和设备都可以通过USB-C充电,方便统一充电和管理。
- 🛰️ 无人机具备三种飞行模式和三种速度设置,从初学者到熟练飞手都能适应。
- 🕶️ 眼镜支持最大64GB的SD卡录像,但需要注意动态范围在强光下的表现。
- 🛠️ 无人机设计耐用,即使在多次撞击后也能保持良好性能,适合初学者练习。
- 🔄 无人机具有Turtle模式,可以在翻转后帮助无人机恢复到正常飞行姿态。
- 📐 无人机在多次撞击后可能需要重新校准,以保持水平飞行。
- 🔗 遥控器可以连接电脑,用于飞行模拟器练习,帮助飞手提高飞行技能。
Q & A
Beta fpv Aquilla 16 是一款什么样的产品?
-Beta fpv Aquilla 16 是一款适合初学者的FPV(第一人称视角)飞行套装,它是一个即飞即用的套件,旨在帮助新手进入FPV爱好领域。
Beta fpv Aquilla 16 套装中包含哪些主要配件?
-套装中包括一个便携式手提箱、Beta fpv Light Radio 2 SE遥控器、一套模拟FPV眼镜盒、一个内置DVR功能的FPV眼镜以及一些连接线。
Beta fpv Aquilla 16 的遥控器使用的是什么传输协议?
-Beta fpv Aquilla 16 的遥控器使用的是E.L.R.S(Easy Lift-off Remote System)传输协议,这是一种高质量的无线遥控链路。
Beta fpv Aquilla 16 的FPV眼镜有哪些特点?
-FPV眼镜具有内置的DVR功能,可以录制飞行视频到SD卡上,但只支持最大64GB的内存卡。
Beta fpv Aquilla 16 的视频传输系统使用的是模拟还是数字系统?
-Beta fpv Aquilla 16 使用的是模拟视频传输系统,虽然不是最新的高清数字系统,但对于初学者来说,画质足够好,且成本较低。
Beta fpv Aquilla 16 的电池设计有何特别之处?
-Beta fpv Aquilla 16 采用了一种新的插入式电池设计,电池插入后无人机会自动开启,无需额外的开关操作。
Beta fpv Aquilla 16 配备了什么样的电机?
-Beta fpv Aquilla 16 配备了无刷电机,相比有刷电机,无刷电机提供了更高的动力,尽管它只是一个1S四轴飞行器。
Beta fpv Aquilla 16 的飞行模式有哪些?
-Beta fpv Aquilla 16 有三种飞行模式:普通模式(Normal)、运动模式(Sport)和手动模式(Manual),每种模式下都有慢、中、快三种速度设置。
Beta fpv Aquilla 16 的电池续航时间如何?
-Beta fpv Aquilla 16 的电池续航时间在悬停测试中超过了8分钟,而在实际飞行中,平均续航时间约为6到6.5分钟。
Beta fpv Aquilla 16 的耐用性如何?
-Beta fpv Aquilla 16 非常耐用,即使在多次故意或意外撞击下,也能保持良好状态,没有损坏。
Beta fpv Aquilla 16 的摄像头在动态范围方面有什么限制?
-Beta fpv Aquilla 16 的摄像头在面对强烈光源,如日出或日落时,动态范围表现不佳,可能会导致画面部分区域过暗,影响视觉。
Beta fpv Aquilla 16 的海龟模式(Turtle Mode)是如何工作的?
-当无人机翻转时,可以通过切换臂开关和海龟模式开关来使无人机翻转回正常状态,继续飞行。
Beta fpv Aquilla 16 的携带箱有哪些优点?
-Beta fpv Aquilla 16 的携带箱紧凑且保护性良好,所有配件都固定在适当的位置,易于携带和保护。
Beta fpv Aquilla 16 的视频信号在什么情况下可能会丢失?
-在非常强烈的撞击下,Beta fpv Aquilla 16 的视频信号可能会丢失,但通过在眼镜上按下搜索功能,可以重新获得视频信号。
Beta fpv Aquilla 16 适合哪些用户群体?
-Beta fpv Aquilla 16 适合从未飞过FPV的完全初学者,它提供了一个预算友好的方式,让人们尝试FPV飞行。
Outlines

هذا القسم متوفر فقط للمشتركين. يرجى الترقية للوصول إلى هذه الميزة.
قم بالترقية الآنMindmap

هذا القسم متوفر فقط للمشتركين. يرجى الترقية للوصول إلى هذه الميزة.
قم بالترقية الآنKeywords

هذا القسم متوفر فقط للمشتركين. يرجى الترقية للوصول إلى هذه الميزة.
قم بالترقية الآنHighlights

هذا القسم متوفر فقط للمشتركين. يرجى الترقية للوصول إلى هذه الميزة.
قم بالترقية الآنTranscripts

هذا القسم متوفر فقط للمشتركين. يرجى الترقية للوصول إلى هذه الميزة.
قم بالترقية الآنتصفح المزيد من مقاطع الفيديو ذات الصلة
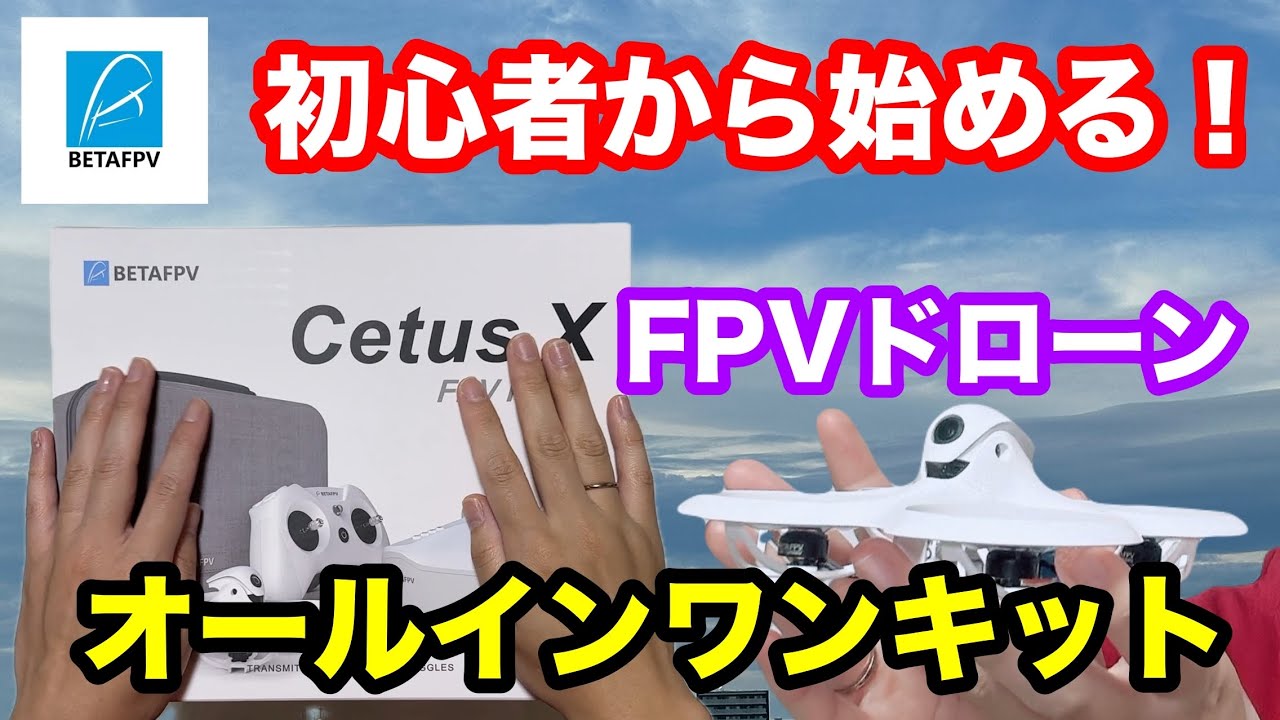
Cetus X BETAFPV 初★FPVドローン紹介!

FPV Drone Kit For Beginners! || BETAFPV AQUILA 16
A cheap way to get into FPV? | BetaFPV Aquila 16
BetaFPV Meteor75 Whoop - is this the perfect way to get into FPV?
BetaFPV Cetus X Drohne Tutorial mit Crash Deutsch
PEUT-ON FAIRE PLUS PETIT QUE CE DRONE FPV ? (AVEC LA MÊME QUALITÉ VIDÉO ?)
5.0 / 5 (0 votes)
