Rapid SCADA 6. Lesson 3. Quick start
Summary
TLDRThis video demonstrates the process of quickly creating a new Rapid Scatter project and pulling data using the Modbus communication protocol. The tutorial covers downloading and setting up the Mod RS Sim2 simulator, creating a communication line, adding a device, configuring Modbus TCP settings, and setting up templates for data extraction. It also explains how to visualize the data on a web interface, manage communication logs, and display real-time data in a table and chart format. By the end, users will be able to replicate the process in their own projects with ease.
Takeaways
- 😀 The video demonstrates how to quickly create a new Rapid Scatter project and pull data via the Modbus communication protocol.
- 😀 The ModRS Sim2 simulator was downloaded and used for communication via Modbus TCP on port 502.
- 😀 A new project is created using the English template, with a designated directory for saving the project.
- 😀 Three important toolbar buttons help streamline the setup of necessary settings for the project.
- 😀 The communication line is created first, and settings are added in the communicator's configuration database.
- 😀 The device is added with the Modbus unit ID and IP address as configuration details, with the TCP client communication channel type set.
- 😀 A Modbus template is created, defining the Modbus registers to pull, with a group containing an unsigned short element type.
- 😀 The Modbus TCP protocol subtype is selected and configuration is uploaded for execution.
- 😀 The device data page allows for changing values, but data isn't stored until a communication channel is created and bound to the device.
- 😀 A simple table view is created to display data in the web interface, and proper access rights are configured.
- 😀 The web station address and port number are set during installation to enable access to the web page, where device data is displayed and can be manipulated.
Q & A
What is the purpose of the Mod RS Sim2 simulator?
-The Mod RS Sim2 simulator is used to simulate Modbus communication, allowing you to test Modbus TCP connections and data exchanges between devices.
What is the significance of using Modbus TCP in this project?
-Modbus TCP is a widely-used communication protocol for industrial devices. Using Modbus TCP in this project ensures that the device can communicate over a standard Ethernet network using port 502.
Why is the communication line added in the communicator settings?
-The communication line is added in the communicator settings to establish a connection between the software and the Modbus simulator, allowing the system to send and receive data effectively.
How do you verify the correct communication in the project?
-After configuring the communication line and device, you can verify the communication by checking the communication log in the software, which will show if the connection is established and data is being transferred correctly.
What is the role of the Modbus template created in the project?
-The Modbus template specifies which Modbus registers to pull from the device, defining the structure of data that will be retrieved during the communication.
How do you ensure data is stored in the historical archive?
-To ensure data is stored in the historical archive, you must bind the device to the communication channel and configure the system to store data in the archive.
What is the importance of creating a view in the web interface?
-Creating a view in the web interface allows users to display and interact with the data visually, making it easier to monitor and analyze the device data remotely.
Why do you need to set the web station address and port number?
-Setting the web station address and port number ensures that the web interface is accessible from the administrator application, allowing you to monitor and interact with the data through a browser.
What happens when the web application is switched on in the project?
-When the web application is switched on, the web interface becomes active, allowing users to view data, interact with it, and make changes via the browser.
How can you update the device data in the web interface?
-To update the device data in the web interface, you need to add the device to the interface, refresh the page, and ensure the device is correctly bound to the communication channel, which will update the data displayed.
Outlines

هذا القسم متوفر فقط للمشتركين. يرجى الترقية للوصول إلى هذه الميزة.
قم بالترقية الآنMindmap

هذا القسم متوفر فقط للمشتركين. يرجى الترقية للوصول إلى هذه الميزة.
قم بالترقية الآنKeywords

هذا القسم متوفر فقط للمشتركين. يرجى الترقية للوصول إلى هذه الميزة.
قم بالترقية الآنHighlights

هذا القسم متوفر فقط للمشتركين. يرجى الترقية للوصول إلى هذه الميزة.
قم بالترقية الآنTranscripts

هذا القسم متوفر فقط للمشتركين. يرجى الترقية للوصول إلى هذه الميزة.
قم بالترقية الآنتصفح المزيد من مقاطع الفيديو ذات الصلة
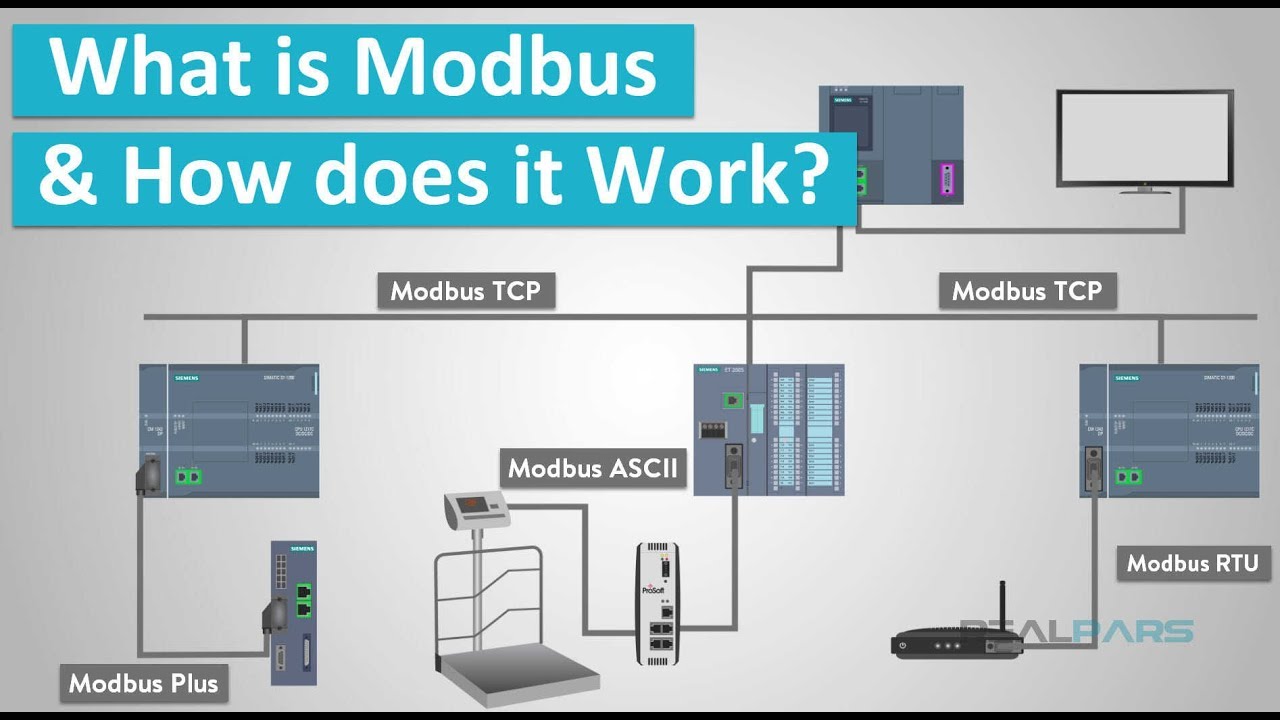
What is Modbus and How does it Work?

STATISTIKA BIVARIAT ( DIAGRAM PENCAR ) - PART 1

Quick & Easy Django Deployment on PythonAnywhere (Full Guide)

DON'T WAIT! Learn How to Create Your Own MCP Server

Python Sockets Explained in 10 Minutes

How to Make Contracts Way Easier for Your Team! (Requirements Done Right) - Training Course Part 3
5.0 / 5 (0 votes)
