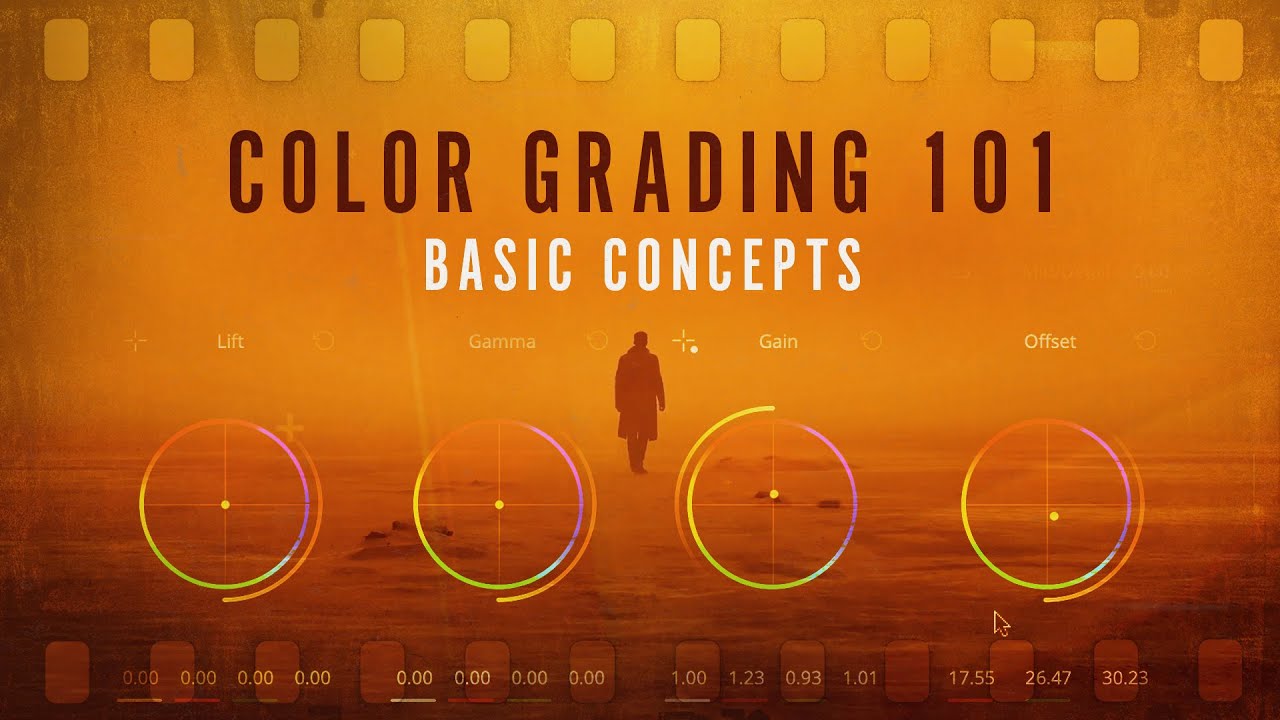
The MOST IMPORTANT Concept in Colour Grading
Summary
TLDRThis video provides a deep dive into the order of operations for color grading, focusing on the importance of LUTs, color space transformations, and adjustments in tools like Premiere Pro and DaVinci Resolve. The speaker emphasizes the correct sequence for applying adjustments, such as exposure, contrast, white balance, and skin tone corrections, while ensuring no data is lost or clipped. By understanding and applying these techniques, users can achieve professional results more efficiently. The speaker also shares an advanced workflow and offers personalized coaching to accelerate learning and mastery of color grading.
Takeaways
- 😀 Correct order of operations is crucial in color grading, with exposure adjustments being made before LUTs to avoid clipping and preserve image details.
- 😀 Use two instances of Luts in color grading software to ensure that adjustments are applied correctly, with one for the LUT at the bottom and one for the adjustments on top.
- 😀 In Premiere Pro or Final Cut Pro, an adjustment layer can help organize the order of operations, processing the footage first before applying further adjustments on the layer.
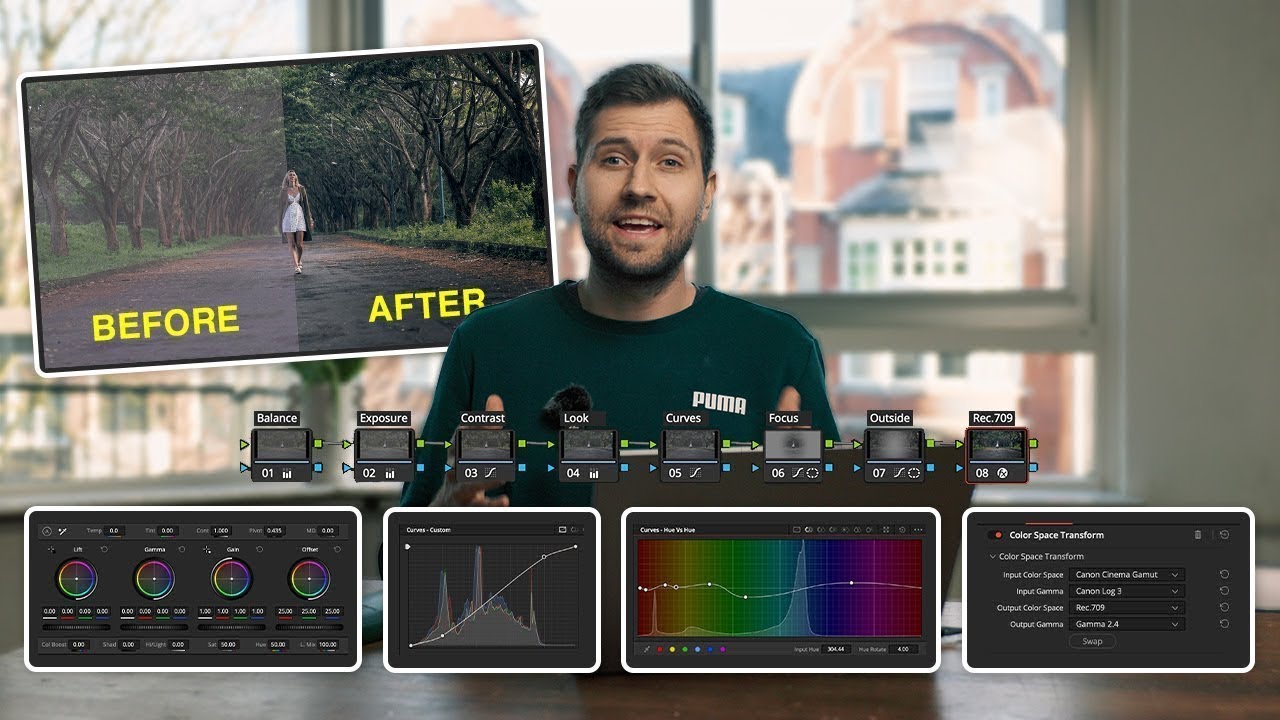
- 😀 In DaVinci Resolve, the signal flows from left to right, so ensuring that color space transformations and exposure adjustments are placed correctly in the node tree is essential for proper processing.
- 😀 A recommended workflow in DaVinci Resolve involves applying a color space transformation early, followed by exposure adjustments and finishing with a final LUT or color space transformation.
- 😀 Using a color space transformation at the start can allow for more flexibility when grading log footage, as it accepts a larger range of values without clipping.
- 😀 Ensure that the image is properly judged after applying a LUT or color transformation, as working with log footage directly is challenging and doesn’t provide an accurate view of your adjustments.
- 😀 Noise reduction should be applied at the start of the grading process to ensure that it operates on a clean, unprocessed signal.
- 😀 Exposure and contrast adjustments come second in the signal chain, allowing you to shape the light and overall look of the footage.
- 😀 Secondary adjustments, like white balance or skin tone correction, should follow exposure adjustments to further refine the image.
- 😀 The color grading signal chain can be adjusted based on the project needs, but understanding the general flow helps optimize the process and avoid common mistakes.
Q & A
Why is it important to select the correct instance of Lummetry in color grading software?
-Selecting the correct instance of Lummetry ensures that the adjustments are applied in the right order and with the correct settings, which is essential for achieving the desired color grading results.
What is the benefit of using two instances of Lummetry in the grading process?
-Using two instances of Lummetry—one for the LUT at the bottom and one for adjustments at the top—ensures that Premiere processes the adjustments first, followed by the LUT, maintaining the correct order of operations for optimal results.
What is the significance of the signal flowing from bottom to top in Premiere Pro's timeline?
-The signal flow from bottom to top in Premiere Pro means that adjustments made on clips (bottom layer) are processed first, followed by adjustments made on any adjustment layers (top layer), ensuring that each processing step happens in the correct sequence.
What role does the Color Space Transformation (CST) play in DaVinci Resolve?
-The CST in DaVinci Resolve converts footage from one color space to another, ensuring the correct handling of color data. For example, converting from Sony S-Gamut 3.Cine to Rec. 709 ensures that the footage is correctly represented for standard output.
Why is it necessary to adjust the exposure before applying LUTs or Color Space Transformations?
-Adjusting the exposure before applying LUTs or CSTs ensures that the image is properly exposed and free of clipping. If the exposure is corrected after applying a LUT or CST, the adjustments may not produce the desired results.
How does the order of operations impact color grading in DaVinci Resolve?
-In DaVinci Resolve, the order of operations impacts how adjustments and transformations are processed. For instance, applying a Color Space Transformation (CST) before exposure adjustments ensures that the adjustments work with the correct color data, preventing issues like clipping or losing details.
What happens when you apply a Color Space Transformation early in the process, like moving to DaVinci Wide Gamut?
-Applying a Color Space Transformation to a larger color space (e.g., DaVinci Wide Gamut) early in the process gives you more flexibility for adjustments, as this color space can accommodate more color data without clipping. This workflow allows for better control during color grading.
What are the advantages of using a Color Space Transformation to DaVinci Wide Gamut before making adjustments?
-Using a CST to DaVinci Wide Gamut before adjustments gives you a larger color space to work with, which prevents issues like clipping when making changes to exposure, contrast, or other settings. This helps maintain detail in the image.
What is the recommended order of operations for color grading adjustments?
-The recommended order of operations for color grading includes noise reduction first, followed by exposure and contrast adjustments, then white balance or mood adjustments, secondary adjustments (like skin tones), look creation, and finally, the Color Space Transformation (CST) to the desired output format.
What is the key takeaway from understanding the order of operations in color grading?
-The key takeaway is that understanding the correct order of operations—such as adjusting exposure before applying LUTs and ensuring transformations are done at the right stage—ensures better results, minimizes mistakes, and streamlines the color grading process.
Outlines

هذا القسم متوفر فقط للمشتركين. يرجى الترقية للوصول إلى هذه الميزة.
قم بالترقية الآنMindmap

هذا القسم متوفر فقط للمشتركين. يرجى الترقية للوصول إلى هذه الميزة.
قم بالترقية الآنKeywords

هذا القسم متوفر فقط للمشتركين. يرجى الترقية للوصول إلى هذه الميزة.
قم بالترقية الآنHighlights

هذا القسم متوفر فقط للمشتركين. يرجى الترقية للوصول إلى هذه الميزة.
قم بالترقية الآنTranscripts

هذا القسم متوفر فقط للمشتركين. يرجى الترقية للوصول إلى هذه الميزة.
قم بالترقية الآنتصفح المزيد من مقاطع الفيديو ذات الصلة
Color Grading 101 - Everything You Need to Know
80% Of COLOUR GRADING BASICS In ONLY 20 Minutes

【完全保存版】動画編集ソフト Final Cut Proの全てを基礎の使い方から時短の裏技まで徹底解説します。

How to get the HOLLYWOOD FILM LOOK in Davinci Resolve | Kodak 2383 Cinematic Color Grade

Premiere Pro Tutorial for Beginners 2023 - Everything You NEED to KNOW! (UPDATED)

DaVinci Resolve vs Final Cut Pro: Don't make a HUGE mistake!
5.0 / 5 (0 votes)
