Getting Started: Robot Targets - RoboDK Documentation
Summary
TLDRIn this RoboDK tutorial, Jeremy walks through the process of creating and teaching robot targets, a crucial step for programming robotic systems. He explains how to set up and modify tools, create and adjust target positions, and use the 'Teach Target on Surface' feature for precise painting applications. The video covers creating approach, retract, and painting targets, as well as how to manipulate the robot's movement for optimal results. The tutorial provides a hands-on guide to effectively program and adjust robot targets in RoboDK, offering useful tips for more accurate and efficient robot operations.
Takeaways
- 😀 RoboDK's software allows users to create targets that define positions the robot tool needs to reach.
- 😀 There are multiple ways to create a target in RoboDK, including using the toolbar, main menu, or keyboard shortcut.
- 😀 When a target is created, its position is based on the current activated TCP (Tool Center Point) of the robot.
- 😀 Targets are linked to specific reference frames, and users can move the robot to a target by clicking it in the station tree.
- 😀 Users can move targets by holding the 'Alt' key and dragging them, allowing for easy repositioning of target points.
- 😀 RoboDK's 'Teach Target on surface' feature helps create targets on an object surface with automatic tool orientation adjustments.
- 😀 The tool's orientation can be modified using the control wheels to adjust the X, Y, and Z axes relative to the surface normal.
- 😀 RoboDK allows users to rename and organize targets into groups for better management, like renaming multiple targets as 'Top Paint'.
- 😀 Precision adjustments for targets can be done by accessing the target options (F3), where values for position and rotation can be entered manually.
- 😀 The tutorial explains how to simulate a robot's path to verify target placements and ensure correct movement between positions.
- 😀 The upcoming video will focus on creating simple programs for the robot, building on the foundation of target creation.
Q & A
What is the purpose of creating targets in RoboDK?
-The purpose of creating targets in RoboDK is to define specific positions for the robot to reach with its tool. These targets guide the robot’s movements during the execution of programs.
How can you create a new target in RoboDK?
-There are multiple ways to create a new target in RoboDK: by clicking the 'Add new target' icon in the Toolbar, using the 'Program' menu and selecting 'Teach target', or by using the keyboard shortcut 'Ctrl + T'.
What happens when you create a target in RoboDK?
-When you create a new target, it is positioned based on the current active TCP (Tool Center Point). For example, in the video, the new target is created at the end of the spray from the paint gun.
What does the 'Home' position represent in the context of this tutorial?
-The 'Home' position is the starting and ending position of the robot program. It’s where the robot begins its task and returns to after completing it.
What is the purpose of the 'Approach' and 'Retract' positions?
-The 'Approach' position is the location where the robot approaches the workpiece before starting the painting process. The 'Retract' position is where the robot moves after completing the painting task, usually a position that’s away from the workpiece.
How can you adjust the position of a target in RoboDK?
-You can adjust the position of a target by using the 'Alt' key to move it manually or by right-clicking on the target and selecting 'Options' to fine-tune its position using specific coordinates.
What does the 'Teach Target on Surface' feature do in RoboDK?
-The 'Teach Target on Surface' feature allows you to create targets on the surface of an object. When the mouse gets close to a surface, a ghost robot appears, and you can click on the surface to define a target position.
How can you modify the orientation of the robot’s tool during target teaching?
-The orientation of the robot's tool can be modified using the three wheels on the left side of the screen to adjust the tool’s alignment with the surface normal (X, Y, Z axes).
How can you rename multiple targets at once in RoboDK?
-You can rename multiple targets by selecting them (using 'Ctrl' or 'Shift' for multiple selections), right-clicking on the group, and selecting 'Rename group' to give them a common name.
What is the significance of adjusting the 'X' value and rotations for each target?
-Adjusting the 'X' value and rotations for each target ensures precise positioning and orientation, which is critical for the robot to follow the correct path, especially for tasks like painting.
Outlines

هذا القسم متوفر فقط للمشتركين. يرجى الترقية للوصول إلى هذه الميزة.
قم بالترقية الآنMindmap

هذا القسم متوفر فقط للمشتركين. يرجى الترقية للوصول إلى هذه الميزة.
قم بالترقية الآنKeywords

هذا القسم متوفر فقط للمشتركين. يرجى الترقية للوصول إلى هذه الميزة.
قم بالترقية الآنHighlights

هذا القسم متوفر فقط للمشتركين. يرجى الترقية للوصول إلى هذه الميزة.
قم بالترقية الآنTranscripts

هذا القسم متوفر فقط للمشتركين. يرجى الترقية للوصول إلى هذه الميزة.
قم بالترقية الآنتصفح المزيد من مقاطع الفيديو ذات الصلة

Basic Guide - RoboDK Documentation
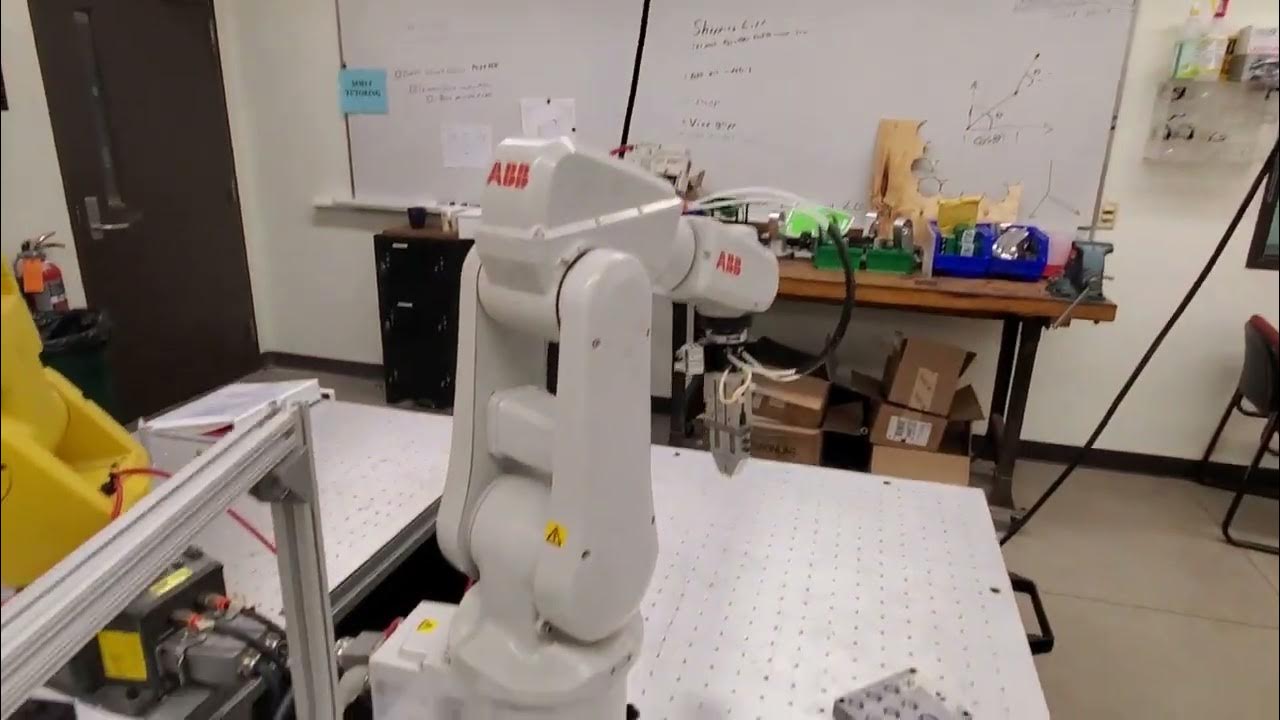
Introduction to ABB Robot Coding- Write a Simple Code for Moving and Closing the Gripper
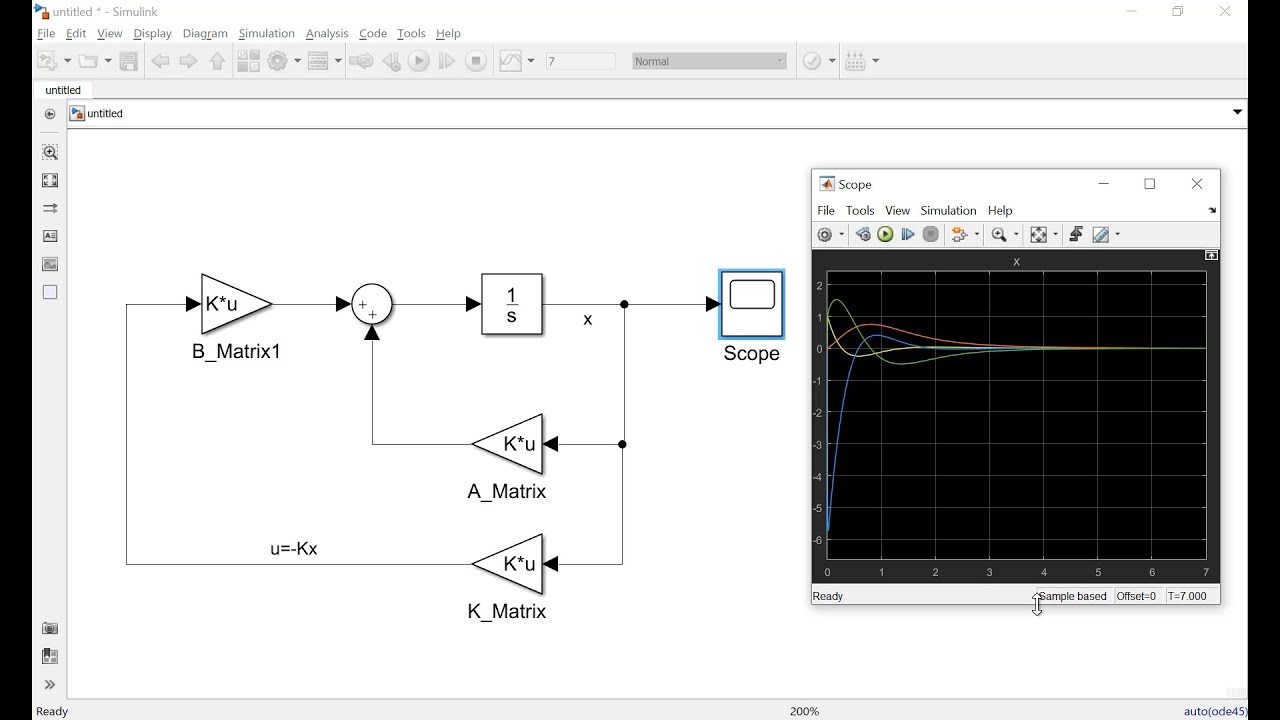
How to Make Simulation of Inverted Pendulum (Balancing Robot) Control in Simulink Matlab
Wall follower webots C // Webots Tutorial project wall following e-puck in C // Kajal Gada
How to Build a Line Following Robot | Arduino + Maker Drive Tutorial #arduinoproject #robotics

Shohibul Imami_2201020028 (UTS) Pemrograman Sistem Jaringan Course 10.2
5.0 / 5 (0 votes)
