How to make a Paper Bag - Full Tutorial
Summary
TLDRIn this video, the creator demonstrates how to quickly and easily make a paper bag using a rectangular sheet of paper, glue, and basic folding techniques. The tutorial walks viewers through each step, from creating a paper cylinder to folding the corners and securing the bag. With clear instructions and helpful tips, the video makes it easy for anyone to create a simple and functional paper bag, even providing an option to close the top for a polished finish. Perfect for those looking to make their own eco-friendly bags at home.
Takeaways
- 😀 You can make a quick and easy paper bag with simple materials.
- 😀 The basic materials needed are paper (square or rectangular), glue (or tape glue), and scissors.
- 😀 You start by applying glue to one side of the paper.
- 😀 After gluing, roll the paper to form a cylinder, making sure the glued part is in the middle.
- 😀 Flatten the paper back into a rectangle to create the shape of the bag.
- 😀 Fold the bottom of the paper up slightly to form the base of the bag.
- 😀 Fold the two corners of the bottom up and then flatten them.
- 😀 Fold the top of the paper slightly over the middle and the bottom part the same way.
- 😀 Apply glue to the triangles created at the top to seal the paper bag.
- 😀 Fold the sides of the bag using the corners as guides to form the edges.
- 😀 Open the bag by pulling out the sides, creating a fully formed rectangular paper bag.
- 😀 Optionally, you can fold the top of the bag down to close it further and complete the bag's look.
Q & A
What materials are required to make the paper bag in the video?
-You will need a square or rectangular sheet of paper and glue, specifically tape glue, although any type of glue can be used.
Can the paper bag be made from any type of paper?
-Yes, the paper bag can be made from almost any square or rectangular paper, making it quite versatile.
Why is tape glue recommended in the video?
-Tape glue is recommended because it dries quickly, making the process faster, but other types of glue can also be used.
What is the first step in making the paper bag?
-The first step is to apply glue on one of the sides of the paper, in this case, the right side.
What shape do you get after gluing the paper together?
-After gluing the paper, you will have a paper cylinder.
What do you do after the paper is in a cylindrical shape?
-Once in the cylindrical shape, flatten the sides of the paper to turn it back into a rectangle.
How do you create the folds for the bottom of the bag?
-Fold the bottom side of the paper up, then fold the two corners down to form a triangle-like shape. Unfold these corners after making the folds.
What do you do after folding the bottom of the paper bag?
-After unfolding the corners, bring the top side down, going slightly beyond the middle, and then fold the bottom part similarly.
How is the top of the bag sealed?
-Apply glue to the top corners and fold the top part down again, then glue the four spaces at the bottom to seal it.
What final steps are required to complete the paper bag?
-The last steps involve folding the sides using the small squares at the bottom as a guide. Then, open the bag, flatten it into a rectangle, and the paper bag is ready.
Outlines

هذا القسم متوفر فقط للمشتركين. يرجى الترقية للوصول إلى هذه الميزة.
قم بالترقية الآنMindmap

هذا القسم متوفر فقط للمشتركين. يرجى الترقية للوصول إلى هذه الميزة.
قم بالترقية الآنKeywords

هذا القسم متوفر فقط للمشتركين. يرجى الترقية للوصول إلى هذه الميزة.
قم بالترقية الآنHighlights

هذا القسم متوفر فقط للمشتركين. يرجى الترقية للوصول إلى هذه الميزة.
قم بالترقية الآنTranscripts

هذا القسم متوفر فقط للمشتركين. يرجى الترقية للوصول إلى هذه الميزة.
قم بالترقية الآنتصفح المزيد من مقاطع الفيديو ذات الصلة
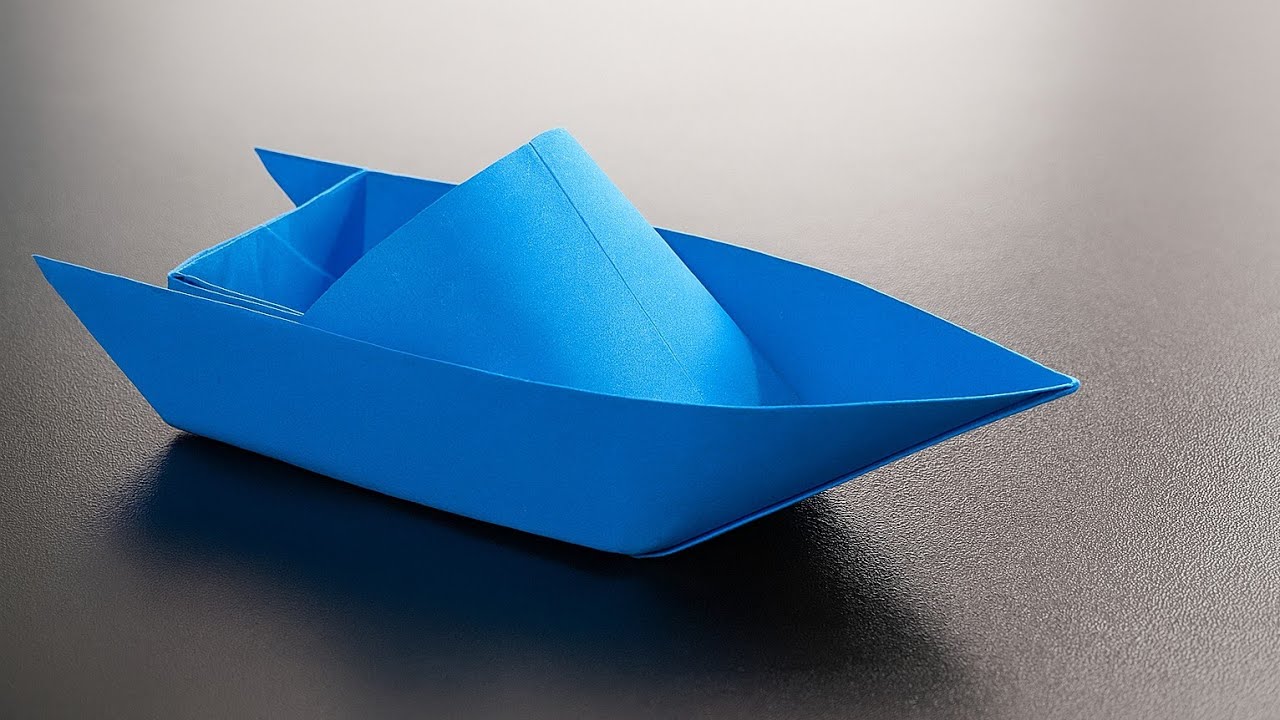
How to make a Paper Speedboat that Floats - NEW VERSION!

Easy Origami Butterfly Bookmark Corner - How to make an Origami Bookmark Butterfly Tutorial

How to Make an Easy Paper Airplane in 1 Minute! (60 Seconds) Competition Winner — Flies 100+ Feet!

Catavento | Como fazer catavento de papel sem utilizar molde e com folha A4 | Testando o catavento
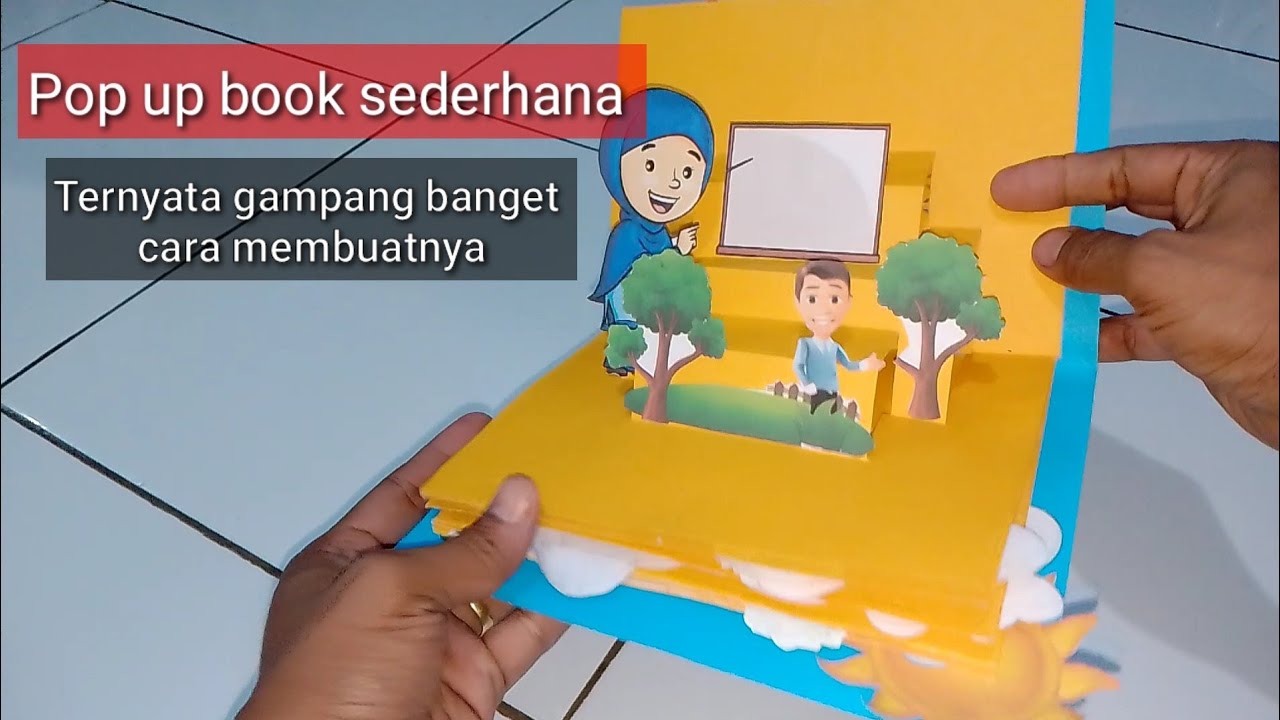
Cara membuat buku berdiri,buku 3 dimensi atau pop up book

Tutorial Sablon Manual dengan Kertas Minyak dan Lem Kayu
5.0 / 5 (0 votes)
