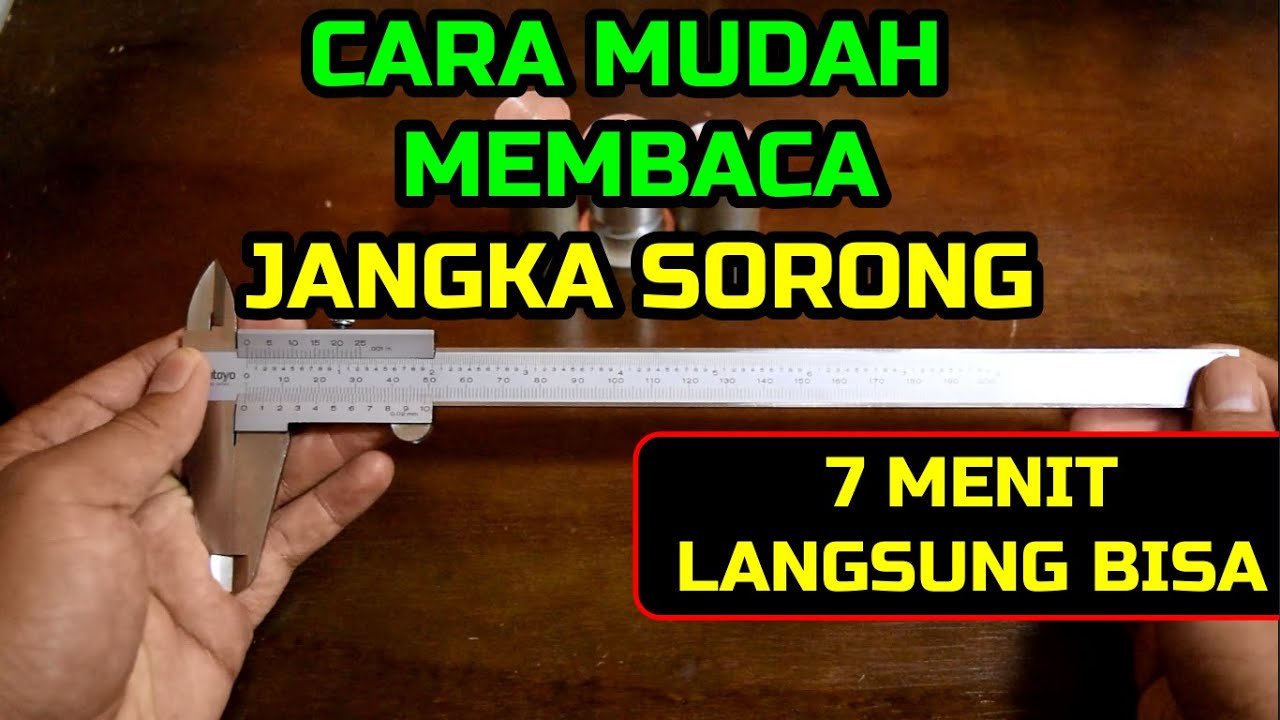
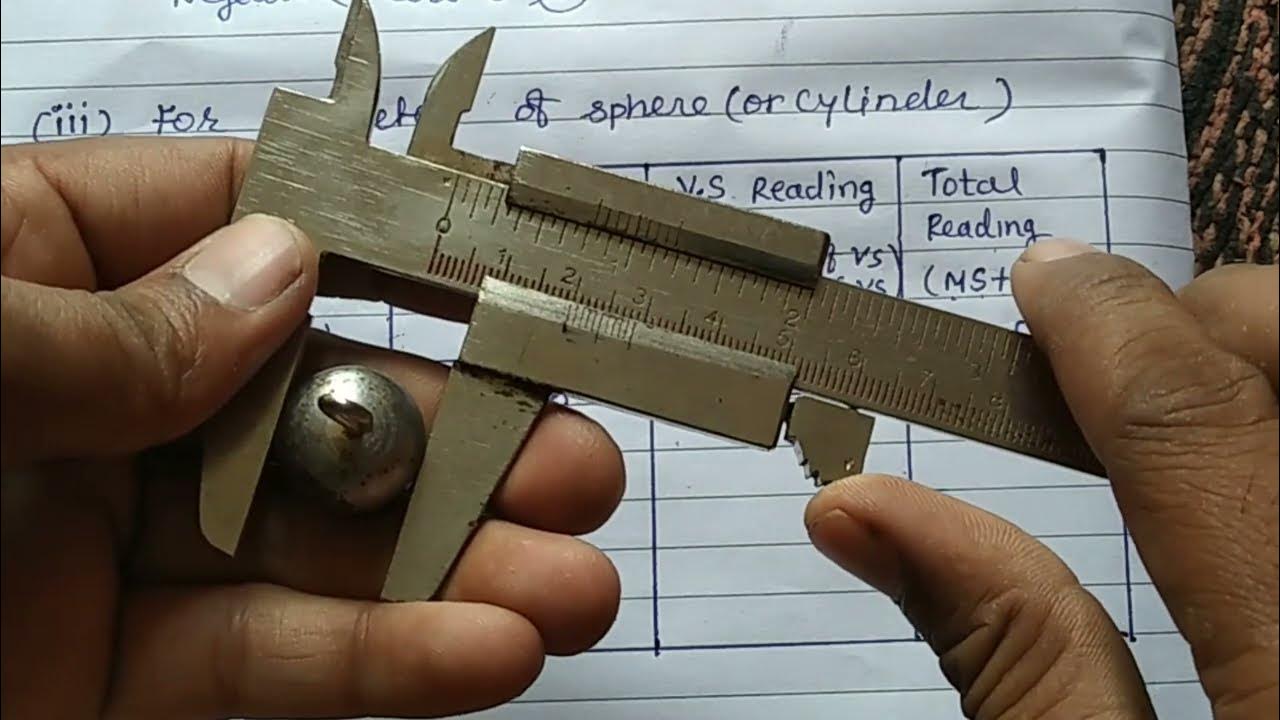
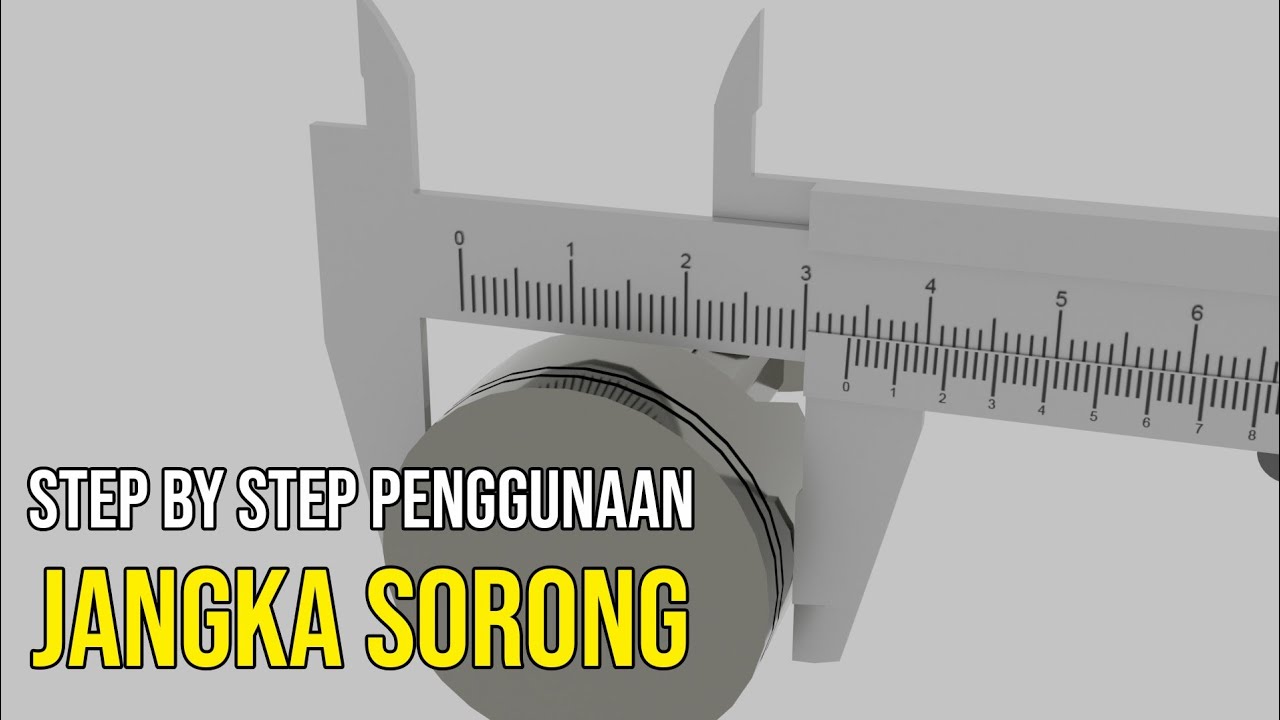
TUTORIAL JANGKA SORONG : Mengukur Ketebalan, Diameter Luar, Diameter Dalam, serta Kedalaman
Summary
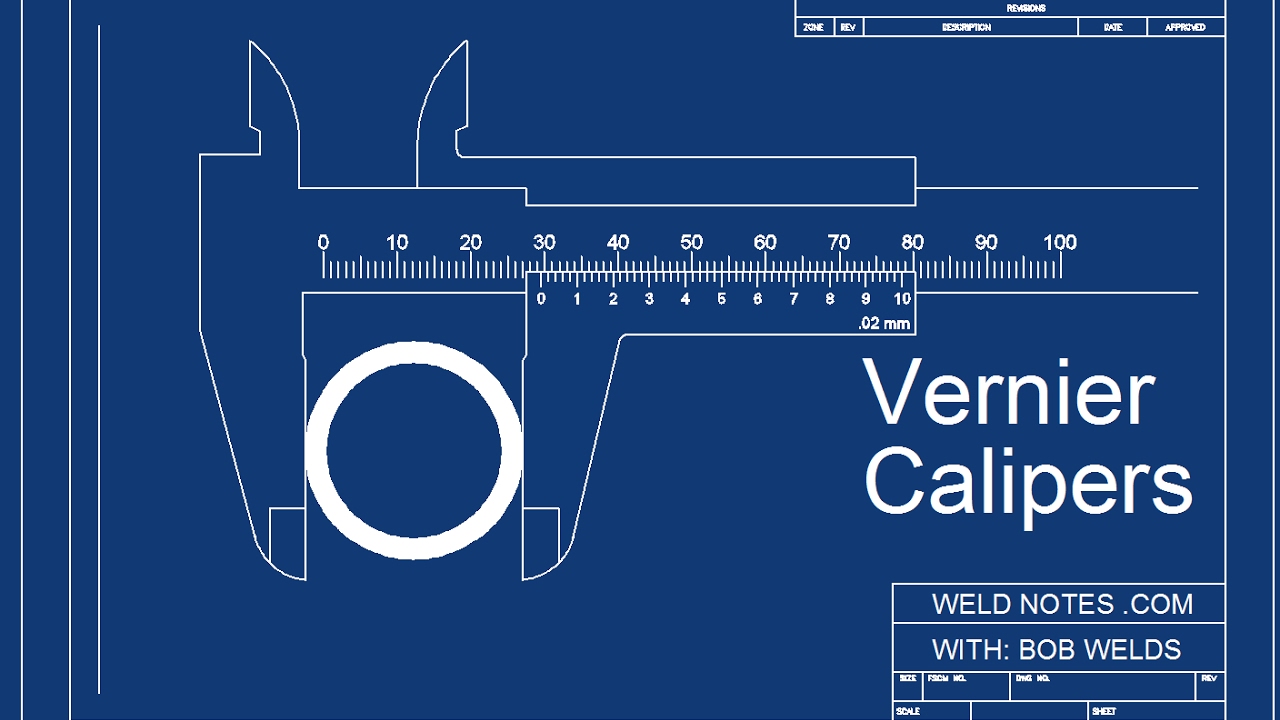
TLDRThis video tutorial provides a clear and practical guide on how to use a vernier caliper for accurate measurements. It covers the main parts of the tool, such as the main scale and nonius scale, and demonstrates how to measure outer and inner diameters, as well as depth. Key instructions include how to read the scales for precise measurements, with examples on measuring thickness, diameter, and depth of objects like tubes. The tutorial is designed to help users understand and master the use of a vernier caliper, ensuring accurate results in various applications.
Takeaways
- 😀 The main scale of a vernier caliper measures up to 150mm or 15cm, indicating the maximum length it can measure.
- 😀 The Nonius scale, located on the sliding part, measures increments of 0.05mm or 0.01mm depending on the model of the caliper.
- 😀 The primary scale uses millimeters (mm) for precision, and the Nonius scale is designed to match with it to avoid confusion.
- 😀 To measure thickness, the object should be clamped between the jaws of the vernier caliper after loosening the adjustment screw.
- 😀 The first step in reading a measurement is to look at the main scale reading before the Nonius scale’s zero point.
- 😀 The final measurement result combines the main scale reading and the precise value from the Nonius scale alignment.
- 😀 When measuring the outer diameter, after clamping, tighten the adjustment screw and read the measurement on the scales.
- 😀 To measure the internal diameter of a tube, use the caliper’s upper jaws, ensuring the measurement is securely adjusted.
- 😀 The depth measurement function uses the small jaws at the bottom of the caliper to measure how deep a cavity or pipe is.
- 😀 Depth readings follow the same method as diameter readings, combining the main scale and Nonius scale results for an accurate reading.
Q & A
What is the maximum measurement capacity of the caliper (jangka sorong)?
-The caliper can measure up to 150 mm, or 15 cm, using the main scale.
What is the purpose of the nonius scale on the caliper?
-The nonius scale allows for more precise measurements, typically in increments of 0.05 mm or 0.01 mm, depending on the model.
How do you adjust the caliper to measure an object's external diameter or thickness?
-To measure the external diameter or thickness, loosen the adjusting screw, place the object between the jaws of the caliper, and then tighten the screw to secure the object.
How do you read the measurement on the caliper?
-First, read the main scale before the zero mark on the nonius scale. Then, identify the nonius scale reading by finding which division aligns with the main scale.
In the example provided, how was the total measurement calculated when the main scale reads 19 mm and the nonius scale reads 8?
-The total measurement is calculated as 19 mm (main scale) plus 8 × 0.05 mm (nonius scale), which equals 19.4 mm.
What steps should you follow to measure the internal diameter of a pipe with the caliper?
-To measure the internal diameter, use the top jaws of the caliper. Loosen the screw, adjust the caliper inside the pipe, tighten it, and then read the main and nonius scales.
How is the total internal diameter calculated in the example where the main scale reads 17 mm and the nonius scale reads 5?
-The total internal diameter is 17 mm (main scale) plus 5 × 0.05 mm (nonius scale), which equals 17.25 mm.
What is the purpose of the depth gauge on the caliper?
-The depth gauge is used to measure the depth of an object, such as the inside depth of a pipe or cavity.
How do you measure the depth of a pipe using the caliper?
-To measure depth, insert the depth gauge into the pipe or cavity, adjust it, tighten the screw, and then read the main and nonius scales to determine the depth.
In the depth measurement example, how was the total depth calculated when the main scale reads 25 mm and the nonius scale reads 6?
-The total depth is calculated as 25 mm (main scale) plus 6 × 0.05 mm (nonius scale), which equals 25.3 mm.
Outlines

هذا القسم متوفر فقط للمشتركين. يرجى الترقية للوصول إلى هذه الميزة.
قم بالترقية الآنMindmap

هذا القسم متوفر فقط للمشتركين. يرجى الترقية للوصول إلى هذه الميزة.
قم بالترقية الآنKeywords

هذا القسم متوفر فقط للمشتركين. يرجى الترقية للوصول إلى هذه الميزة.
قم بالترقية الآنHighlights

هذا القسم متوفر فقط للمشتركين. يرجى الترقية للوصول إلى هذه الميزة.
قم بالترقية الآنTranscripts

هذا القسم متوفر فقط للمشتركين. يرجى الترقية للوصول إلى هذه الميزة.
قم بالترقية الآنتصفح المزيد من مقاطع الفيديو ذات الصلة

Paquímetro analógico - como usar e como fazer a leitura

S01E02 - BELAJAR ALAT UKUR VERNIER CALIPER

CARA MEMBACA JANGKA SORONG | KETELITIAN 0.02 mm | VERNIER CALIPER | SIGMAT

how to find the diameter of spherical/cylindrical body using vernier caliper/class11experiment 1 phy

How to Read a Metric Vernier Caliper

Cara Menggunakan + Menghitung Jangka Sorong
5.0 / 5 (0 votes)
