Top 8 PowerPoint Hacks for Consultants
Summary
TLDRThis video from Analyst Academy shares eight essential PowerPoint hacks used by consultants at top firms like McKinsey, Bain, and BCG to work more efficiently and build polished slides. It covers keyboard shortcuts, such as copying and aligning objects, using the F4 key to repeat commands, and formatting tools like ribbon shortcuts and the Quick Access Toolbar. These techniques save time and help create professional-looking slides. The video also includes tips on distributing and aligning objects perfectly, grouping commands, and more. It's perfect for anyone looking to improve their PowerPoint skills quickly.
Takeaways
- 😀 Consultants are PowerPoint experts, using various shortcuts to save time and work efficiently.
- 🖱️ Hack 1: Use Control + Drag to copy objects quickly in PowerPoint, a small but frequently used action.
- 📏 Hack 2: Use Shift + Drag to move objects in a straight line. Combine it with the copy shortcut for precise duplication.
- 🔁 Hack 3: The F4 key repeats the last action, saving time when formatting or aligning multiple objects.
- ⌨️ Hack 4: Use ribbon shortcuts with the Alt key to navigate PowerPoint commands without needing the mouse.
- 🖌️ Hack 5: Copy formatting with Control + Shift + C and apply it with Control + Shift + V to maintain uniformity across slides.
- 🔄 Hack 6: Distribute objects evenly by selecting them, going to the Arrange menu, and choosing Distribute Vertically.
- 🔗 Hack 7: Group objects with Control + G to treat multiple objects as one and simplify complex slide arrangements.
- ⭐ Hack 8: Use the Quick Access Toolbar (QAT) to create shortcuts for commonly used commands and save even more time.
- 💡 Combining these hacks streamlines slide building, making PowerPoint work faster and more efficient, perfect for consultants.
Q & A
What is the first PowerPoint hack mentioned in the video?
-The first hack is a keyboard shortcut for quickly copying objects on a slide by holding the Control key and dragging the object.
How can you move objects in a straight line on PowerPoint?
-To move objects in a straight line, you hold the Shift key while dragging the object.
What is the benefit of using the F4 key in PowerPoint?
-The F4 key allows you to repeat the last action you performed, which can save time when applying the same formatting or actions to multiple objects.
How do ribbon shortcuts help in PowerPoint?
-Ribbon shortcuts let you access various commands using the keyboard without memorizing them. By pressing the Alt key, you can see shortcut letters for different ribbon tabs and perform tasks without the mouse.
What is the purpose of the 'Copy and Paste Formatting' hack?
-The 'Copy and Paste Formatting' hack allows you to copy the formatting from one object and apply it to another using Control + Shift + C to copy and Control + Shift + V to paste the formatting.
How can you distribute objects evenly on a slide?
-You can distribute objects evenly by selecting them, going to the Home tab, then using the 'Align' feature to distribute them vertically or horizontally.
What is the group command used for?
-The group command (Control + G) lets you group multiple objects together so they can be moved or formatted as a single entity, speeding up the slide-building process.
How can the Quick Access Toolbar (QAT) improve slide-building efficiency?
-The Quick Access Toolbar allows you to add frequently used commands, such as 'Align' and 'Distribute,' and create simple keyboard shortcuts for them, significantly reducing time spent navigating menus.
What combination of shortcuts can you use to copy an object in a straight line?
-By holding both Control and Shift keys while dragging an object, you can copy it in a straight line.
Why is it useful to distribute objects using keyboard shortcuts instead of the mouse?
-Using keyboard shortcuts for distributing objects saves time and effort, especially when working with large presentations, as you avoid navigating through multiple menus each time.
Outlines

هذا القسم متوفر فقط للمشتركين. يرجى الترقية للوصول إلى هذه الميزة.
قم بالترقية الآنMindmap

هذا القسم متوفر فقط للمشتركين. يرجى الترقية للوصول إلى هذه الميزة.
قم بالترقية الآنKeywords

هذا القسم متوفر فقط للمشتركين. يرجى الترقية للوصول إلى هذه الميزة.
قم بالترقية الآنHighlights

هذا القسم متوفر فقط للمشتركين. يرجى الترقية للوصول إلى هذه الميزة.
قم بالترقية الآنTranscripts

هذا القسم متوفر فقط للمشتركين. يرجى الترقية للوصول إلى هذه الميزة.
قم بالترقية الآنتصفح المزيد من مقاطع الفيديو ذات الصلة
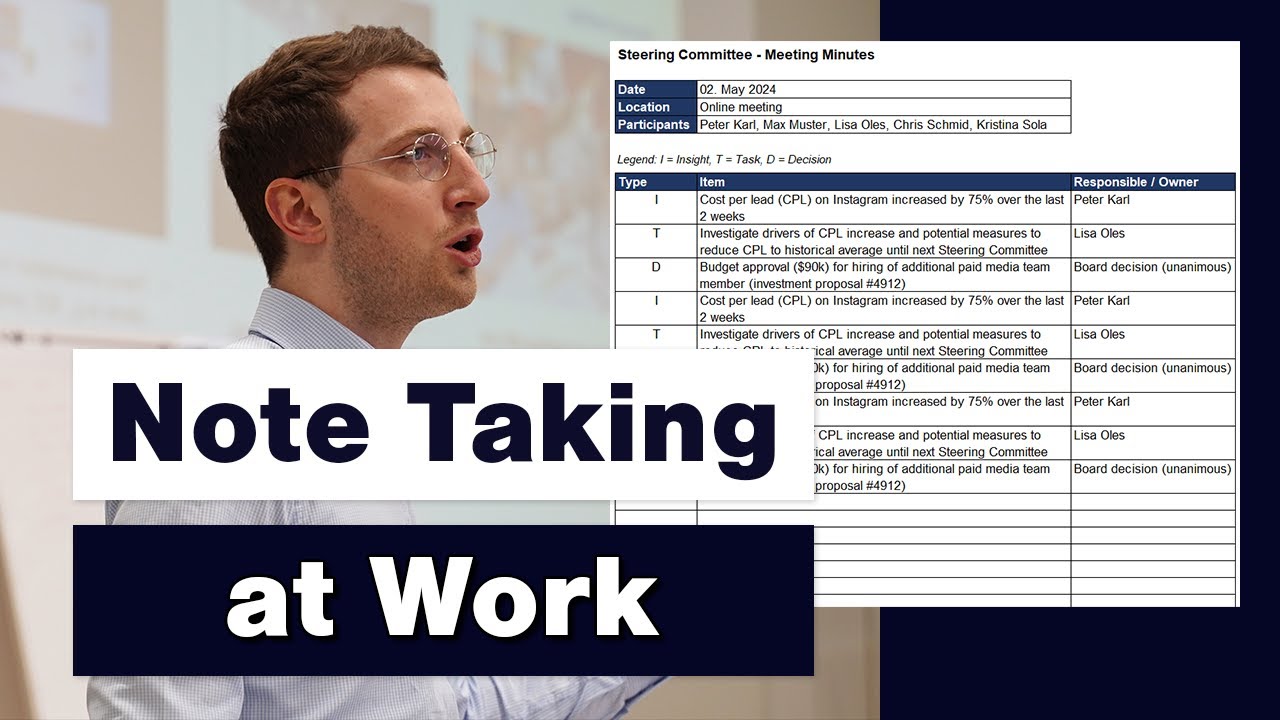
How to Take Notes for Work - Meeting Minutes Explained

What does a consultant actually do?

The Ultimate Beginner's Guide to Consulting! (Hours, Lifestyle, Compensation, Pros & Cons)

Bain vs BCG (Differences Explained)
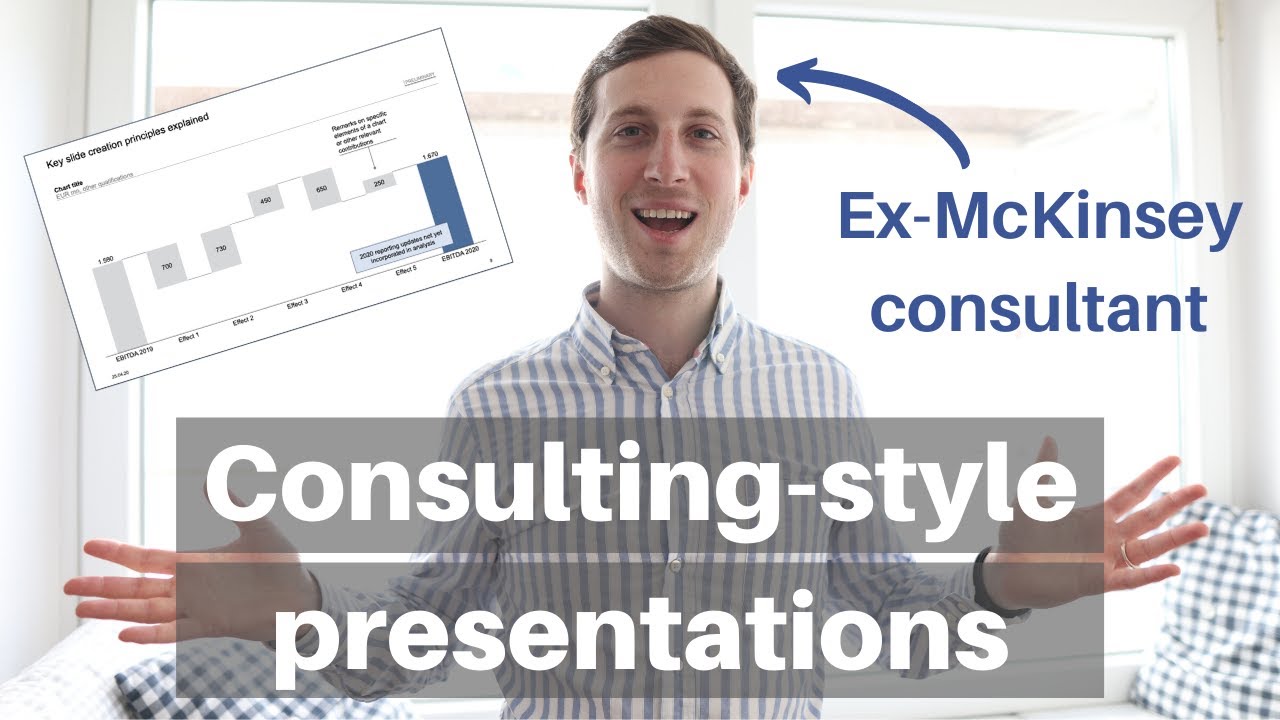
MANAGEMENT CONSULTING PRESENTATION - How consulting firms create slide presentations (Ex-McKinsey)

Tự Động Hóa TẠO MỚI Slide Thuyết Trình (step by step) | Generate Slides With AI | Làm Bạn Với AI EP4
5.0 / 5 (0 votes)
