Como crear un Blog en Blogger GRATIS ✅ Paso a paso, fácil y BONITO 😊 🔥 Tutorial español 2022
Summary
TLDREste tutorial detalla cómo crear un blog utilizando Blogger, una herramienta gratuita integrada en la cuenta de Google. Se explica el proceso de inicio de sesión con una cuenta de Gmail, la elección de un nombre para el blog, la creación de una URL y la confirmación del nombre visible para los lectores. Seguidamente, se muestra cómo personalizar el tema del sitio, añadir publicaciones con texto, enlaces, imágenes y videos, y cómo etiquetar y programar la publicación de las entradas. Finalmente, se invita a los usuarios a suscribirse al canal para recibir futuras tutoriales.
Takeaways
- 🖥️ Inicia sesión en Blogger utilizando tu cuenta de Gmail para crear un blog.
- 🌐 Puedes elegir una URL única para tu blog, que debe estar en minúsculas y sin espacios.
- ✏️ Elige un título para tu blog que puede cambiarse más adelante si lo deseas.
- 🎨 Personaliza el tema visual de tu blog y pruébalo antes de aplicarlo definitivamente.
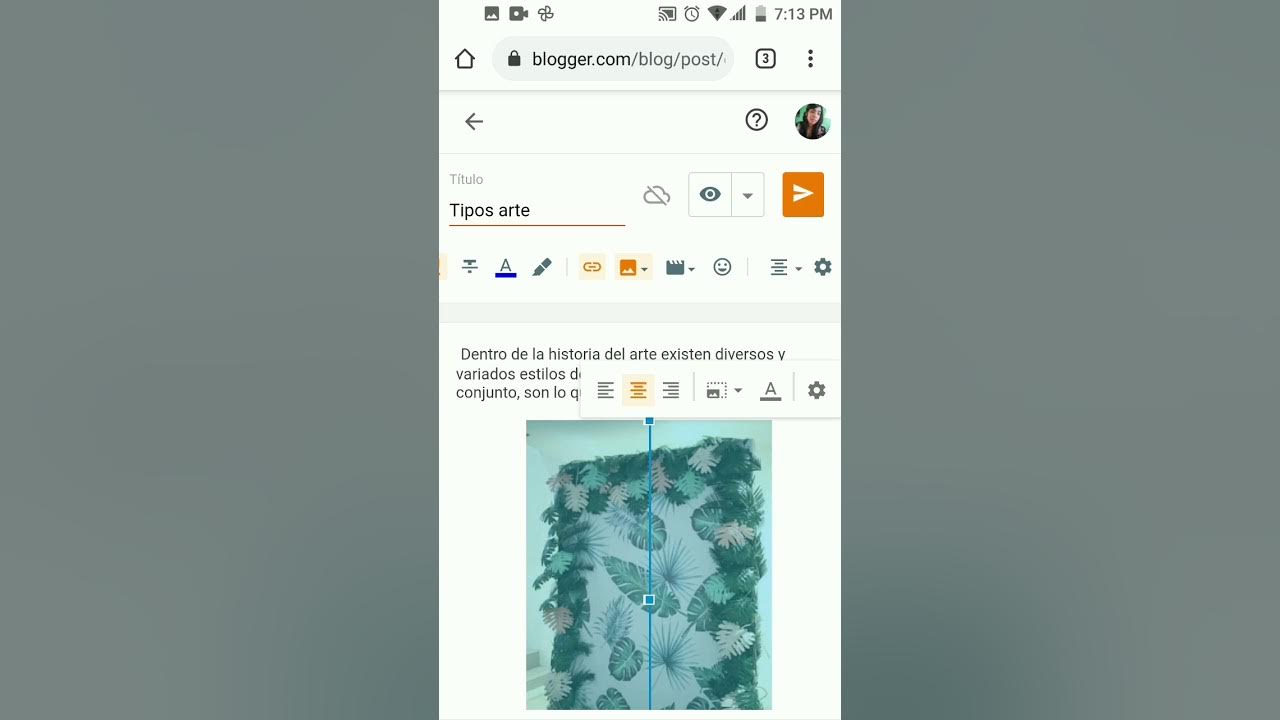
- 📄 En la interfaz, puedes añadir una nueva entrada con un título y contenido personalizado.
- 🔗 Es posible insertar enlaces en las publicaciones para redirigir a otros sitios o páginas.
- 🖼️ Añade imágenes a tus publicaciones subiéndolas desde tu computadora o URL.
- 🎥 Los videos también se pueden insertar desde YouTube o desde tu computadora.
- 🏷️ Usa etiquetas en las publicaciones para organizar el contenido por temas específicos.
- 📅 Programa la fecha y hora de publicación de tus entradas para organizar su orden cronológico.
Q & A
¿Qué herramienta gratuita se utiliza en el tutorial para crear un blog?
-El tutorial utiliza Blogger, una herramienta gratuita integrada en nuestra cuenta de Google.
¿Cuáles son las formas de iniciar sesión en Blogger según el tutorial?
-Puedes iniciar sesión en Blogger haciendo clic en 'crear tu blog' o en la pestaña 'iniciar sesión'. Ambas opciones te redirigen a la misma ventana para ingresar los datos de tu cuenta de Gmail.
¿Es obligatorio poner un nombre al blog inmediatamente?
-No, no es obligatorio. Puedes asignar un nombre al blog al momento de crearlo o hacerlo más tarde.
¿Qué formato debe tener la URL del blog?
-La URL debe estar en minúsculas y sin espacios.
¿Cómo puedes personalizar la apariencia de tu blog en Blogger?
-Puedes personalizar la apariencia de tu blog eligiendo un tema, el cual puedes previsualizar, personalizar y aplicar. También es posible cambiar el diseño posteriormente.
¿Qué opciones tienes al insertar texto en una entrada de blog?
-Puedes personalizar el texto cambiando la fuente, el tamaño, el color, y aplicando estilos como negrita, cursiva, subrayado y alineación.
¿Cómo se inserta un enlace en una entrada de blog?
-Para insertar un enlace, seleccionas las palabras deseadas, haces clic en 'insertar o editar enlace', pegas la URL, y puedes elegir abrir el enlace en una nueva pestaña.
¿Qué opciones tienes al agregar una imagen en una entrada?
-Puedes insertar una imagen desde tu computadora, Google Fotos, Blogger o una URL. Además, puedes cambiar su tamaño, alineación y agregar texto alternativo o título.
¿Cómo se añade un video a una entrada de blog?
-Puedes añadir un video subiéndolo desde tu computadora o insertando un video de YouTube usando su URL o buscando directamente en YouTube.
¿Qué son las etiquetas en una entrada de blog y para qué sirven?
-Las etiquetas son palabras clave que organizan las entradas por temas, lo que facilita la búsqueda de entradas relacionadas dentro del blog.
Outlines

هذا القسم متوفر فقط للمشتركين. يرجى الترقية للوصول إلى هذه الميزة.
قم بالترقية الآنMindmap

هذا القسم متوفر فقط للمشتركين. يرجى الترقية للوصول إلى هذه الميزة.
قم بالترقية الآنKeywords

هذا القسم متوفر فقط للمشتركين. يرجى الترقية للوصول إلى هذه الميزة.
قم بالترقية الآنHighlights

هذا القسم متوفر فقط للمشتركين. يرجى الترقية للوصول إلى هذه الميزة.
قم بالترقية الآنTranscripts

هذا القسم متوفر فقط للمشتركين. يرجى الترقية للوصول إلى هذه الميزة.
قم بالترقية الآنتصفح المزيد من مقاطع الفيديو ذات الصلة
cómo crear un blog en Blogger desde Android - como hacer una página web con Blogger en celular 2022
CÓMO CREAR UN BLOG DESDE SU CELULAR

Cómo crear un BLOG en Blogger || 2024
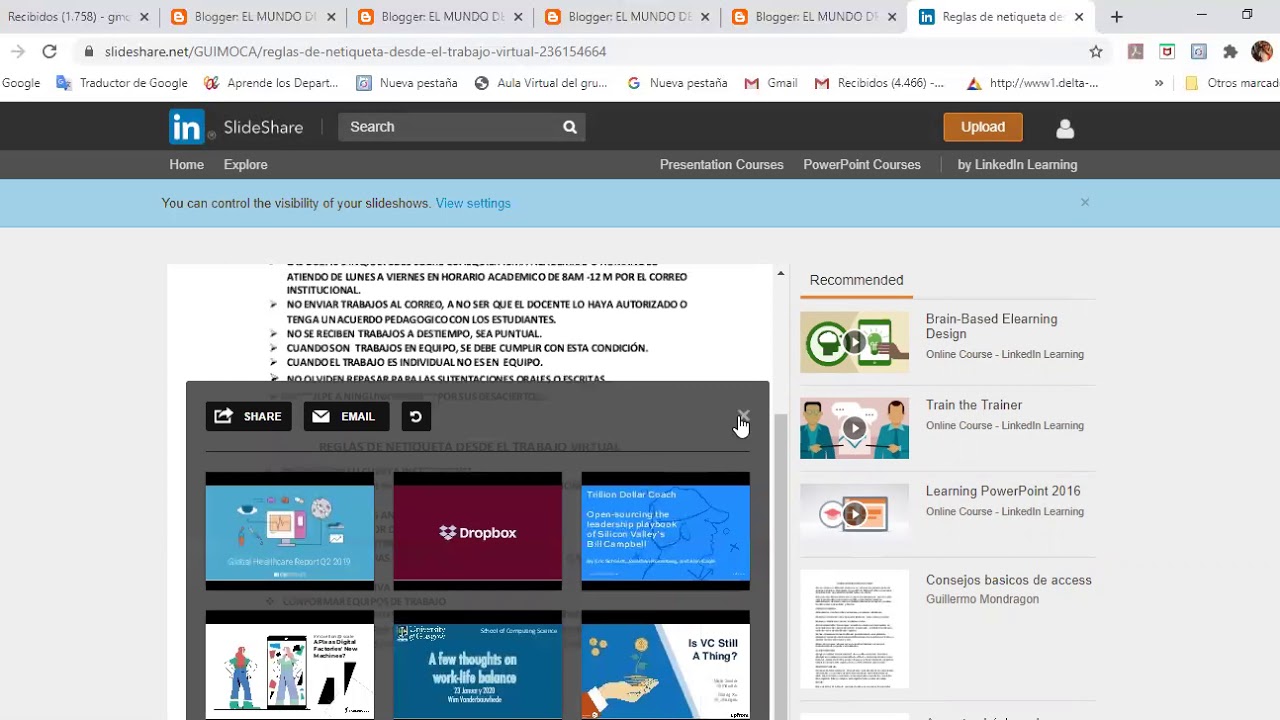
COMO SUBIR UN DOCUMENTO A SLIDESHARE Y LUEGO AL BLOG
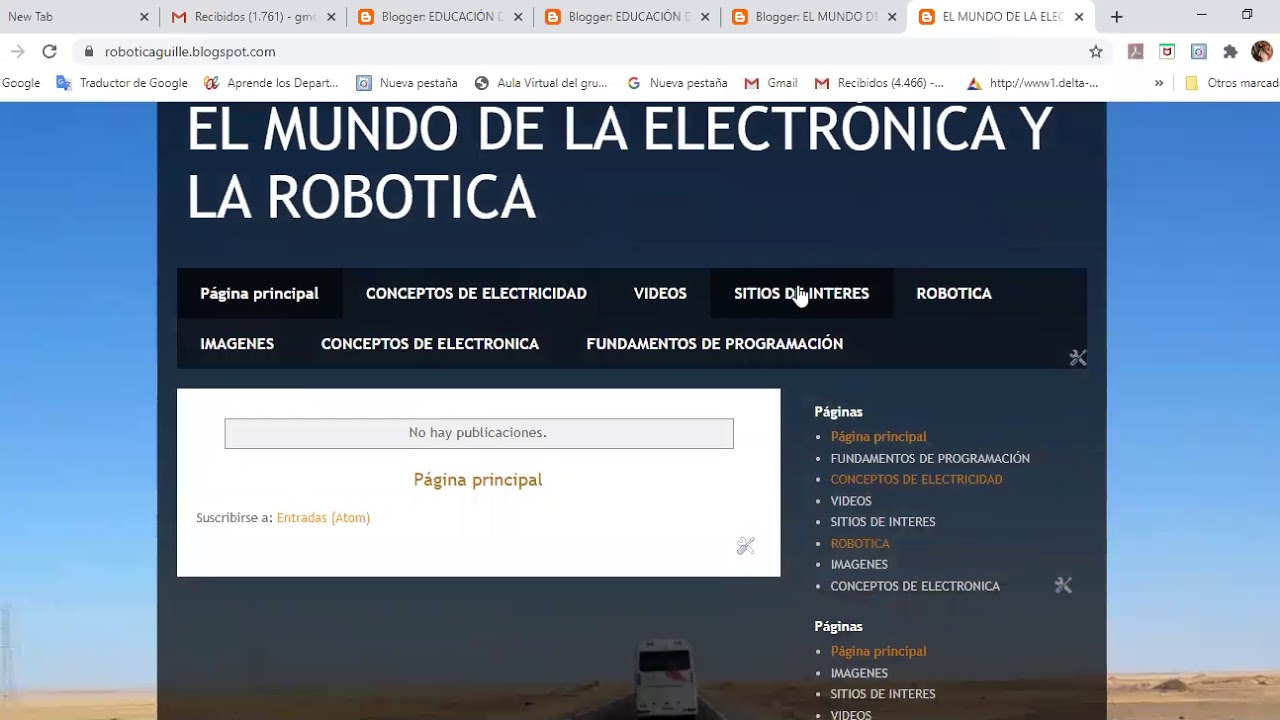
CREACIÓN DE BLOG EN BLOGGER CON SUS PAGINAS
Introducción a la creación de un blog
5.0 / 5 (0 votes)
