CARA MEMBUAT PELUNCUR ROKET AIR MENGGUNAKAN PIPA PARALON 1/2" INCH
Summary
TLDRThis video explains how to create a detachable water rocket launcher using half-inch PVC pipes. The presenter demonstrates the assembly process, including connecting T-joints, adjusting the launcher's angle, and ensuring precision. The launcher incorporates a recycled tire valve and PVC cap to secure the rocket. Cable ties are used to ensure a tight fit around the bottle, preventing premature launches during pumping. The video emphasizes careful construction for stability and accuracy, offering a step-by-step guide for viewers to try at home. Future videos will cover the rocket assembly itself.
Takeaways
- 🚀 The video explains how to build a water rocket launcher.
- 🔧 The launcher is designed to be detachable for easy assembly and disassembly.
- 📏 The launcher is made using 1/2 inch PVC pipes.
- 🛠️ Initial assembly involves connecting two T-joints at the top to adjust the launch angle.
- 🔩 Side posts and the bottom are then assembled to ensure everything fits precisely.
- 🧰 A used tire valve is used for the rocket, with PVC caps, rings, and locking mechanisms for secure attachment.
- 🔗 Cable ties are used to secure parts together, ensuring a tight fit to prevent premature launch.
- 🔒 Additional ties and black duct tape are applied for extra strength and to cover the ties.
- 🧪 Testing involves ensuring the bottle fits well and the locking ring can hold the rocket securely.
- 🎥 A future video will cover how to construct the rocket itself.
Q & A
What is the primary purpose of the video?
-The primary purpose of the video is to demonstrate how to make a reusable water rocket launcher using PVC pipes and other materials.
What materials are needed to build the water rocket launcher?
-The materials needed include half-inch PVC pipes, T-joints, elbows, a used tire valve, a ring, and cable ties. The exact number of T-joints and elbows can be adjusted based on the design.
Why is it important that the PVC joints are aligned correctly?
-It is important to align the PVC joints correctly, especially the T-joints, to ensure that the rocket launcher functions properly and is stable when setting up the rocket.
How does the tire valve contribute to the water rocket launcher?
-The used tire valve is used to release air into the rocket, allowing it to be pumped and launched.
What is the purpose of using cable ties in the construction?
-Cable ties are used to secure the components together, especially to hold the rocket tightly in place, preventing it from launching prematurely before the ring is released.
Why is it recommended to use black duct tape for securing the cable ties?
-Black duct tape is recommended because it has stronger adhesive properties compared to other tapes, ensuring a tighter and more durable hold on the rocket components.
What is the function of the ring in the launcher system?
-The ring helps to lock the rocket in place on the launcher. It ensures that the rocket remains securely attached until the ring is removed, allowing the rocket to launch.
How is the rocket's angle adjusted on the launcher?
-The angle of the rocket can be adjusted using one of the T-joints on the launcher, allowing for changes in trajectory and elevation depending on the desired launch.
What is the significance of testing the tightness of the rocket on the launcher?
-Testing the tightness ensures that the rocket will not launch prematurely before the ring is released, which is critical for a safe and controlled launch.
What will the next video in the series focus on?
-The next video will explain how to construct the rocket itself, providing additional details on assembling and launching the water rocket.
Outlines

هذا القسم متوفر فقط للمشتركين. يرجى الترقية للوصول إلى هذه الميزة.
قم بالترقية الآنMindmap

هذا القسم متوفر فقط للمشتركين. يرجى الترقية للوصول إلى هذه الميزة.
قم بالترقية الآنKeywords

هذا القسم متوفر فقط للمشتركين. يرجى الترقية للوصول إلى هذه الميزة.
قم بالترقية الآنHighlights

هذا القسم متوفر فقط للمشتركين. يرجى الترقية للوصول إلى هذه الميزة.
قم بالترقية الآنTranscripts

هذا القسم متوفر فقط للمشتركين. يرجى الترقية للوصول إلى هذه الميزة.
قم بالترقية الآنتصفح المزيد من مقاطع الفيديو ذات الصلة

Make your own water bottle rocket launcher! - Part 2 of 3
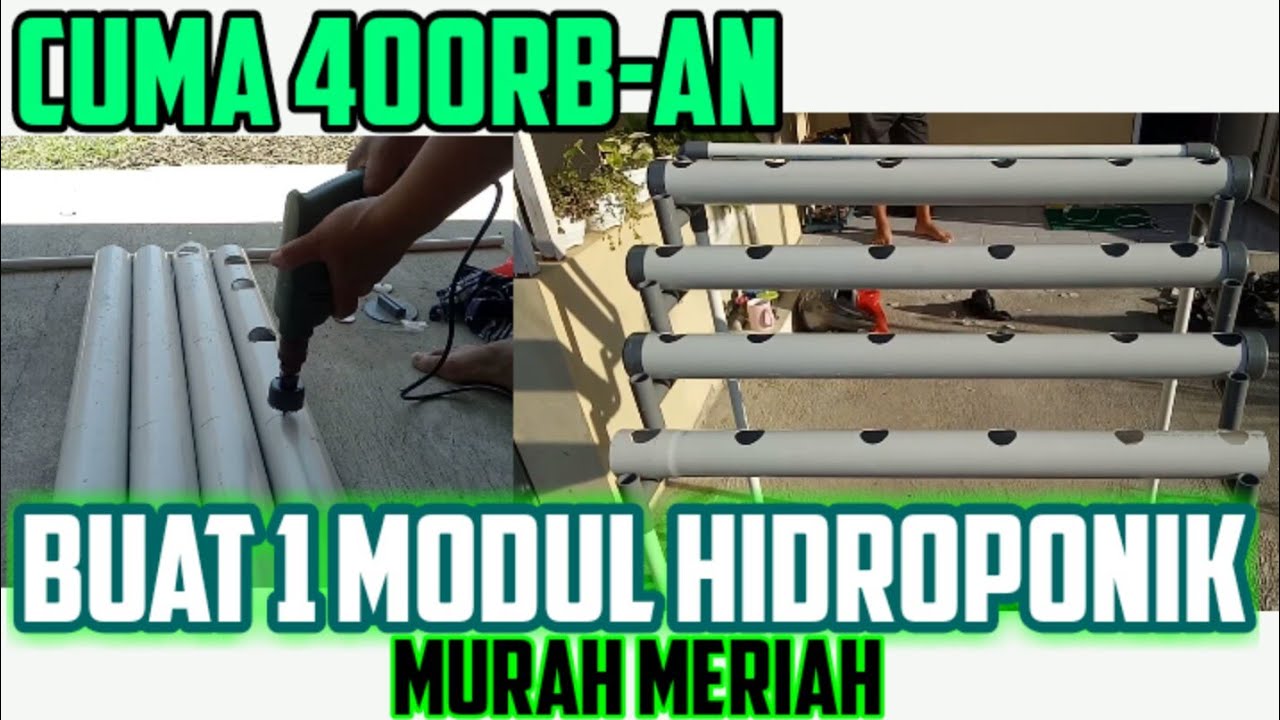
Cara Membuat Hidroponik Paralon Murah | Hanya 400 ribuan Buat Hidroponik Paralon Murah

VÍDEO 293 - LOJA UNIVERSO OBA - Base de Lançamento Nível 01 e 02
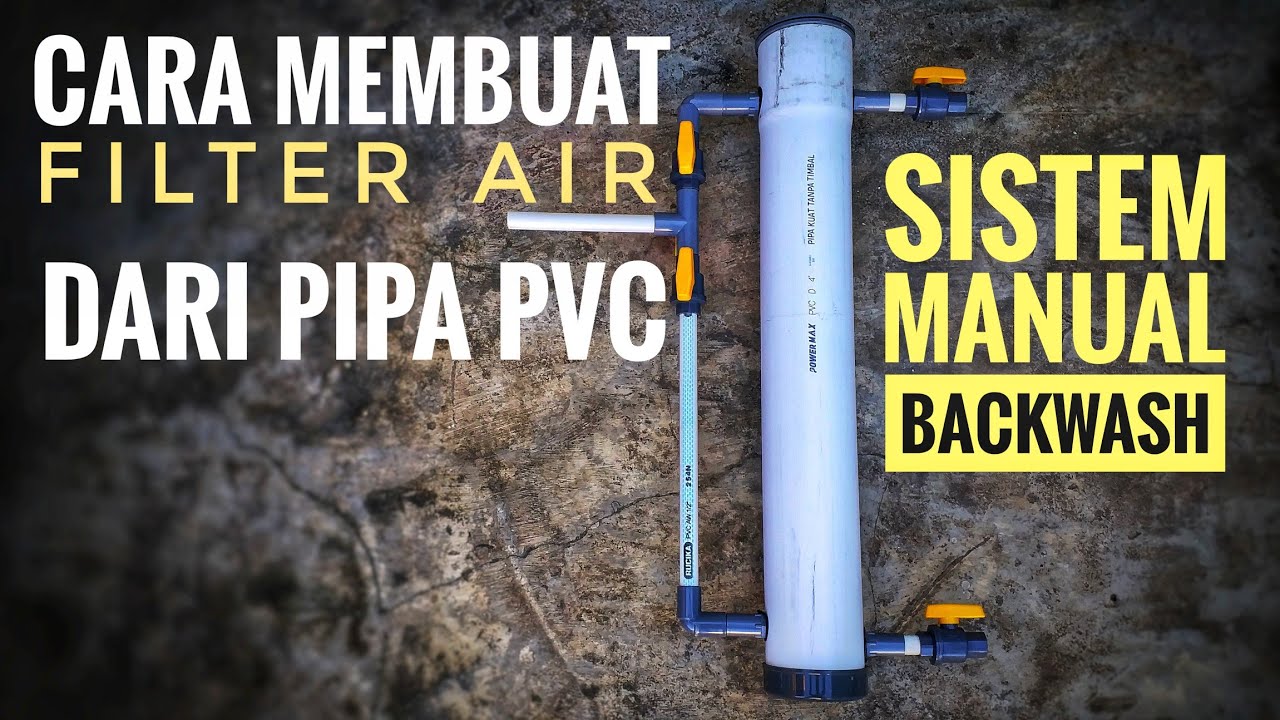
Cara membuat filter air dari pipa paralon manual backwash

Cara Menanam Sayur Sistem Vertikultur Paralon

Teknik Menanam Metode Vertikultur yang Baik dan Benar
5.0 / 5 (0 votes)
