CARA MUDAH MENGECEK DIODA MASIH BAIK ATAU TIDAK - Elektronika
Summary
TLDRIn this instructional video, the host demonstrates how to check the condition of various diodes using an analog multimeter. The tutorial covers the testing of rectifier diodes, Zener diodes, and LED diodes. Key concepts like forward and reverse bias are explained, and the process includes connecting the multimeter's probes to the diode's anode and cathode in the correct orientation to determine if the diode is functioning properly. The video is designed to be helpful for those looking to understand and perform diode testing with an analog multimeter.
Takeaways
- 🔍 The video tutorial focuses on how to check diodes using an analog multimeter.
- 📚 It introduces different types of diodes, including rectifier diodes, Zener diodes, and LED diodes.
- 💡 The tutorial explains the importance of identifying the anode and cathode legs of a diode before testing.
- 🕵️♂️ The script demonstrates the use of a multimeter set to the ohmmeter position for diode testing.
- 📈 The forward bias test is conducted by connecting the black probe to the anode and the red probe to the cathode, expecting the meter needle to move.
- 🛑 The reverse bias test involves connecting the probes in the opposite way, where the needle should not move, indicating the diode's blocking behavior.
- 🔋 The tutorial covers the testing of Zener diodes, which have similar anode and cathode identification to rectifier diodes.
- 🚫 The script highlights that LED diodes have distinct physical characteristics, such as different leg lengths and a flat side or indentation indicating the cathode.
- 💡 LED testing is similar to other diodes, but the LED lights up under forward bias, indicating a good connection.
- 📖 The video concludes by emphasizing the importance of these tests for verifying the condition of diodes.
Q & A
What is the main topic of the video?
-The main topic of the video is how to check diodes using an analog multimeter.
What are the types of diodes discussed in the video?
-The video discusses three types of diodes: rectifier diodes, Zener diodes, and LED diodes.
How does the video demonstrate identifying the anode and cathode of a diode?
-The video shows that the anode and cathode of a diode can be identified by the color of the band on one end, with a silver band indicating the cathode.
What is the purpose of understanding forward bias and reverse bias in the context of the video?
-Understanding forward bias and reverse bias is crucial for checking if the diode is in good condition, as the diode should allow current flow in forward bias and block it in reverse bias.
How does the video instruct to set the multimeter for checking diodes?
-The video instructs to set the multimeter's selector to the ohmmeter position, specifically to the 'Om' setting.
What is the expected behavior of the multimeter's needle when checking a diode in forward bias?
-When checking a diode in forward bias, the multimeter's needle should move to the right, indicating current flow from anode to cathode.
What should the multimeter's needle indicate when the diode is in reverse bias?
-In reverse bias, the multimeter's needle should not move, indicating that the diode is blocking the current flow.
How does the video describe the process of checking a Zener diode?
-The process of checking a Zener diode is similar to that of a rectifier diode, with the black probe placed on the cathode and the red probe on the anode for forward bias, and then reversed for reverse bias.
What is the characteristic feature of an LED diode's cathode mentioned in the video?
-The video mentions that the cathode of an LED diode can be identified by a shorter leg, a flat side on the body, or a smaller indentation compared to the anode.
What happens when checking an LED diode in forward bias according to the video?
-When checking an LED diode in forward bias, the LED should light up, and the multimeter's needle should move to the right.
What is the final step the video suggests after checking the diodes?
-After checking the diodes, the video suggests repeating the process to confirm the results and ensure the diodes are in good condition.
Outlines

هذا القسم متوفر فقط للمشتركين. يرجى الترقية للوصول إلى هذه الميزة.
قم بالترقية الآنMindmap

هذا القسم متوفر فقط للمشتركين. يرجى الترقية للوصول إلى هذه الميزة.
قم بالترقية الآنKeywords

هذا القسم متوفر فقط للمشتركين. يرجى الترقية للوصول إلى هذه الميزة.
قم بالترقية الآنHighlights

هذا القسم متوفر فقط للمشتركين. يرجى الترقية للوصول إلى هذه الميزة.
قم بالترقية الآنTranscripts

هذا القسم متوفر فقط للمشتركين. يرجى الترقية للوصول إلى هذه الميزة.
قم بالترقية الآنتصفح المزيد من مقاطع الفيديو ذات الصلة

Elektronika Dasar 003 Resistor 03 Universitas Jember
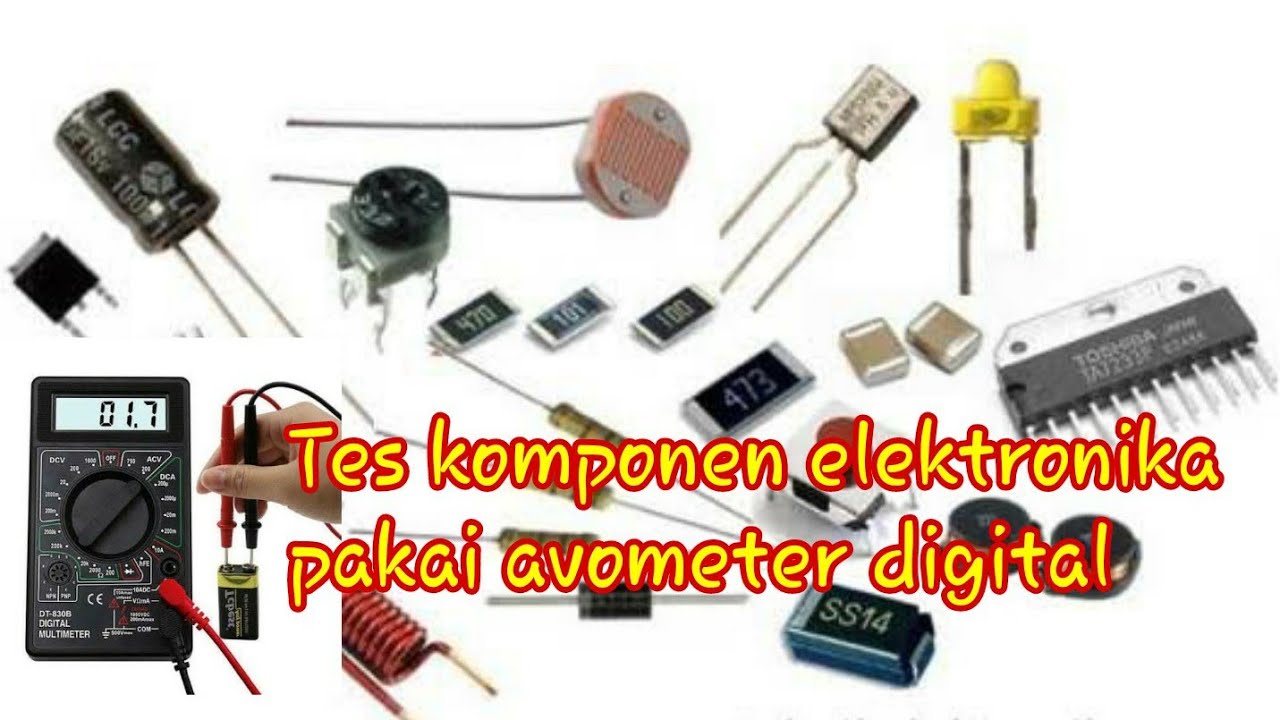
How to test electronic components using an avometer
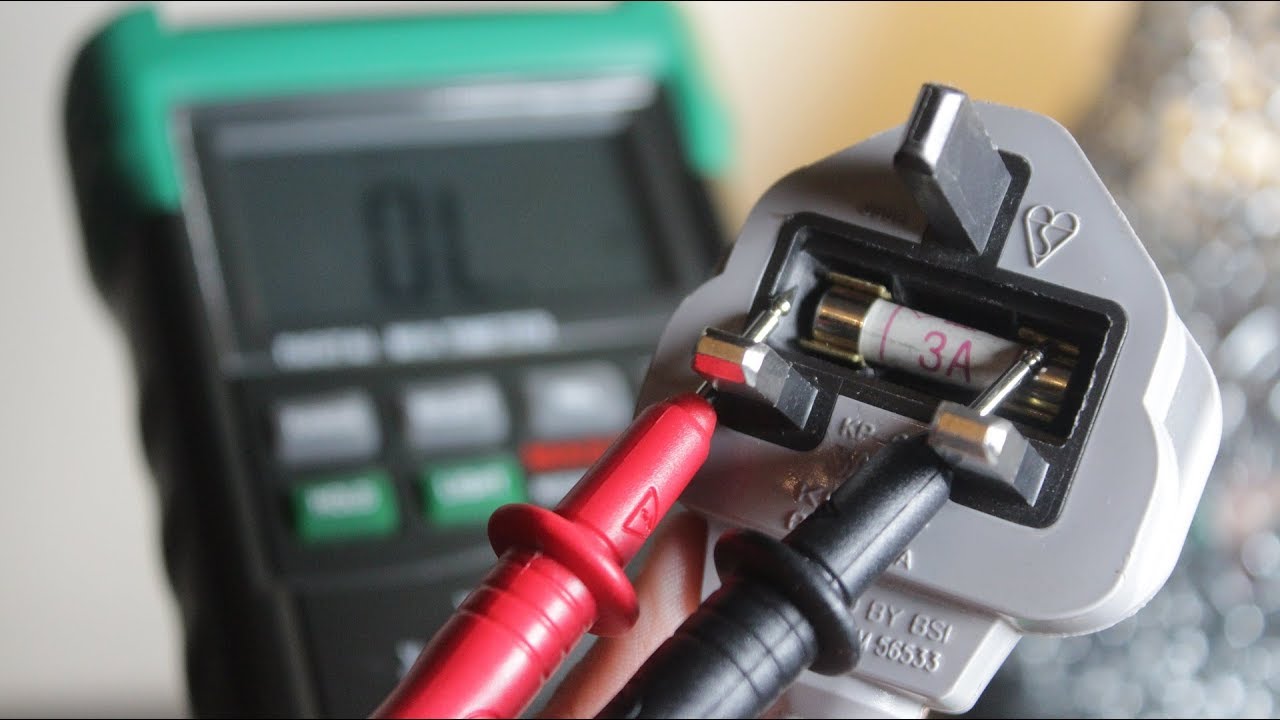
How To Test A Fuse With A Multimeter (Voltmeter | Ohmmeter) For Beginners | Continuity Test

CARA MENGUKUR RESISTOR DENGAN MULTIMETER ANALOG - Electronics
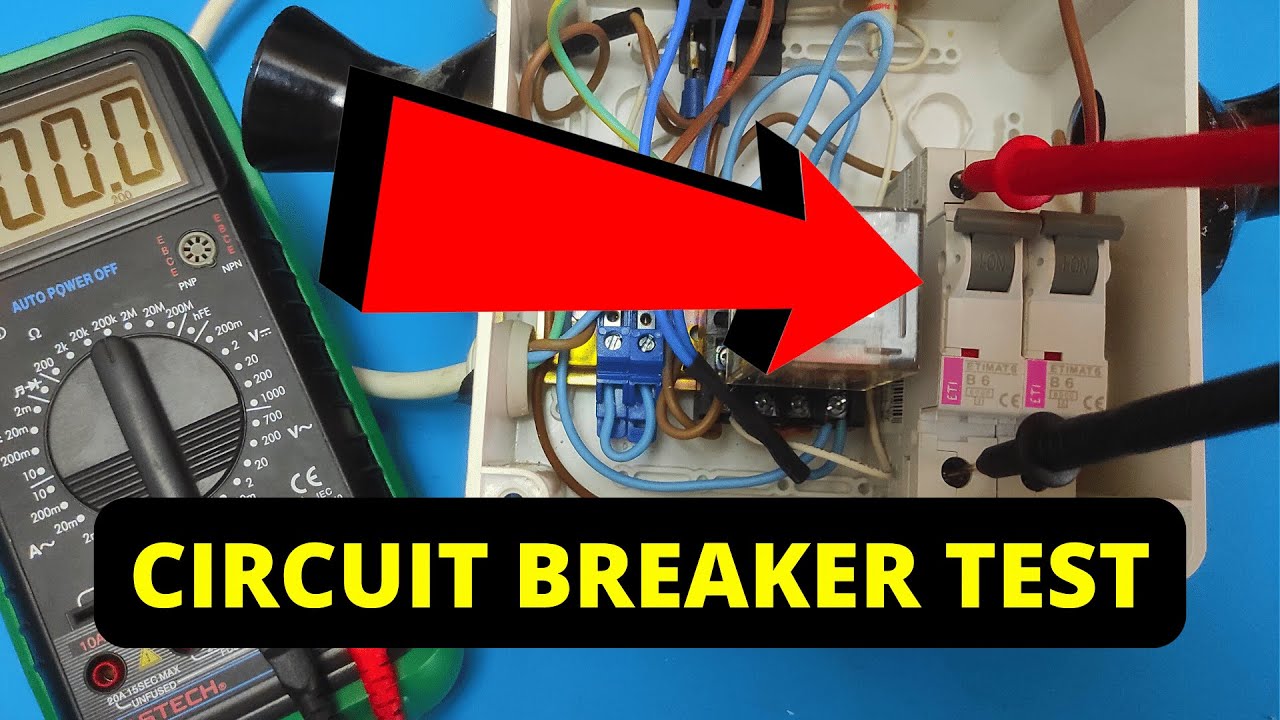
How To Test A Circuit Breaker With A Multimeter
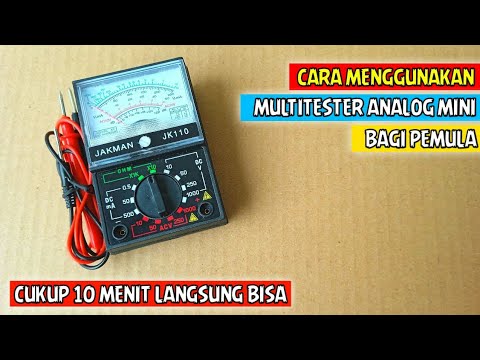
CARA MENGGUNAKAN MULTITESTER ANALOG BAGI PEMULA
5.0 / 5 (0 votes)
