Beginner Electronics - 8 - First Circuit!
Summary
TLDRIn this electronics tutorial, the host, Codmore, guides viewers through creating a basic LED circuit using a 9V battery, an LED, and a resistor. He explains how to calculate the necessary resistor value based on the battery and LED specifications, and suggests using a 1,000 Ohm resistor if unsure. The video demonstrates connecting the LED to the battery with the resistor in series, ensuring the LED lights up. The host also hints at future episodes covering more efficient prototyping methods beyond wire clipping.
Takeaways
- 🔋 Start by gathering the necessary components: a battery, an LED, and a resistor.
- 🔢 Use a 9V battery, but a double A battery is also acceptable as long as you know its voltage.
- 💡 The LED's longer leg should be connected to the battery's positive terminal, and the shorter leg to the negative.
- ⚙️ Calculate the appropriate resistor value based on the battery voltage and LED specifications, or use a 1,000 Ohm resistor as a safe default.
- 🔧 If you don't have a metal clip, you can hold the components together by hand.
- 🔬 The tutorial demonstrates connecting the LED and resistor to a 9V battery to light up the LED.
- 🛠️ Ensure the resistor is connected to the longer lead of the LED, which is connected to the positive voltage.
- 📏 A 270 Ohm resistor is used in the tutorial, which is a close approximation to the calculated 240 Ohm value.
- 💡 The successful lighting of the LED signifies the completion of the first circuit.
- 🔩 The tutorial hints at future episodes discussing more efficient prototyping methods beyond wire clipping.
Q & A
What is the main topic of this electronics tutorial?
-The main topic of this electronics tutorial is creating a basic circuit that lights up an LED using a battery and a resistor.
What type of battery does Codmore recommend for this circuit?
-Codmore recommends using a 9V battery for this circuit, but he also mentions that a double A battery can be used as long as you know its voltage.
How can you determine the appropriate resistor value for the circuit?
-You can determine the appropriate resistor value by calculating it based on the battery voltage and the LED's specifications, as explained in the previous video.
What is a safe default resistor value if you can't calculate the exact one?
-If you can't calculate the exact resistor value, using a 1,000 Ohm resistor is suggested as a safe default.
Why is it important to know the voltage of your LED?
-Knowing the voltage of your LED is important to calculate the correct resistor value to prevent damaging the LED by providing too much current.
What is the significance of the longer leg of the LED?
-The longer leg of the LED is the positive lead and must be connected to the positive terminal of the battery.
Can you attach the resistor to either the positive or negative lead of the LED?
-Yes, you can attach the resistor to either the positive or negative lead of the LED, but it must be connected to the positive voltage source.
What is the purpose of using a metal clip in this tutorial?
-The metal clip is used to make a temporary connection between the resistor and the battery, completing the circuit and lighting up the LED.
What is the next step after creating this basic circuit?
-The next step is to learn about easier ways of prototyping circuits that do not involve clipping wires together, which will be discussed in the next tutorial.
Why is it suggested to use a higher resistor value than calculated if you don't have the exact value?
-Using a higher resistor value than calculated is suggested to ensure the LED is not subjected to too much current, which could damage it, even if it's not the most efficient or bright.
Outlines

هذا القسم متوفر فقط للمشتركين. يرجى الترقية للوصول إلى هذه الميزة.
قم بالترقية الآنMindmap

هذا القسم متوفر فقط للمشتركين. يرجى الترقية للوصول إلى هذه الميزة.
قم بالترقية الآنKeywords

هذا القسم متوفر فقط للمشتركين. يرجى الترقية للوصول إلى هذه الميزة.
قم بالترقية الآنHighlights

هذا القسم متوفر فقط للمشتركين. يرجى الترقية للوصول إلى هذه الميزة.
قم بالترقية الآنTranscripts

هذا القسم متوفر فقط للمشتركين. يرجى الترقية للوصول إلى هذه الميزة.
قم بالترقية الآنتصفح المزيد من مقاطع الفيديو ذات الصلة

9v Battery hacks, Switch, LED, Motor, Fan, Beginner Tutorial for students
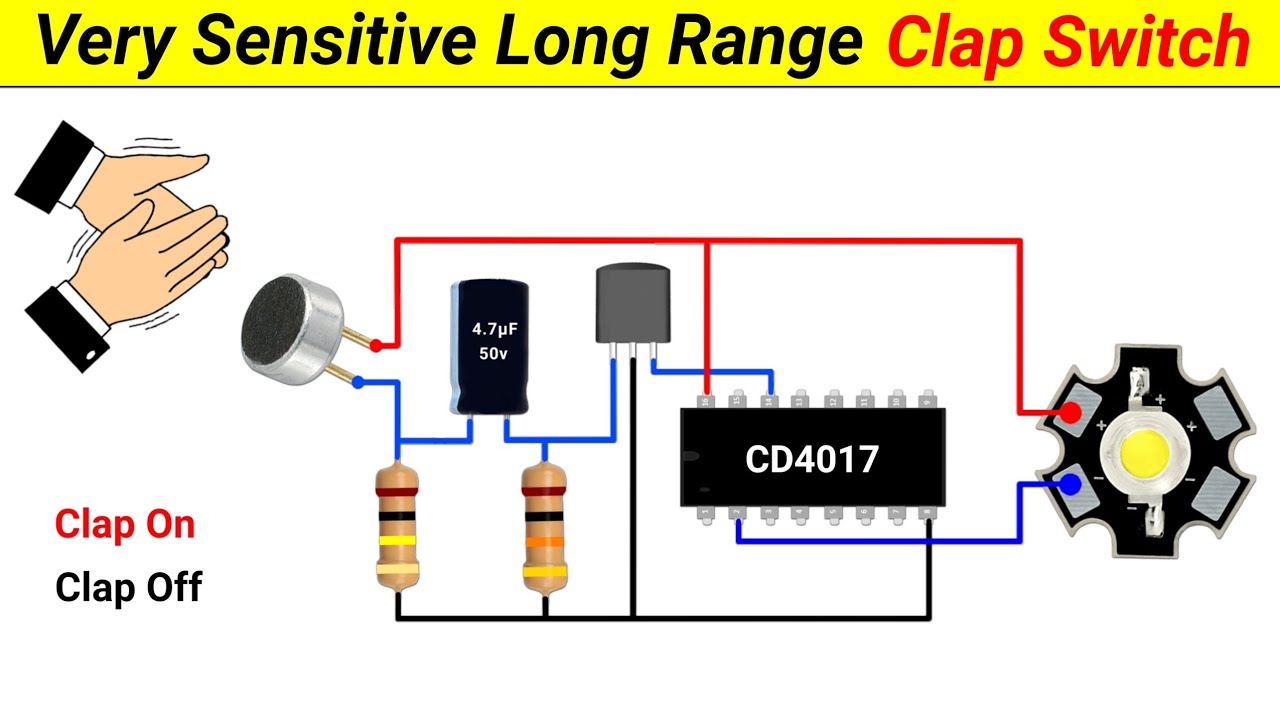
How to make a Clap Switch || using 4017 IC || Very Sensitive Clap Switch || Science Project

Beginner Electronics - 10 - Bread Boards

Simple social science project working model। India states & capitals name। Sst working model project
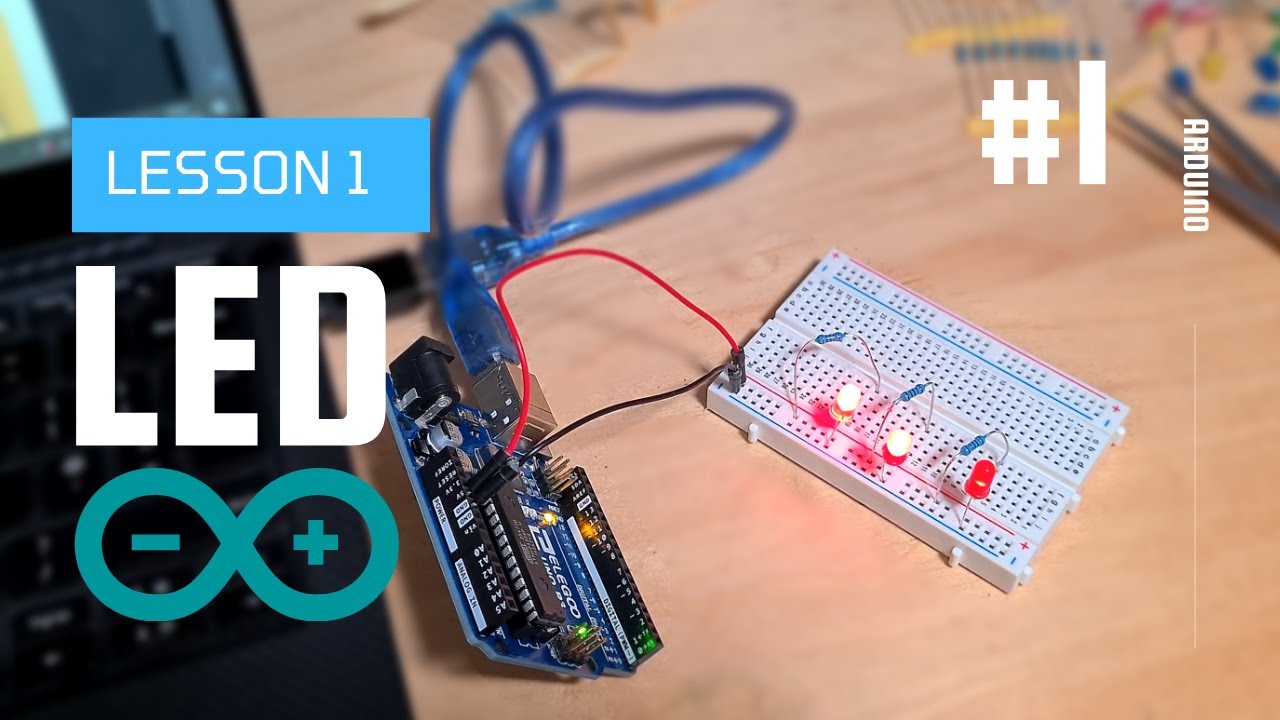
LED Arduino Tutorial #1 - Elegoo Uno R3 Basic Starter Kit

Práctica 9: Circuito integrado 555
5.0 / 5 (0 votes)
