Auxiliary Engine Fuel Injector Overhaul Procedure
Summary
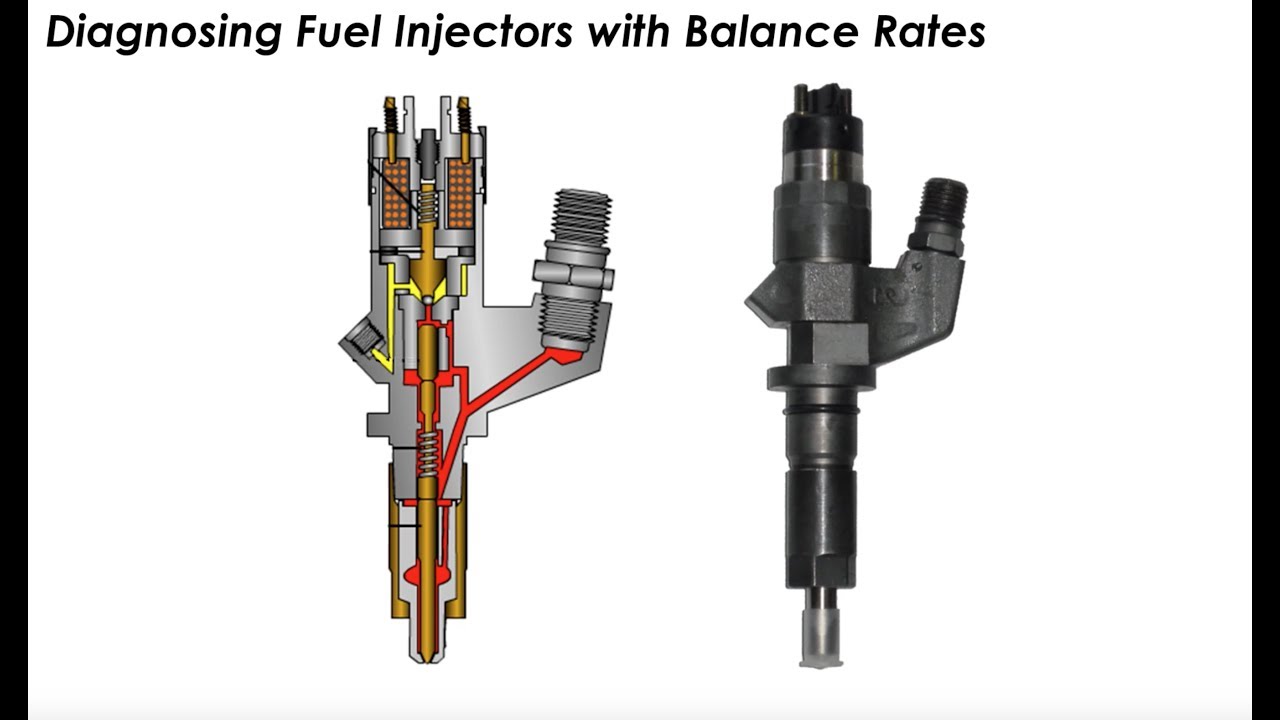
TLDRThis script outlines a detailed process for cleaning and maintaining a fuel injector. It involves removing and cleaning components, adjusting the nozzle, and ensuring proper injection pressure and uniform spray pattern for optimal performance.
Takeaways
- 🚀 Start by preparing the fuel injector for maintenance.
- 🔧 Record the initial injection pressure for reference.
- 🧼 Clean the nozzle tip to remove carbon deposits.
- 🔄 Remove the cap, slacken the locknut, and adjust the screw.
- 🔩 Loosen and remove the nozzle retaining nut to take out the nozzle.
- 🔩 Remove the distance peace, double pins, pushrod, spring, and spring seat.
- 🧽 Clean all components thoroughly with kerosene.
- 🧪 Carefully remove the needle from the nozzle.
- 🛠️ Use a fine grinding paste to clean the contact face of the injector body and nozzle holes.
- 🔩 Reassemble the components, ensuring the needle valve slides smoothly inside the nozzle.
- 🔨 Tighten the adjusting screw to adjust the injection pressure to the required level.
- 🔒 Secure the locknut to maintain the adjusted pressure and ensure a uniform spray pattern.
Q & A
What is the first step in the process described in the script?
-The first step is to prepare the fuel, injector, and record its injection pressure.
Why is it necessary to clean the carbon from the nozzle tip?
-Cleaning the carbon from the nozzle tip is necessary to ensure proper fuel injection and prevent clogging.
What is the purpose of removing the cap nut and slacking the locknut?
-Removing the cap nut and slacking the locknut allows for the adjustment of the injector components and facilitates the cleaning process.
What should be done with the nozzle after removing the nozzle retaining nut?
-The nozzle should be taken out, and the distance piece should be removed.
Why is it important to remove the double pins, pushrod, spring, and spring seat?
-These components are removed to facilitate thorough cleaning and inspection of all parts.
What is the recommended cleaning method for the components after disassembly?
-The components should be cleaned with kerosene to remove any dirt or residue.
What should be done with the needle after taking it out of the nozzle?
-The needle should be covered to protect it from damage or contamination.
Why is a fine grinding paste used on the contact face of the injector body and the nozzle spacer?
-The fine grinding paste is used to clean the nozzle holes and ensure a smooth contact surface, which is crucial for proper functioning.
How should the needle valve be reinserted into the nozzle?
-The needle valve should slide back inside the nozzle smoothly, ensuring it is properly seated.
What is the final step in reassembling the injector components?
-The final step is to tighten the locknut to secure all components in place.
How can you ensure that the spray pattern is uniform and the fuel does not drip?
-By adjusting the screw to achieve the required injection pressure and checking the spray pattern visually.
Outlines

This section is available to paid users only. Please upgrade to access this part.
Upgrade NowMindmap

This section is available to paid users only. Please upgrade to access this part.
Upgrade NowKeywords

This section is available to paid users only. Please upgrade to access this part.
Upgrade NowHighlights

This section is available to paid users only. Please upgrade to access this part.
Upgrade NowTranscripts

This section is available to paid users only. Please upgrade to access this part.
Upgrade NowBrowse More Related Video

9 Symptoms of Bad fuel Injector; How to Diagnose and Clean?

3 SIGNS THAT YOUR FUEL INJECTORS CLOGGED / STUCK OPEN OR GOING BAD (AUDI) OR ANY CAR
Diagnosing Balance Rates

Praktek memandikan, mengkafani dan menyolatkan jenazah perempuan II Al- Islam II UNISKI KAYUAGUNG

ABC Ama De Llaves - Part 2

Tutorial Praktis Perawatan Mesin Traktor agar Selalu Fit
5.0 / 5 (0 votes)