How to Properly Recharge Your AC System
Summary
TLDRIn this instructional video, Chris Fix demonstrates the process of properly recharging an air conditioning system, dispelling common fears and emphasizing the importance of using the correct tools. He outlines the necessary equipment, including manifold gauges, a vacuum pump, and refrigerant, and explains how to identify the correct type and quantity of refrigerant using the car's sticker. The video covers the crucial steps of pulling a vacuum to remove air and moisture, and then carefully adding the specified amount of refrigerant. Chris also advises on safety precautions and the optional addition of UV dye for leak detection, concluding with a successful temperature check, showcasing the system's improved performance.
Takeaways
- 🛠️ The video provides a step-by-step guide on how to recharge an air conditioning system, emphasizing the importance of having the correct tools for the job.
- 📏 The essential tools for an AC recharge include manifold gauges, a vacuum pump, refrigerant, a nozzle, and safety equipment like gloves and safety glasses.
- 🔍 A sticker on the car specifies the type and amount of refrigerant needed, in this case, HFC-134a (R134a), which is the most common and environmentally friendly option.
- ⚖️ The exact amount of refrigerant to be added is crucial, and a digital scale is recommended to measure the precise quantity, avoiding overfilling.
- 🔄 The process involves pulling a vacuum to remove air and moisture from the AC system, which is vital to prevent future leaks and damage.
- 🕰️ After pulling the vacuum, the system should be left to sit for an hour to ensure that there are no leaks, maintaining the vacuum at 30 inches of mercury.
- 💧 Continuing to pull a vacuum for an additional 45 minutes helps to remove any remaining moisture and air from the AC system.
- 🔄 If a major AC component has been replaced, it may be necessary to add oil to the system to ensure proper lubrication, especially for the compressor.
- 🌈 Adding UV dye to the AC system can help in detecting future leaks by making them visible under UV light.
- 🔧 The refrigerant is added to the system while the AC is on and the compressor is active, ensuring that the refrigerant is drawn in properly.
- ✅ Once the correct amount of refrigerant has been added, the system is considered properly recharged, resulting in improved cooling performance.
Q & A
What is the main purpose of the video by Chris Fix?
-The main purpose of the video is to demonstrate how to properly recharge an air conditioning system, addressing common fears and misconceptions about performing AC maintenance.
What tools are essential for a proper AC system recharge according to the video?
-The essential tools for a proper AC system recharge include a set of manifold gauges, a vacuum pump, refrigerant, a nozzle, and optionally a digital scale for measuring refrigerant, as well as gloves and safety glasses for safety.
Why is it important to pull a vacuum on the AC system?
-Pulling a vacuum on the AC system is crucial to remove any air and moisture from the AC lines, evaporator, condenser, and compressor. Moisture can destroy AC systems, so this step is vital to prevent future leaks.
How can one determine the type and amount of refrigerant needed for their car?
-The type and amount of refrigerant needed can be determined by checking a sticker on the car, typically found on the front piece of metal or plastic trim, or on the hood. It will specify the type of refrigerant (e.g., HFC-134a or R134a) and the amount to be added.
Outlines

This section is available to paid users only. Please upgrade to access this part.
Upgrade NowMindmap

This section is available to paid users only. Please upgrade to access this part.
Upgrade NowKeywords

This section is available to paid users only. Please upgrade to access this part.
Upgrade NowHighlights

This section is available to paid users only. Please upgrade to access this part.
Upgrade NowTranscripts

This section is available to paid users only. Please upgrade to access this part.
Upgrade NowBrowse More Related Video

Penyebab AC mobil sering mengisi freon.Cara mencari kebocoran freon AC mobil.Freon AC mobil habis
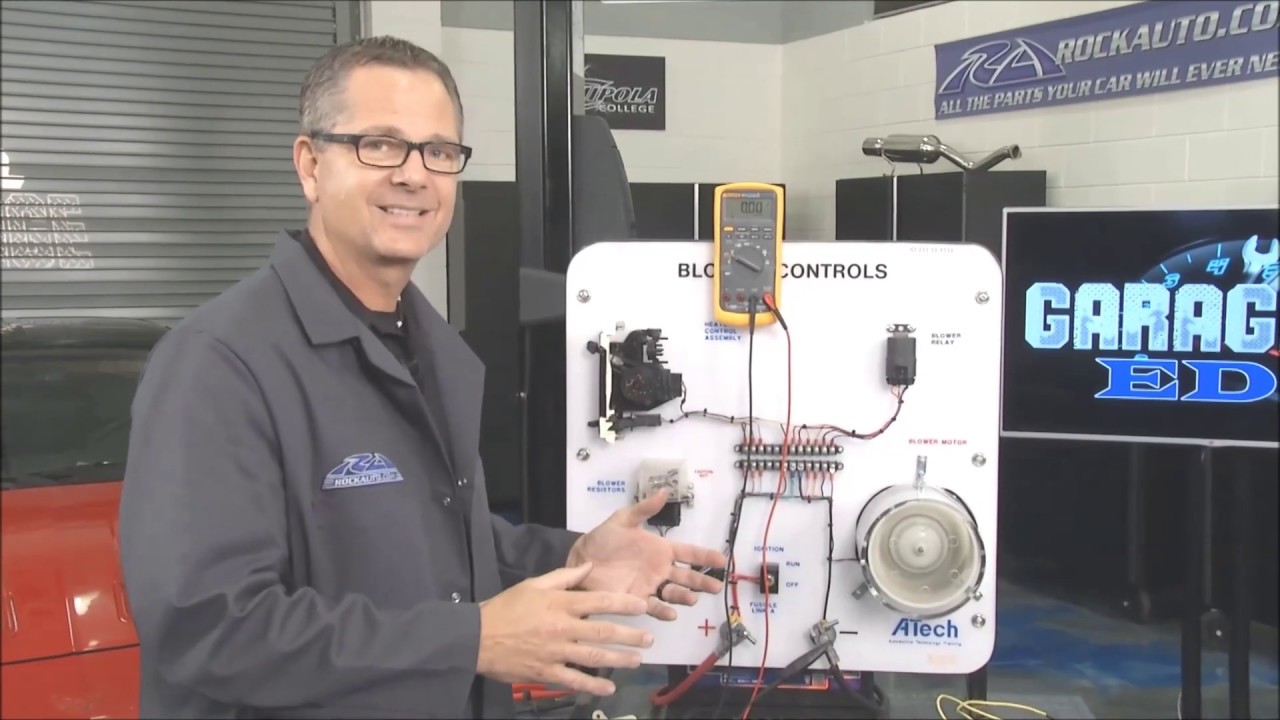
Understand Blower Motor Circuits to Better Diagnose Problems (Season 5/E12)

1104LST0301 AC perawatan

How to Flare Brake Lines for Your Truck, Car, or SUV
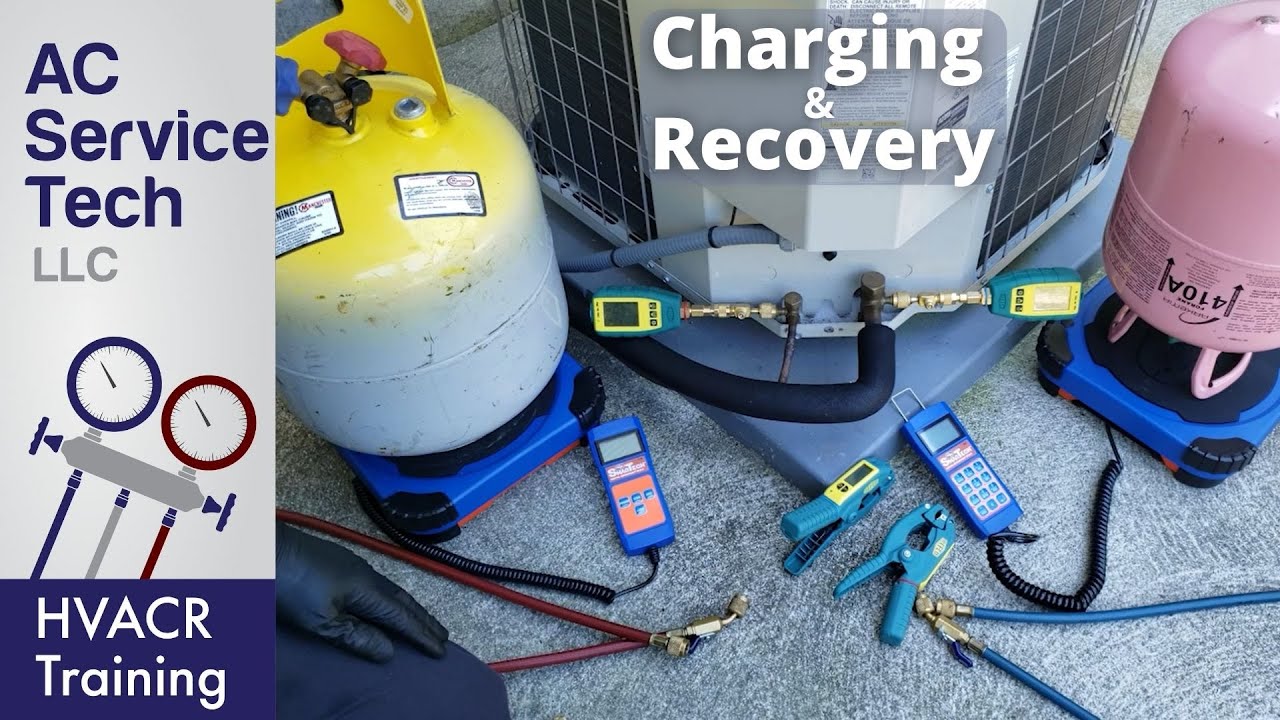
R-410A Charging and Recovery Procedure with Digital Test Probes/Gauges!

How-to: Manual gas chromatography injections
5.0 / 5 (0 votes)