OS SEGREDOS DAS VELAS AROMÁTICAS REVELADOS POR PETER PAIVA | PETER PAIVA
Summary
TLDRIn this tutorial, the presenter demonstrates how to make a beautiful, aromatic candle using simple materials. Starting with a mix of soy wax and paraffin, the video covers essential steps such as melting, adding dye, and incorporating fragrance at the right temperature to preserve scent. With tips on using a hairdryer to control temperature, adjusting the color, and carefully placing the wick, viewers are guided through the process of creating a polished, professional candle. The video emphasizes that even simple, well-executed candles can be perfect for selling, highlighting the importance of attention to detail and temperature control.
Takeaways
- 😀 The video teaches how to make candles, especially using containers like whiskey glasses or decorative cups.
- 😀 Making candles is easy and can be done with basic materials like paraffin wax, soy wax, and fragrances.
- 😀 The key components for candle-making are the containers, wick, wax, and fragrance.
- 😀 Soy wax and paraffin wax combined with fats make the melting process easier, and the wax should be melted at around 65°C or lower.
- 😀 For color, a special wax dye is used, and temperature control is essential to prevent the fragrance from evaporating.
- 😀 The right time to add fragrance is when the wax is at a temperature of about 45°C, ensuring it doesn't overpower the scent.
- 😀 A special wax dye in powder form is cheaper, and there’s a guide available to turn it into liquid form for easier use.
- 😀 The fragrance used for the candles is mixed carefully to achieve the desired intensity without overpowering the candle.
- 😀 When making candles, ensure the wick is secured properly, either by placing it directly into the wax or using a wick holder to maintain its position.
- 😀 After the candle sets, it may crack slightly, but this can be fixed by re-melting the top layer for a smooth finish.
- 😀 The goal is to create simple yet perfect candles that are well-scented, aesthetically pleasing, and functional, just like professional candles.
Q & A
What materials are required to make the candles in this tutorial?
-The materials required are soy wax and paraffin blend, a wooden wick, fragrance oils (such as canela spice and bamboo), dye for coloring the wax, and a heat source (like a heat gun or stove).
What is the ideal temperature to melt the wax for candle making?
-The ideal temperature to melt the wax is around 65°C (149°F) or slightly lower, ensuring the wax melts smoothly without overheating.
Why is it important to manage the temperature when adding fragrance to the wax?
-Managing the temperature is crucial because if the wax is too hot when the fragrance is added, the fragrance may evaporate or not properly infuse, resulting in a weaker scent in the final candle.
How do you ensure that the color of the candle is even?
-To ensure even coloring, the dye should be added to the melted wax and stirred thoroughly to distribute the color evenly throughout the mixture.
What is the purpose of using a heat gun during the candle-making process?
-A heat gun is used to heat the wax or smooth the top layer of the candle if any cracks appear as it cools. It also helps adjust the temperature of the wax to prevent it from cooling too quickly.
Can you use a stove instead of a heat gun for reheating the wax?
-Yes, if you don’t have a heat gun, you can use a stove. Simply heat the wax slightly and then turn off the heat, allowing the residual warmth to keep the wax at the right temperature for pouring.
How do you check if the fragrance is properly added to the wax?
-You check by ensuring that the fragrance is added when the wax is at the ideal temperature, around 45°C (113°F), and that the scent is not too strong or too weak, ensuring a well-balanced fragrance release in the final candle.
What is the recommended wick size for the candles in this tutorial?
-The recommended wick size is medium-sized, with the option to use two wicks for a stronger flame. The wicks should be placed about 1.5 cm apart to avoid being too close to the container edge.
Why should the wick be positioned in the center of the container?
-Positioning the wick in the center ensures that the candle burns evenly. This prevents the wax from melting unevenly and avoids any spillage or wasted wax.
What should you do if the candle surface cracks after cooling?
-If the candle surface cracks, you can gently reheat it with a heat gun or other heat source to smooth the cracks and restore a uniform surface.
Outlines

This section is available to paid users only. Please upgrade to access this part.
Upgrade NowMindmap

This section is available to paid users only. Please upgrade to access this part.
Upgrade NowKeywords

This section is available to paid users only. Please upgrade to access this part.
Upgrade NowHighlights

This section is available to paid users only. Please upgrade to access this part.
Upgrade NowTranscripts

This section is available to paid users only. Please upgrade to access this part.
Upgrade NowBrowse More Related Video
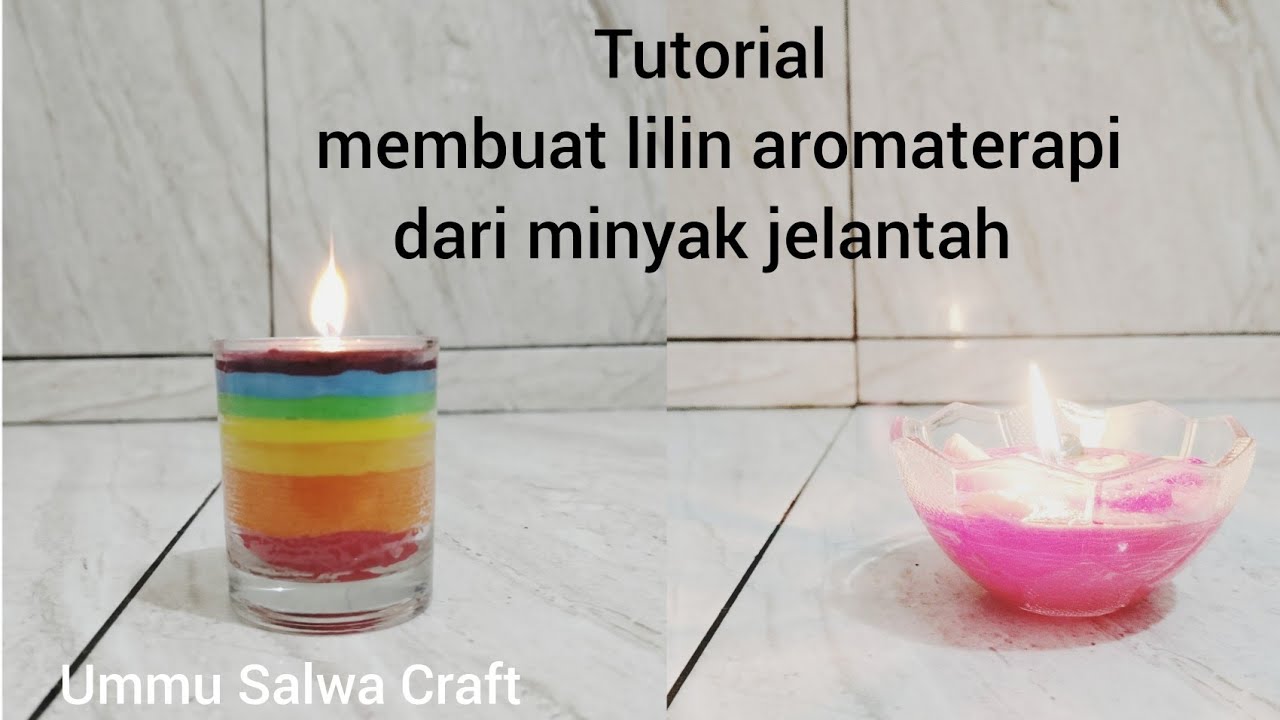
DIY||tutorial cara membuat lilin aromaterapi dari minyak jelantah
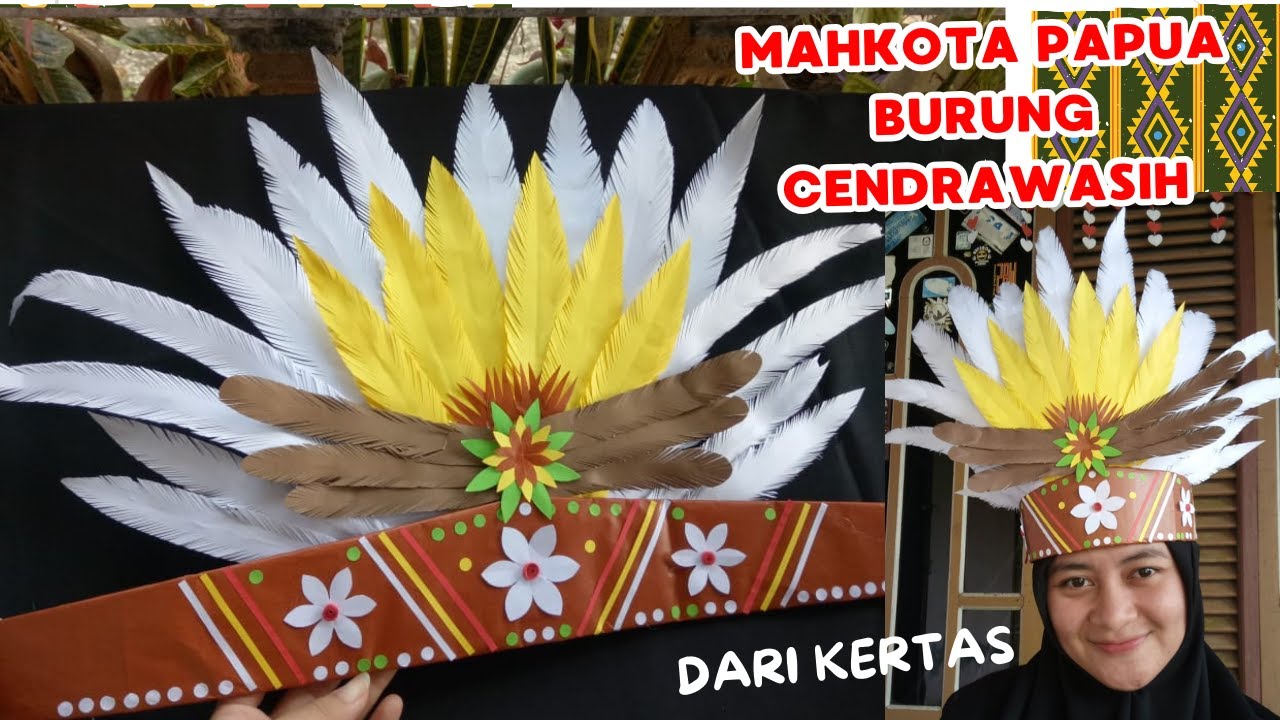
Cantik !! Tutorial Membuat Mahkota Hiasan Kepala Karnaval Adat Papua Burung Cendrawasih dari Kertas

Aromatizador de Varetas - Peter Paiva

Experimento casero: La vela y el agua que sube. Segunda Ley de Newton
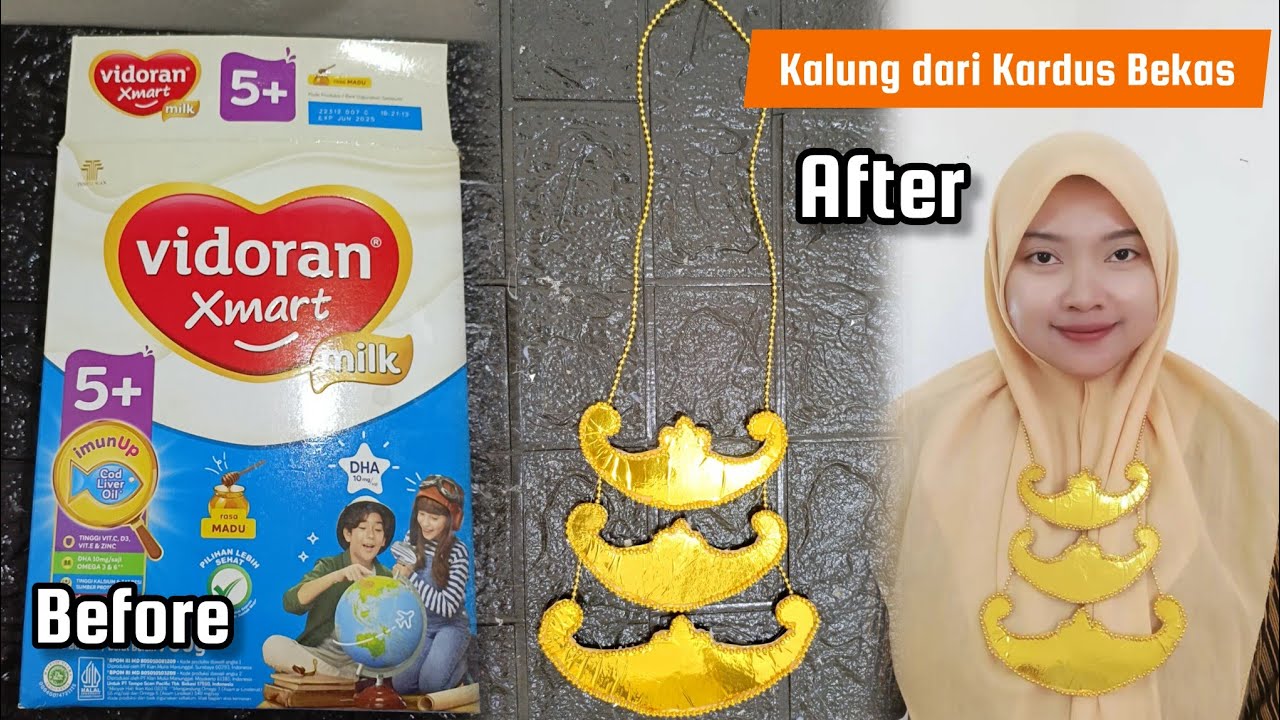
KALUNG ADAT DARI KARDUS BEKAS DAN KERTAS EMAS

Mahkota Karnaval dari Kertas Nasi dan Kardus | Ide Topi Karnaval
5.0 / 5 (0 votes)