Anode Heel Effect | X-ray physics #6 | Radiology Physics Course #13
Summary
TLDRThis video explains the anode heel effect in x-ray physics, which describes the variation in x-ray beam intensity between the anode and cathode sides of the field. This effect occurs due to the differing distances the x-rays travel through the anode. The video outlines how factors like the anode angle, source-to-image distance, and collimation can reduce this effect. Additionally, it discusses how the anode heel effect can be used strategically to achieve more even exposure in certain areas, such as denser body parts, providing practical benefits in radiography. The session concludes with an introduction to the upcoming topic of filtration in x-ray imaging.
Takeaways
- 😀 The anode heel effect describes the variation in x-ray beam intensity between the anode and cathode sides of the x-ray field.
- 😀 X-rays on the cathode side of the beam travel through a shorter distance of the anode, resulting in higher intensity.
- 😀 X-rays on the anode side of the beam travel through a longer distance of the anode, resulting in lower intensity.
- 😀 The anode heel effect occurs due to differential distances that x-rays must travel through the anode material.
- 😀 A larger anode angle reduces the variation in intensity between the anode and cathode sides of the beam.
- 😀 A smaller anode angle increases the heel effect and increases the intensity difference across the field.
- 😀 Increasing the source to image distance (SID) reduces the anode heel effect by minimizing intensity variation across the detector.
- 😀 Collimating or reducing the field size limits the exposure to a smaller area, reducing the anode heel effect.
- 😀 The anode heel effect can be used strategically in imaging dense areas, directing the more intense part of the beam to denser regions.
- 😀 For instance, in imaging the pelvis, the more intense part of the beam can penetrate the denser bones, while the less intense part can interact with less dense areas like the abdomen.
- 😀 The anode heel effect is a popular exam topic, often tested on how it benefits radiography, how to reduce it, or how it occurs.
Q & A
What is the anode heel effect?
-The anode heel effect refers to the variation in x-ray beam intensity between the anode side and cathode side of the x-ray field. This occurs because x-rays on the cathode side travel a shorter distance through the anode compared to those on the anode side, leading to less intensity on the anode side.
What causes the variation in x-ray intensity in the anode heel effect?
-The variation in intensity is caused by the differential distances that x-rays must travel through the anode. X-rays on the cathode side of the field travel a shorter path through the anode, while those on the anode side travel through a longer path, resulting in greater attenuation of the x-rays on the anode side.
What is the misconception about where x-rays are produced?
-A common misconception is that x-rays are formed on the surface of the anode when the electron beam hits it. However, x-rays are actually generated within the anode itself as a result of the interaction of the electron beam with the tungsten in the anode.
How does the anode angle affect the anode heel effect?
-A smaller anode angle increases the anode heel effect, as the x-rays on the anode side must travel through a larger portion of the anode. A larger anode angle reduces the distance that x-rays on the anode side travel through the heel of the anode, decreasing the anode heel effect.
How does the source-to-image distance impact the anode heel effect?
-Increasing the source-to-image distance reduces the variation in x-ray intensity between the anode and cathode sides of the field. Moving the detector further away from the source decreases the difference in intensity across the field, thus reducing the anode heel effect.
What role does collimation play in reducing the anode heel effect?
-Collimation, which involves adjusting the size of the x-ray field, reduces the anode heel effect by limiting the x-ray exposure to a smaller area. This decreases the intensity variation between the anode and cathode sides, especially when the beam is collimated to a smaller region.
Can the anode heel effect be used to our advantage?
-Yes, the anode heel effect can be used strategically in radiography. By positioning the denser part of the patient (such as bones) on the cathode side, and the less dense part (such as air-filled areas) on the anode side, we can achieve a more uniform exposure across the image.
In what clinical scenarios can the anode heel effect be useful?
-The anode heel effect is useful when imaging areas with varying densities, such as the pelvis or foot. For instance, placing the cathode side over the denser ankle and the anode side over the less dense forefoot helps create a more uniform exposure.
How does the anode heel effect apply to mammography?
-In mammography, the denser chest wall is placed on the cathode side of the beam, while the less dense peripheral breast tissue is placed on the anode side. This helps to balance the exposure and improve image quality, especially in areas of varying tissue density.
What factors can be manipulated to reduce the anode heel effect?
-To reduce the anode heel effect, you can increase the anode angle, increase the source-to-image distance, or reduce the field size using collimation.
Outlines

This section is available to paid users only. Please upgrade to access this part.
Upgrade NowMindmap

This section is available to paid users only. Please upgrade to access this part.
Upgrade NowKeywords

This section is available to paid users only. Please upgrade to access this part.
Upgrade NowHighlights

This section is available to paid users only. Please upgrade to access this part.
Upgrade NowTranscripts

This section is available to paid users only. Please upgrade to access this part.
Upgrade NowBrowse More Related Video

Understanding Kilovoltage Peak kVp - X-ray Physics
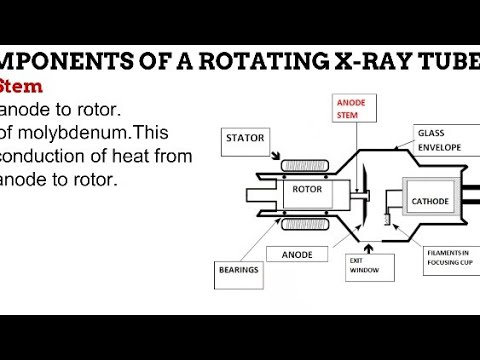
4. X-Ray Tube Components RADIOGRAPHIC EQUIPMENT
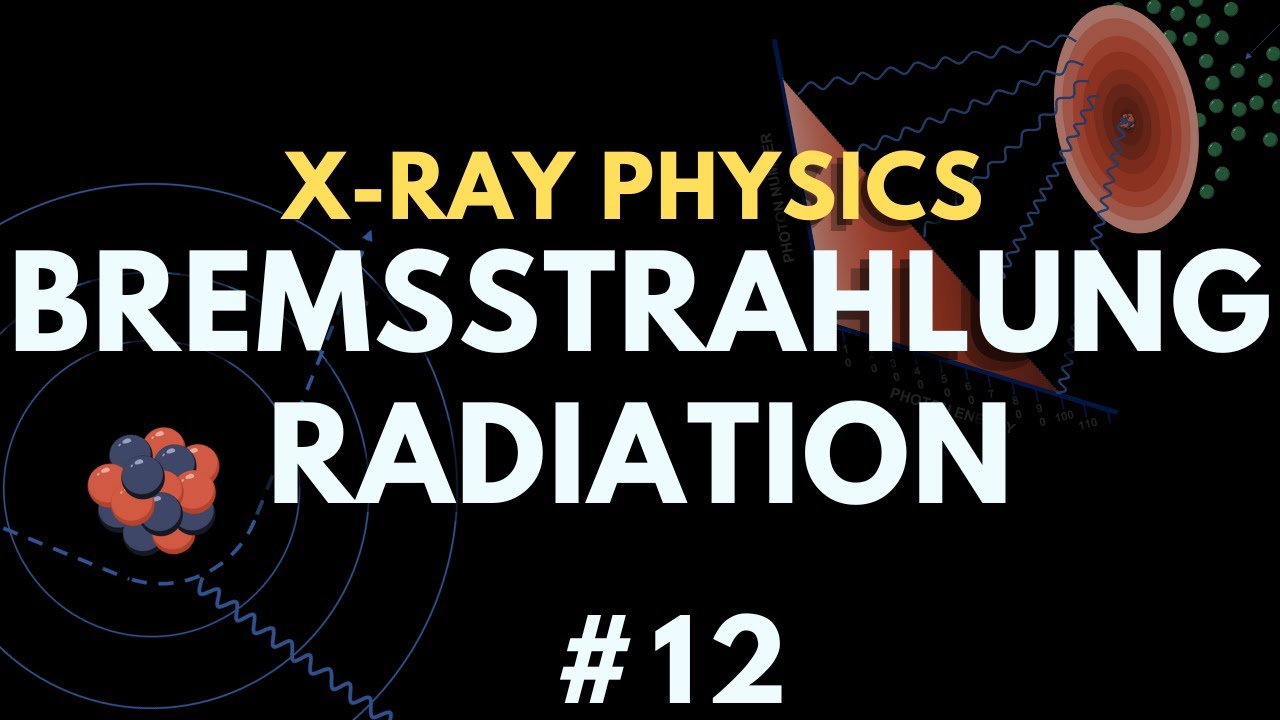
Bremsstrahlung Radiation | X-ray production | X-ray physics | Radiology Physics Course #19

Biomedical Instrumentation- X-RAY Machine

Stationary Anode X-ray Tube (Part - 6)

Overview of the X-Ray Tube and Components
5.0 / 5 (0 votes)