Como imprimir correctamente en Excel (Configurar impresión 2019)
Q & A
What is the main objective of the video tutorial?
-The main objective is to show how to configure an Excel spreadsheet for proper printing, ensuring it looks professional with just three simple steps.
What are the two methods to initiate the printing process in Excel?
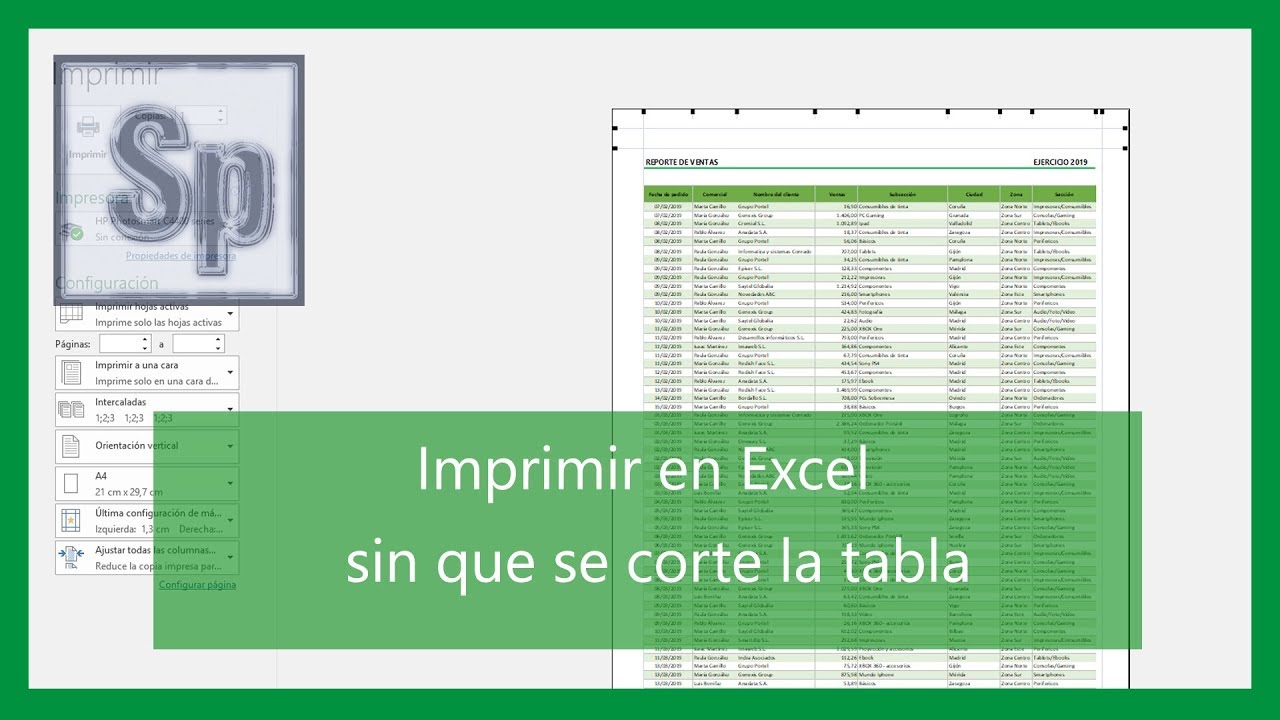
-The two methods are: 1) Using the File menu and selecting the 'Print' option, and 2) Using the keyboard shortcut Ctrl + P, which is quicker and more efficient.
What does the 'Print Area' in Excel show?
-The 'Print Area' in Excel shows the section of the document that will be printed, as indicated by a blue outline on the screen.
How can you view how the document will appear when printed?
-You can view the printed version by using the Ctrl + P keyboard shortcut, which will display the print preview and show how the document will be laid out across pages.
What is the purpose of the 'Page Break Preview' in Excel?
-The 'Page Break Preview' allows you to visualize the sections of the document that will appear on different pages when printed, helping to adjust the print layout and avoid unwanted page breaks.
What is the purpose of adjusting the blue dashed lines in the Page Break Preview?
-Adjusting the blue dashed lines in the Page Break Preview allows you to change where the page breaks occur, ensuring that the content is appropriately spread across pages without cutting off essential data.
How can you make sure that certain columns and titles appear on every printed page?
-You can set up repeating rows or titles on each printed page by going to the 'Page Layout' tab, selecting 'Print Titles,' and choosing the rows you want to repeat at the top of each page.
What additional features can be added to make the document look more professional?
-Additional features like including the date, time, and file name in the header, or adding page numbers and total pages in the footer, can make the document appear more professional.
What is the function of the 'Header and Footer' options in the page setup?
-The 'Header and Footer' options allow you to customize the top and bottom sections of the printed document, including adding elements like date, time, file name, and page numbers.
How do you add page numbers in Excel’s footer?
-To add page numbers, go to the 'Header & Footer' section, select 'Footer,' and choose the page number option. You can set it to display the current page and total number of pages, like 'Page 1 of 4.'
Outlines

This section is available to paid users only. Please upgrade to access this part.
Upgrade NowMindmap

This section is available to paid users only. Please upgrade to access this part.
Upgrade NowKeywords

This section is available to paid users only. Please upgrade to access this part.
Upgrade NowHighlights

This section is available to paid users only. Please upgrade to access this part.
Upgrade NowTranscripts

This section is available to paid users only. Please upgrade to access this part.
Upgrade NowBrowse More Related Video
Excel - Imprimir tabla Excel en una sola hoja. Tutorial en español HD

Curso Excel 2010 Básico. Video 24. Vistas e impresión
Microsoft Excel | Crea rápidamente un botón para imprimir factura en Excel

Impresión 3D - PARTE 2 (Cómo generar codigo G en CURA)

ᴴᴰ COMO IMPRIMIR O PLOTEAR UN PROYECTO EN AUTOCAD PARA PRINCIPIANTES
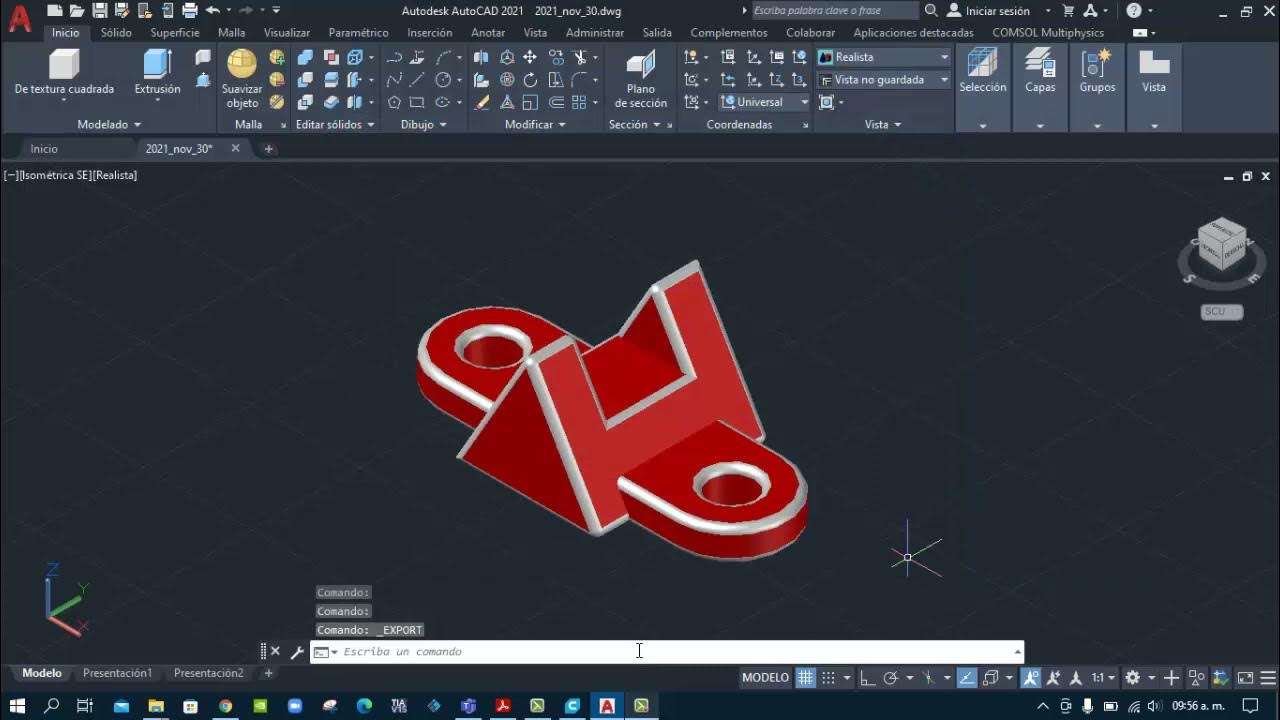
Imprimir en 3D desde AutoCAD con Ultimaker Cura
5.0 / 5 (0 votes)